How to Format References Automatically Using Microsoft Word
I think a lot of folks aren’t aware that if you’re using Microsoft Word to write a paper (or a book!) with references, the program can automagically generate those for you. Yes, really. No more figuring out where those periods and italics go! As someone who occasionally proofreads academic papers, this is kind of a godsend. And you can select which format you’d like your items to be in, too—APA, MLA, or Chicago, for example—and then automatically create a full bibliography when you’re ready. So cool.
Here’s how you get started: First, you’ll open Word (um, yeah), and then place your cursor where you’d like your in-text reference to be. Choose the “References” tab at the top and click the “Citations & Bibliography” button.
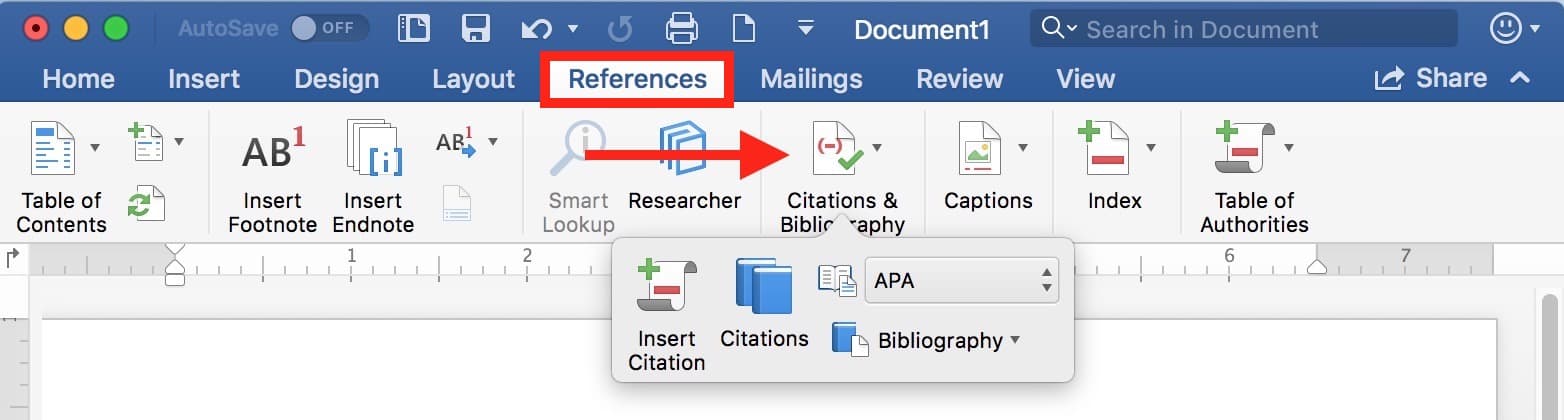
We’re going to click “Insert Citation” here (and this is also where you can change the formatting of your references from APA, for example, to MLA), but just so you know, you may see that button all by itself on Word’s Ribbon depending on the size of your window.
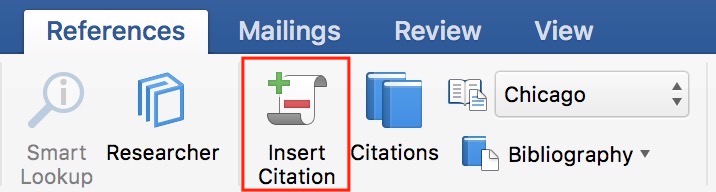
Yes, “Ribbon” is Microsoft’s weird and fancy name for the toolbar. Go figure.
In any case, though, once you pick “Insert Citation,” you can fill out a form with all of the details on the reference you’re adding.
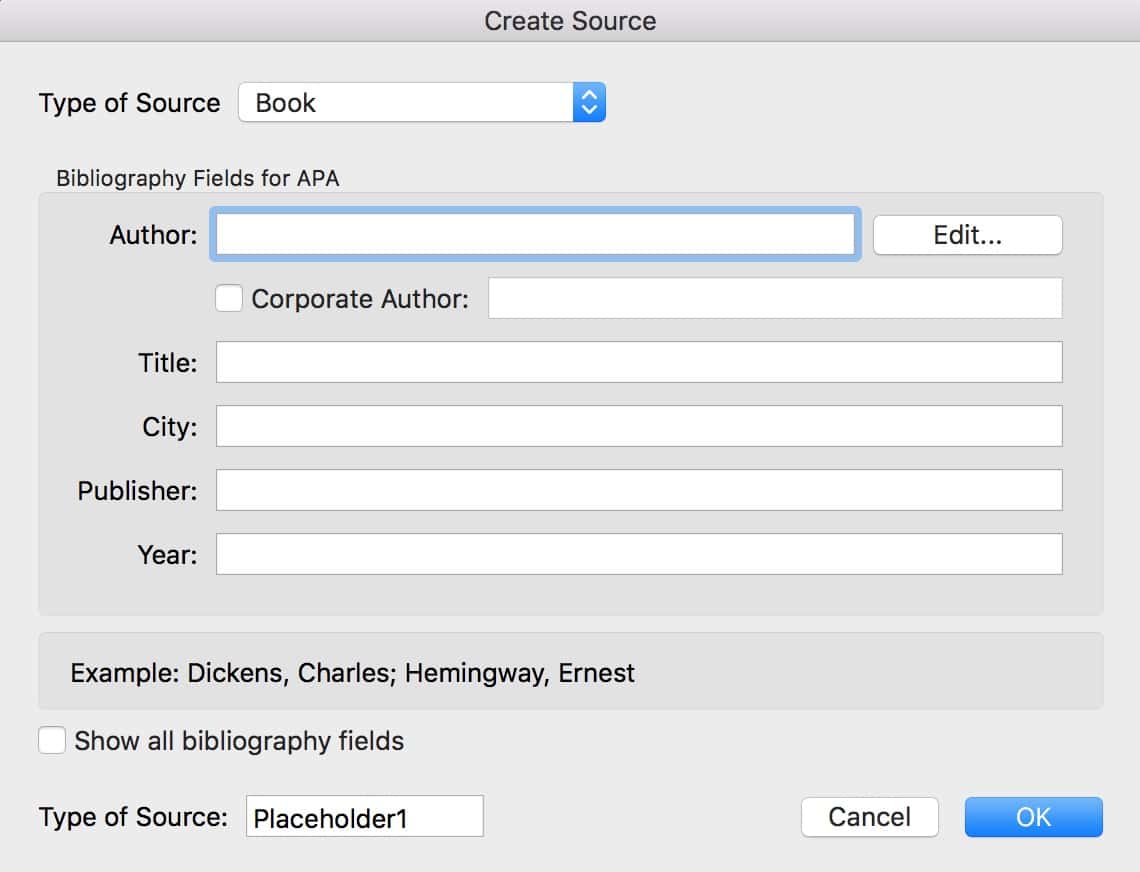
The “Type of Source” drop-down at the top is pretty important; that’ll determine what fields you get to type into, depending on whether you’re referencing a journal article or a book, say. Once you pick that, though, you’ll just type in all of the relevant info, like this:
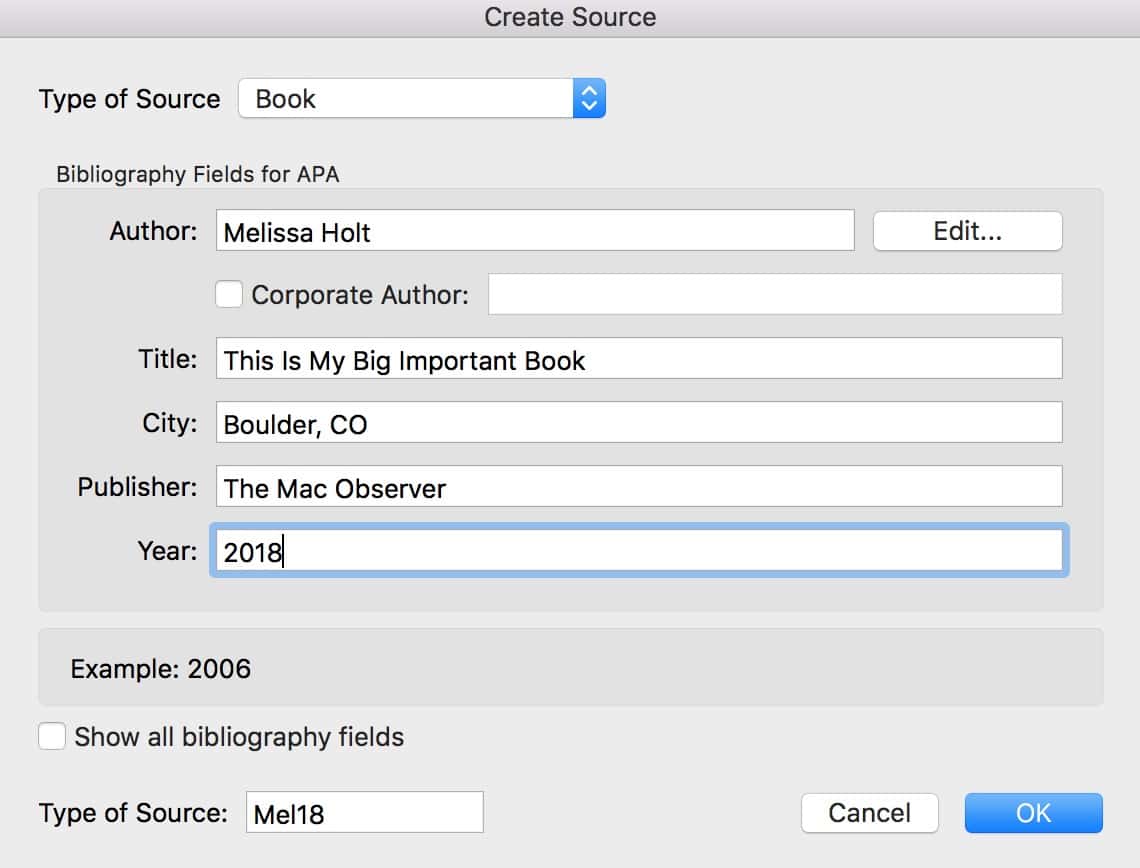
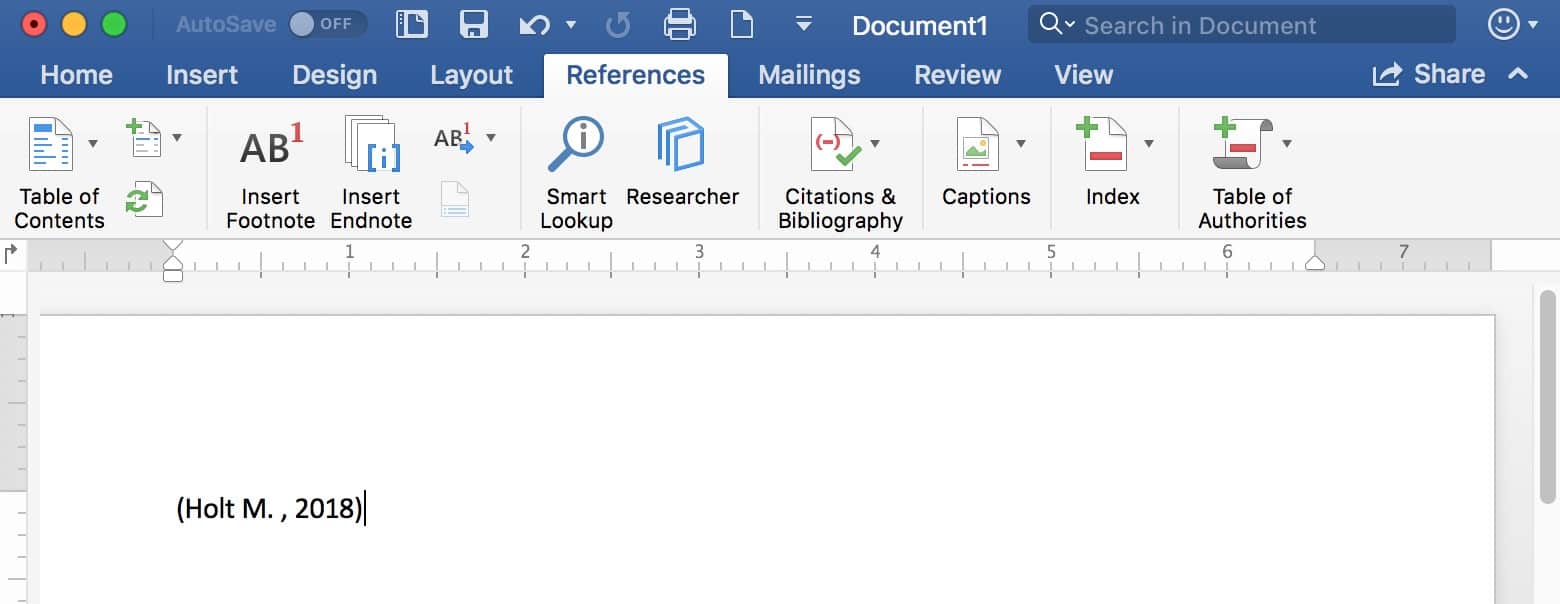
Click “OK,” and Word will add the citation within your text.
You can continue adding as many of these as you need, and if you want to reuse one you’ve already entered, just click the “Citations” button on the Ribbon (which, as I mentioned, may be underneath “Citations & Bibliography”), and you’ll see the ones you’ve previously put in.
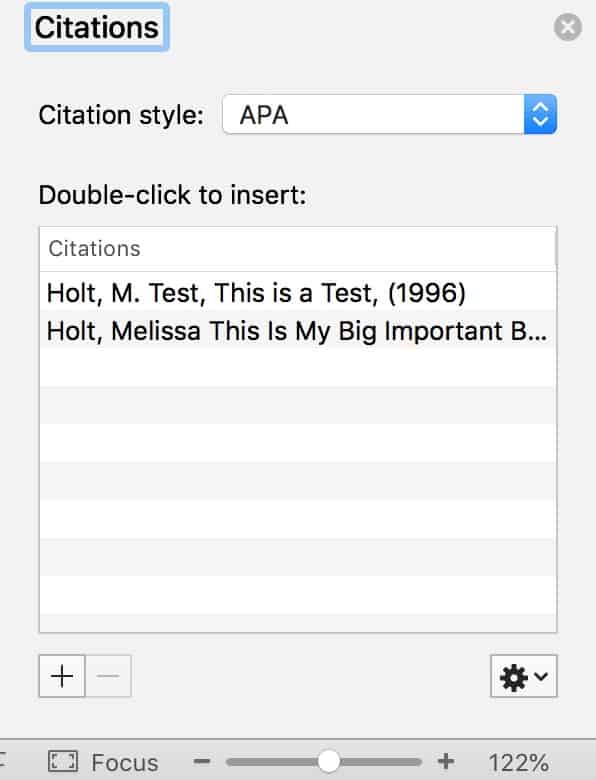
You can then double-click any one of those to insert its in-text reference again!
Finally, when you’re ready to create your bibliography, click either the “Citations & Bibliography” button or choose “Bibliography” straight from the Ribbon if you see it there. When you do so, you can click one of the options for how you’d like yours to look.
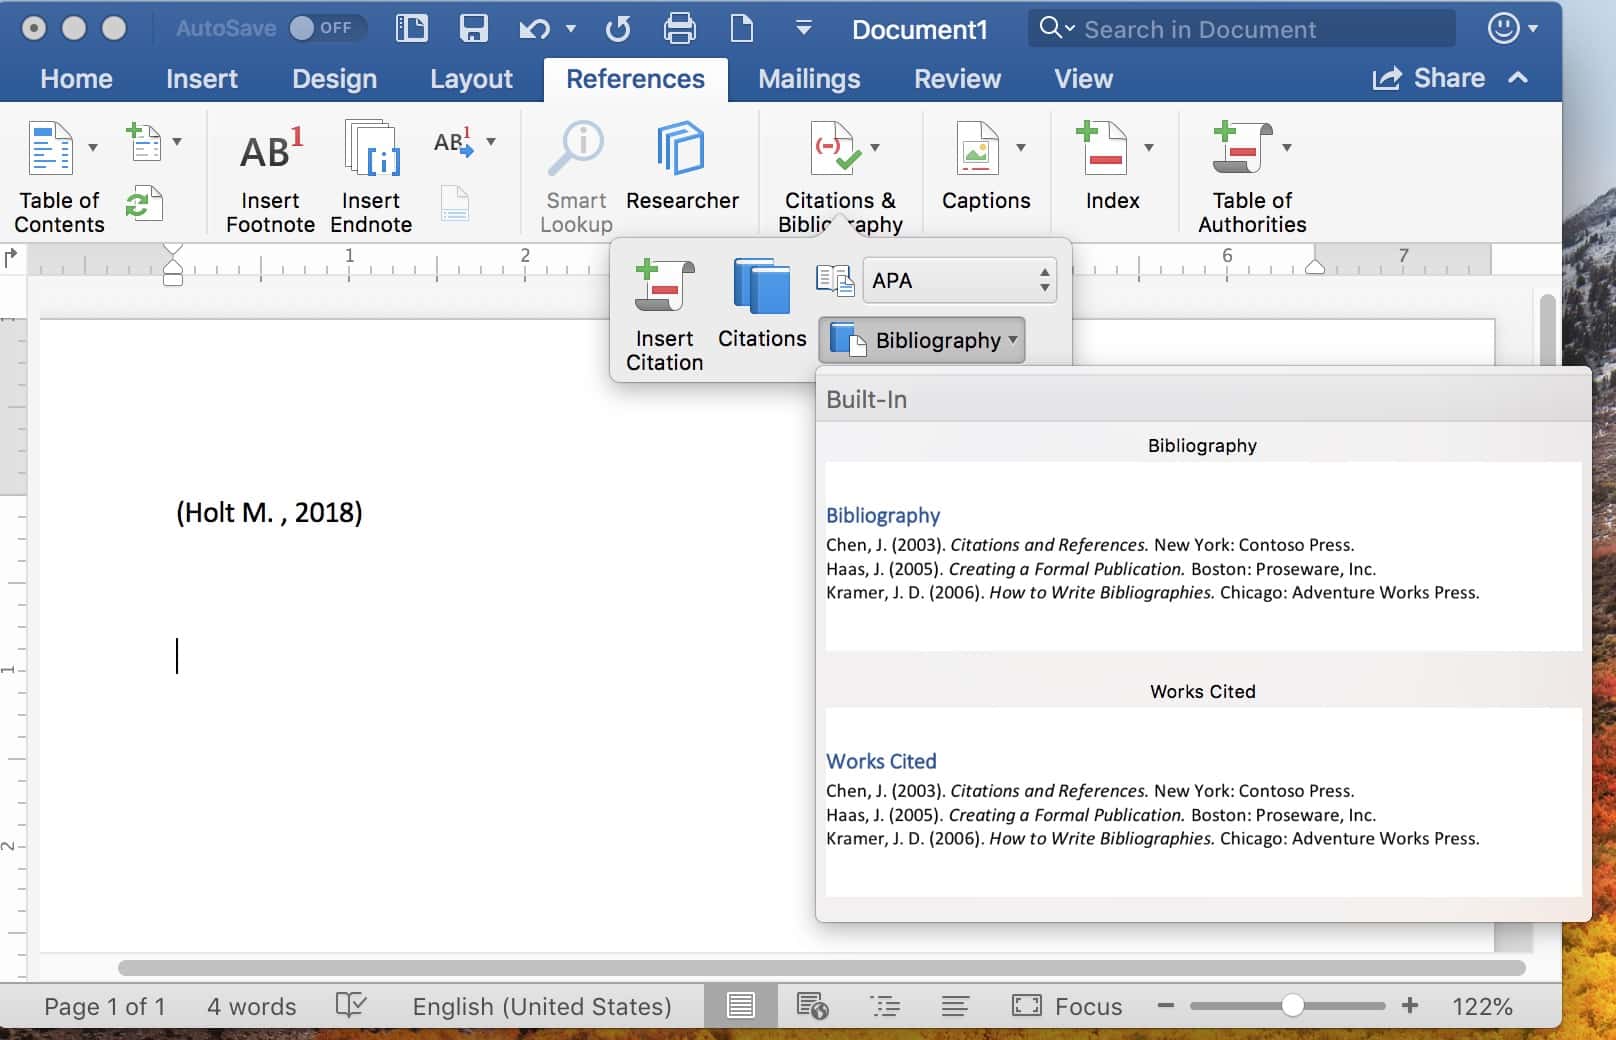
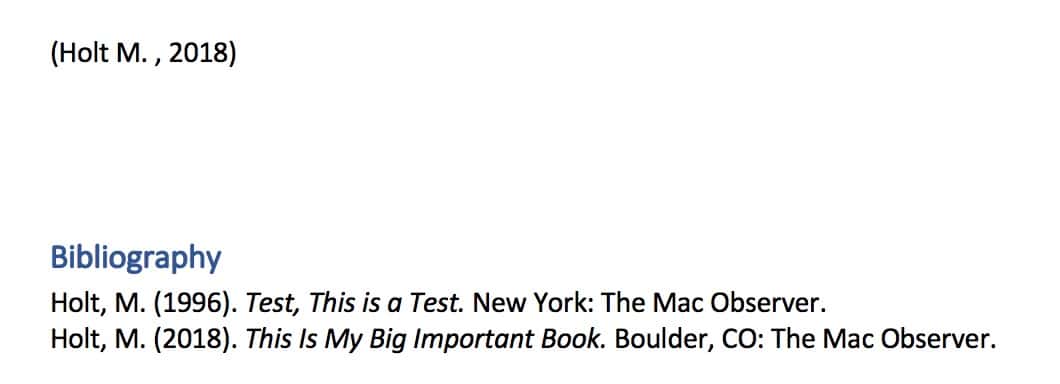
Pick your favorite style, and away you go! Word will generate the bibliography for you and insert it wherever you’d put your cursor.
Related
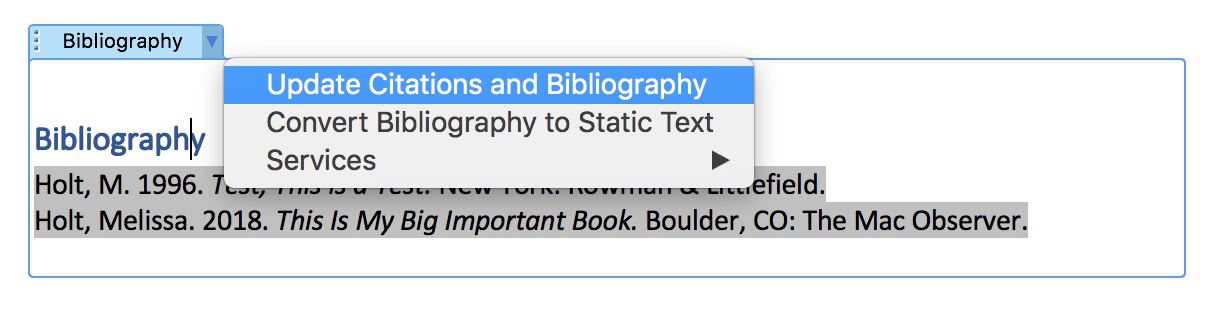
And one more thing here: If you then go back and end up adding more citations, you can click on your bibliography section to reveal a header. Click the arrow there, and you’ll find the option to update the bibliography.
That is so freaking awesome. If you’d like even more information about how this works, check out Microsoft’s article on the subject. And in case you’re curious, Pages can do this too, sort of; you’ll need to install a plug-in to get some help, though. Does this mean that I no longer have to check every single punctuation mark in someone’s bibliography? Can it mean that? Pretty please?
No? Sigh.

0 Response to "How to Format References Automatically Using Microsoft Word"
Post a Comment