macOS High Sierra: How to Change Screenshot Location With Terminal
Besides removing screenshot shadows, here’s another screenshot hack. You can change screenshot location in macOS if you don’t want them showing up on the desktop. This way you won’t have screenshots being uploaded to iCloud Drive if you turned Documents and Desktop syncing on in macOS High Sierra.
Change Screenshot Location
To change screenshot location, open up Terminal and enter the following command:
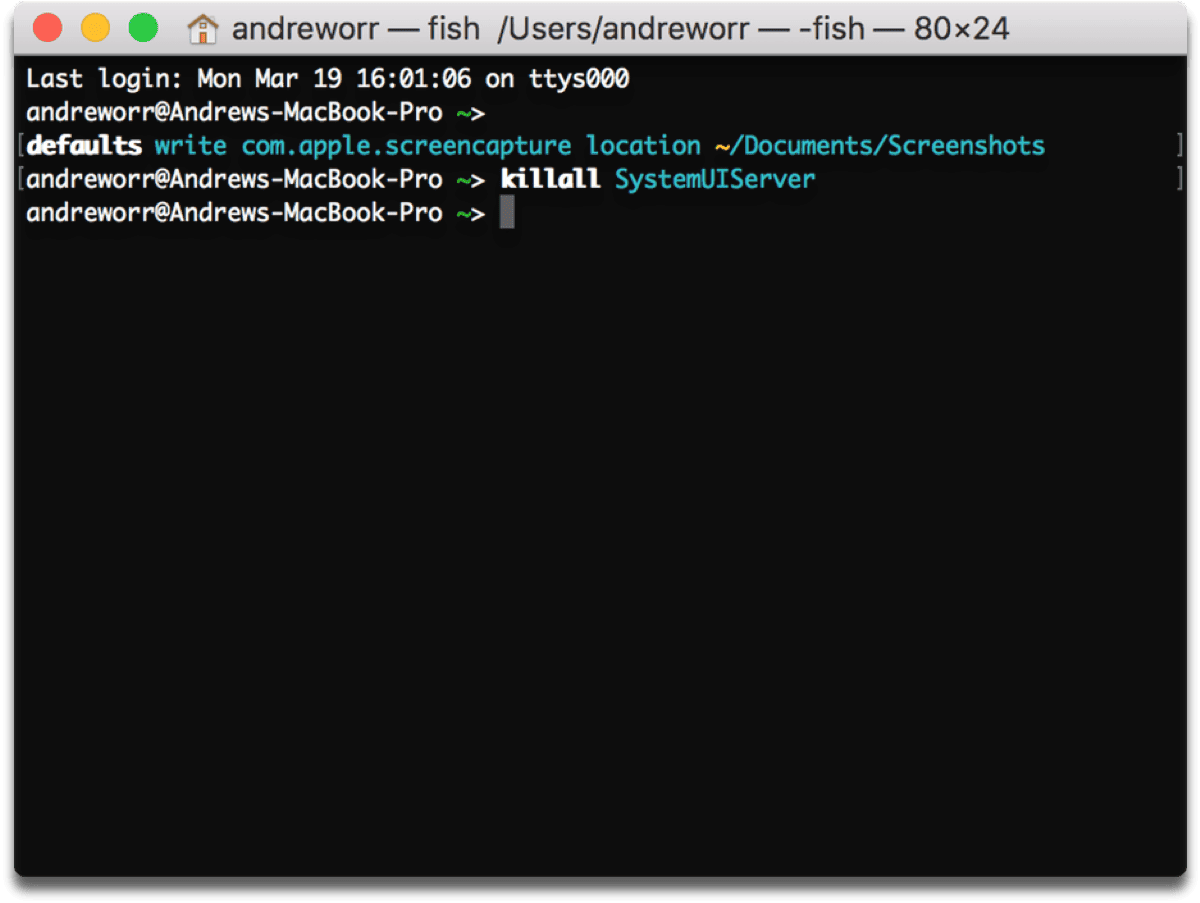
defaults write com.apple.screencapture location /Documents/Screenshots
If you don’t want them showing up in Documents either, just substitute whatever folder location you want. Next, enter the following command:
killall SystemUIServer
Keep in mind that BEFORE you enter the commands, you have to manually create a folder called Screenshots in Documents or wherever else you chose. Otherwise it won’t work and the screenshots will keep showing up on the desktop.
If you want to revert back to the default, enter this command:
defaults write com.apple.screencapture location /Desktop
And then this one:
killall SystemUIServer
There, now you’ve successfully changed the screenshot location.
0 Response to "macOS High Sierra: How to Change Screenshot Location With Terminal"
Post a Comment