macOS: Using “Grep” to Find Matching Lines
I may have mentioned a couple of times before that I enjoy using the built-in Terminal utility. A few years ago, I often found it useful for troubleshooting permissions problems, for example, and as TMO’s Jeff Butts points out, there are tons of under-the-hood changes you can make by knowing how to use certain commands. Or heck, by copying and pasting them in from the Internet. The Terminal doesn’t care if you know what you’re doing, which is why it’s always a great idea to be careful what you type in it! That’s my PSA for today, folks.
Anyway, one command that’s simple to use (at least at its most basic level) yet handy is grep. As Terminal’s manual page on it explains:
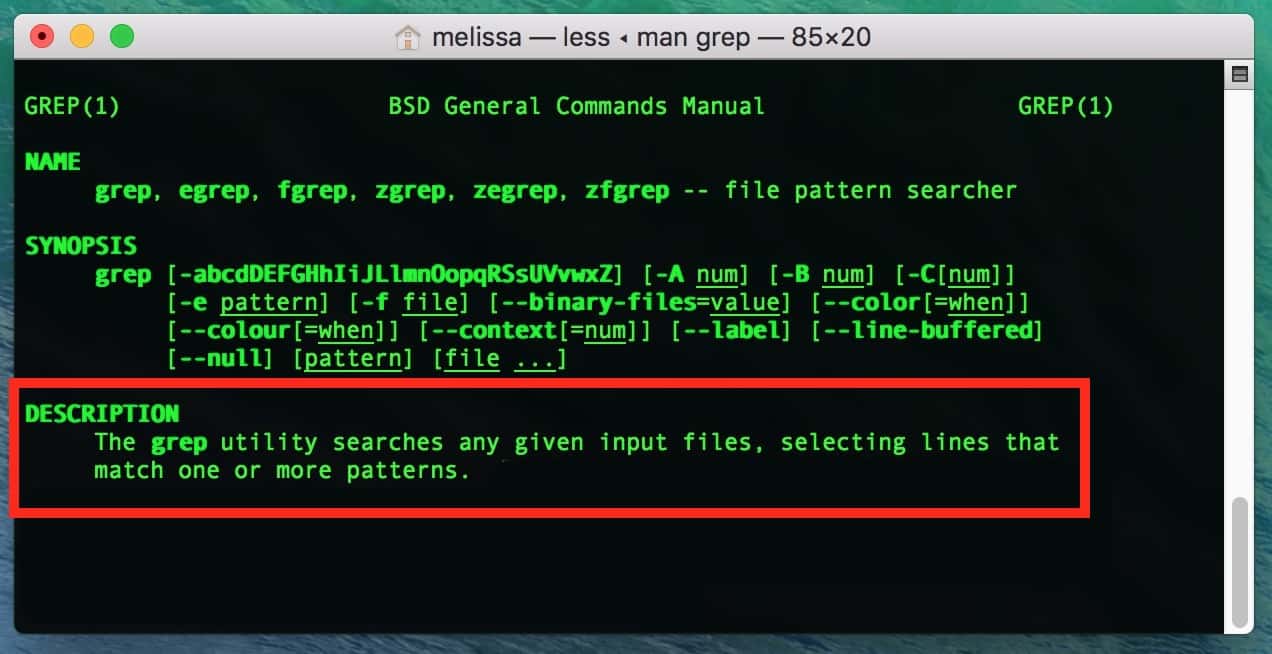
What this means in more simple terms is that you can use grep to pull lines that contain search terms out of a text file. Here’s how it works: Let’s pretend this text file of mine has many hundreds of lines of data that I need to paw through.
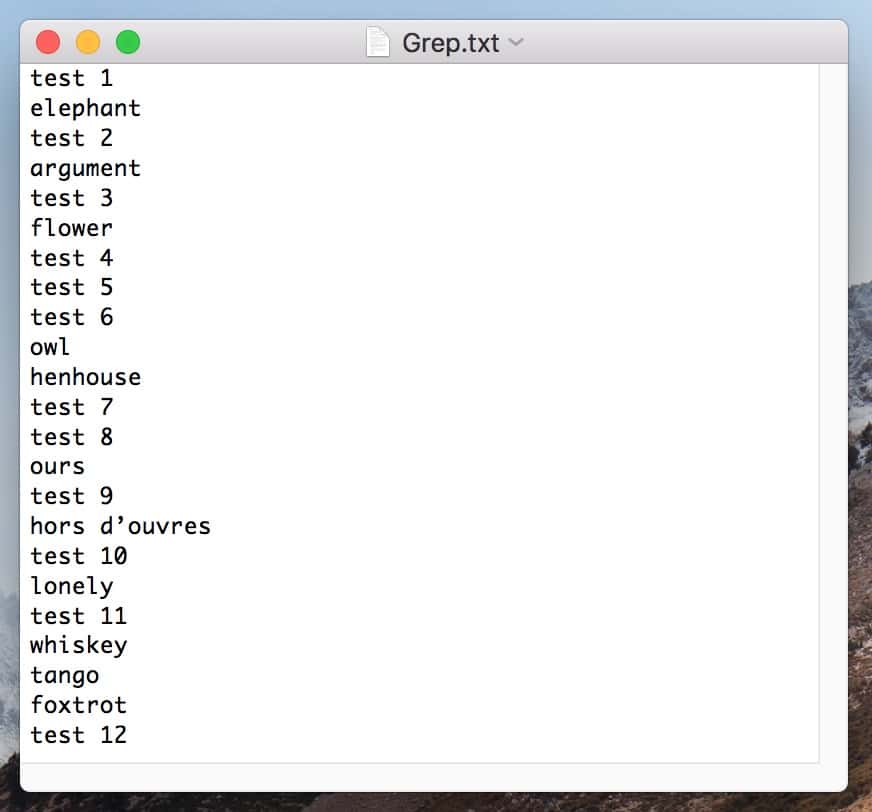
Boy, I am just stupidly bad at coming up with random words.
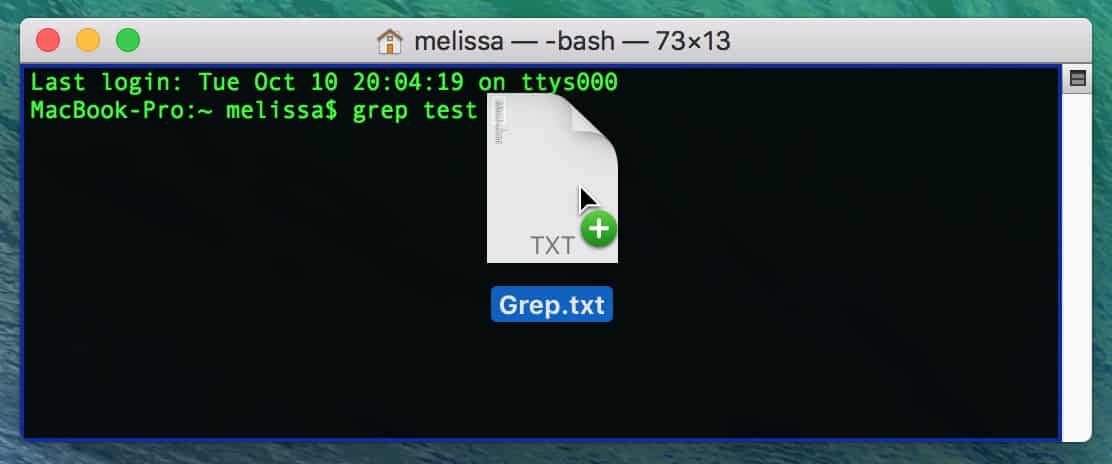
If what I need to do is take all of the lines containing “test” and separate them from the lines containing everything else, that’s really simple for grep. What I’ll do first is open Terminal, of course—it lives in my Applications > Utilities folder—and after it gives me a prompt to start (ending with a dollar sign), I’ll type this:

So I’ve entered the grep command followed by my search term—“test”—and now I just have to tell Terminal which file to run things on. An easy way I can do this is by making sure to type a space after my search term, and then I’ll drag and drop the file I want to search onto the Terminal window, like so:
Once I do that, the program’ll fill in the path to the file for me, easy-peasy.
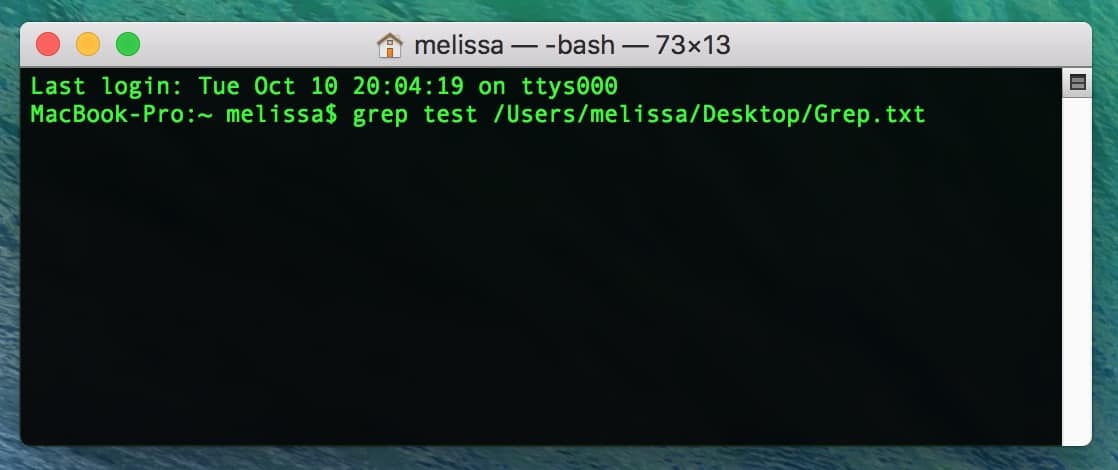
If I then press Return on my keyboard, the Terminal window will fill up with the lines that match my search! Neat!

When you get to this point with your own grepping, which is probably a word I just made up, you can copy and paste the resulting data out of Terminal. Or if you’re more fancy, you could use a right-angle bracket (“>”) to “pipe” the info out into a new file by adding on to your command, like this:
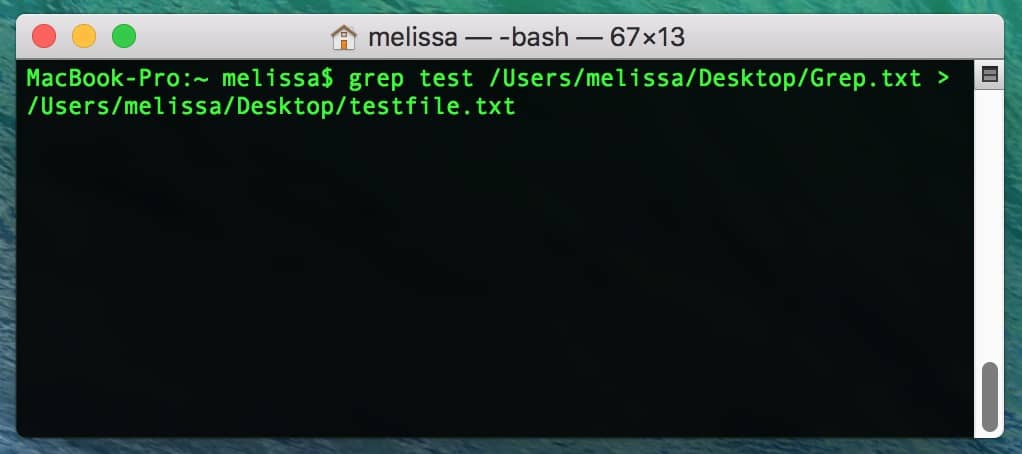
You have to know a bit about how to use file paths to really understand what you’re doing here, but in plain English, my command above says “find lines matching ‘test’ in the ‘Grep.txt’ document on Melissa’s desktop, then put the resulting data into a file called ‘testfile.txt,’ also on her desktop.” Be careful, though, that you aren’t pointing Terminal to an existing file! If you already have a “testfile.txt” on your desktop, this command will overwrite it.
Finally, one more detail—if your search term contains any special characters (such as spaces, say), you’ll have to put a backslash in front of them to make Terminal interpret them correctly. So for example, if you wanted to find lines containing “scary sewer clown,” you’d type this:
grep scary\ sewer\ clown /Path/To/File
The grep command is actually incredibly powerful, and some of its functionality is admittedly way over my head. Still, even peons like me can use it to do simple line-searches! If you’re braver than I and would like to delve into it more deeply, just open Terminal and type man grep at the prompt to read more of its manual page. And let me know if you use it for anything fun!
Yes, Terminal can be fun. YES IT CAN.
0 Response to "macOS: Using “Grep” to Find Matching Lines"
Post a Comment