How to Use iOS 11 Screen Recording
Quite a few people have heard that screen recording is now native to iOS 11, but don’t know how to access it. Even though iOS 11 has been out for a little more than a week, the feature is still baffling many. In this video, Jeff Butts demonstrates where to find the Screen Recording controls. He also shows you how to turn on the microphone for screen recordings so you can do voice-overs. After the video, you’ll find a pictorial walkthrough demonstrating how to enable and use iOS 11 Screen Recording.
Learn how to take advantage of the iOS 11 Screen Recording feature, and make the most of it
A Walkthrough of iOS 11 Screen Recording in Pictures
If you prefer more of a screenshot walkthrough of setting up iOS 11 Screen Recording, here are the steps you need to take.
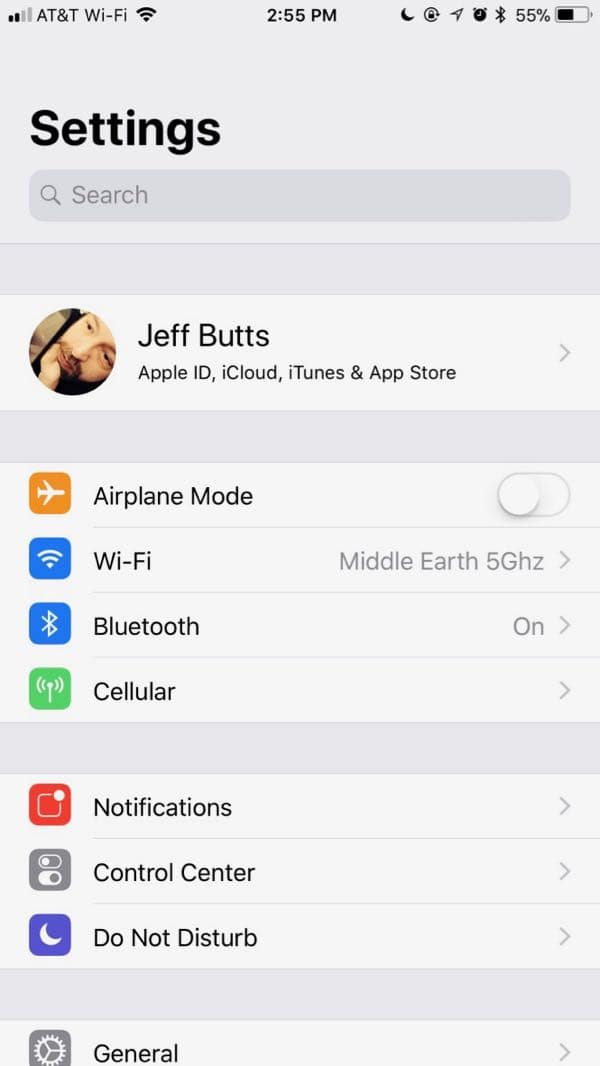
First, open Settings and tap on Control Center
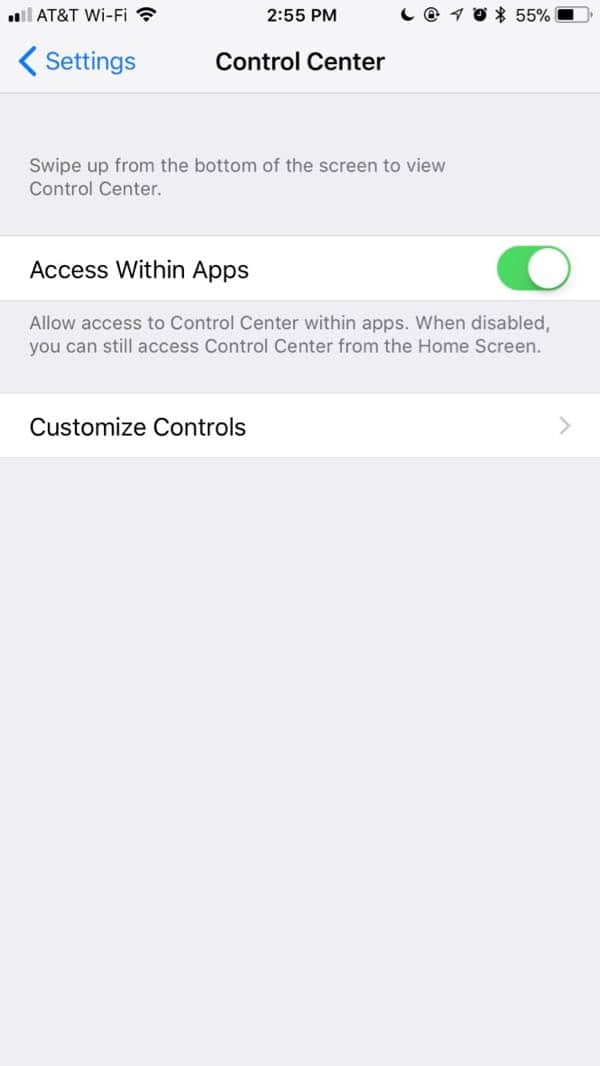
Next, tap on Customize Controls
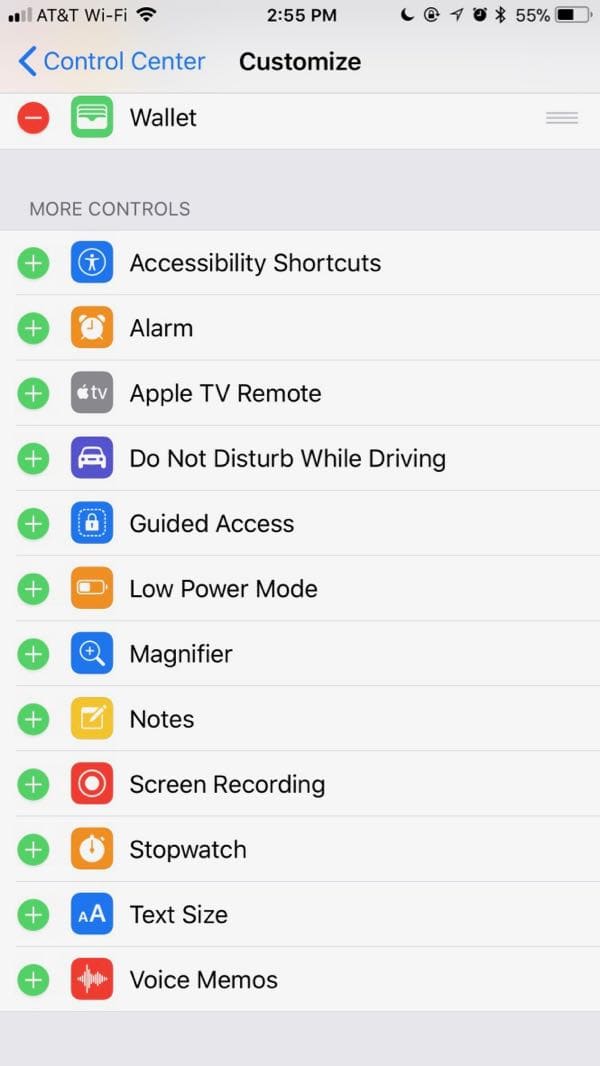
Now tap the green plus sign next to Screen Recording to add it to Control Center, and move it where you like
Using Screen Recording, and Getting Your Microphone to Work
Once you have placed the right button in your Control Center, you’ll be able to start using iOS 11 Screen Recording. Just swipe up from the bottom of the screen to access the Control Center. From there, you can tap once on the Screen Recording button to start recording.
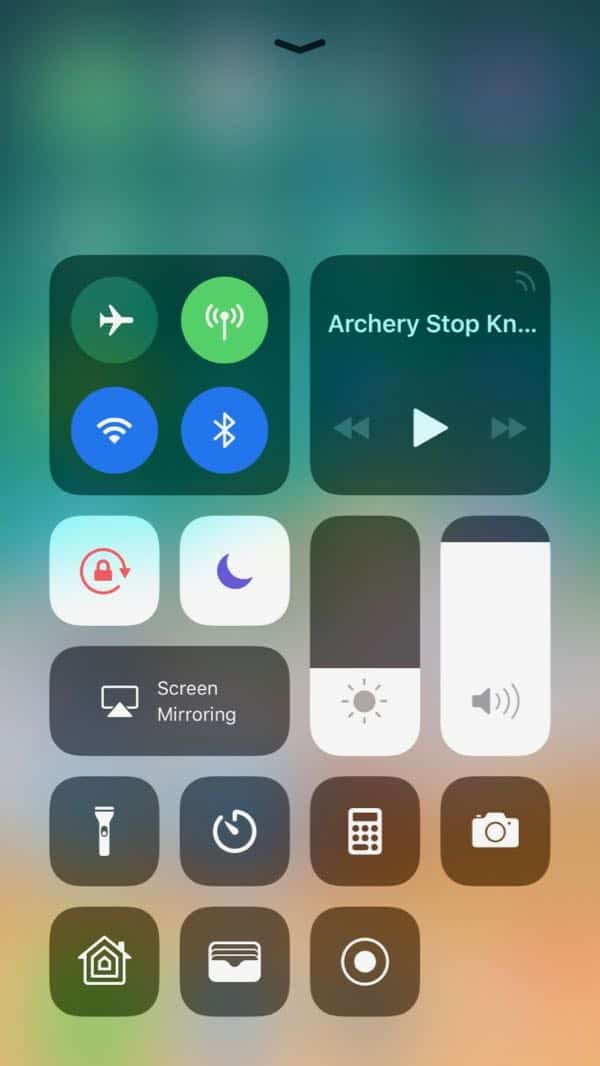
Now you should have the toggle for iOS 11 Screen Recording in your Control Center
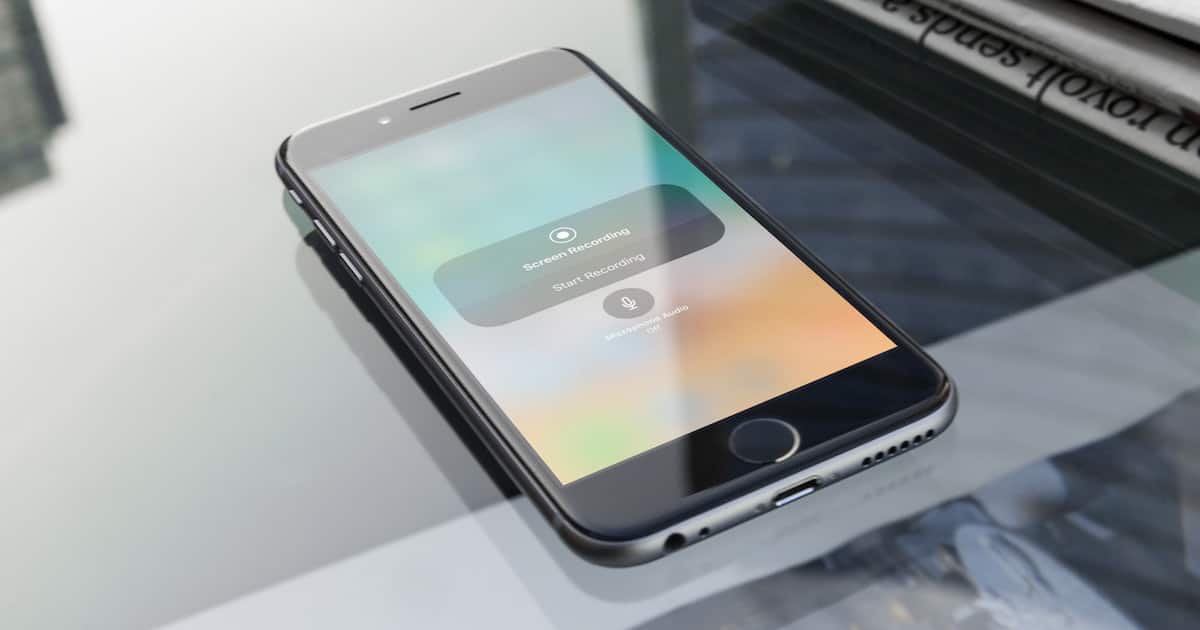
That’s not all, though. If you long-press or 3D Touch press on the Screen Recording button, you’ll get an advanced control. Here, you’ll be able to turn on your microphone for recording voice-overs with your screen.
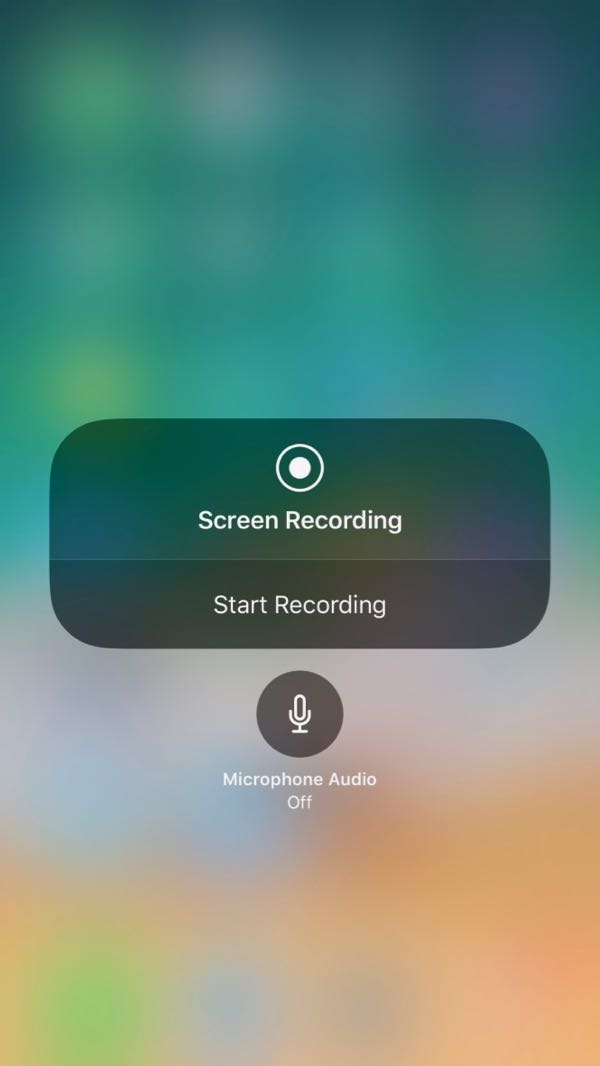
Yes, you actually can turn on your microphone in a screen recording
0 Response to "How to Use iOS 11 Screen Recording"
Post a Comment