macOS: How To Disable Webcam on Your Mac
If you worry about your privacy, you might be the type to put tape over your webcam, iSight, or FaceTime camera. Perhaps you use an app like Oversight, instead, so you can detect camera activity. There’s actually a way you can disable your Mac’s front-facing camera altogether, and it won’t leave sticky residue on the component. This works on all versions of macOS and OS X.
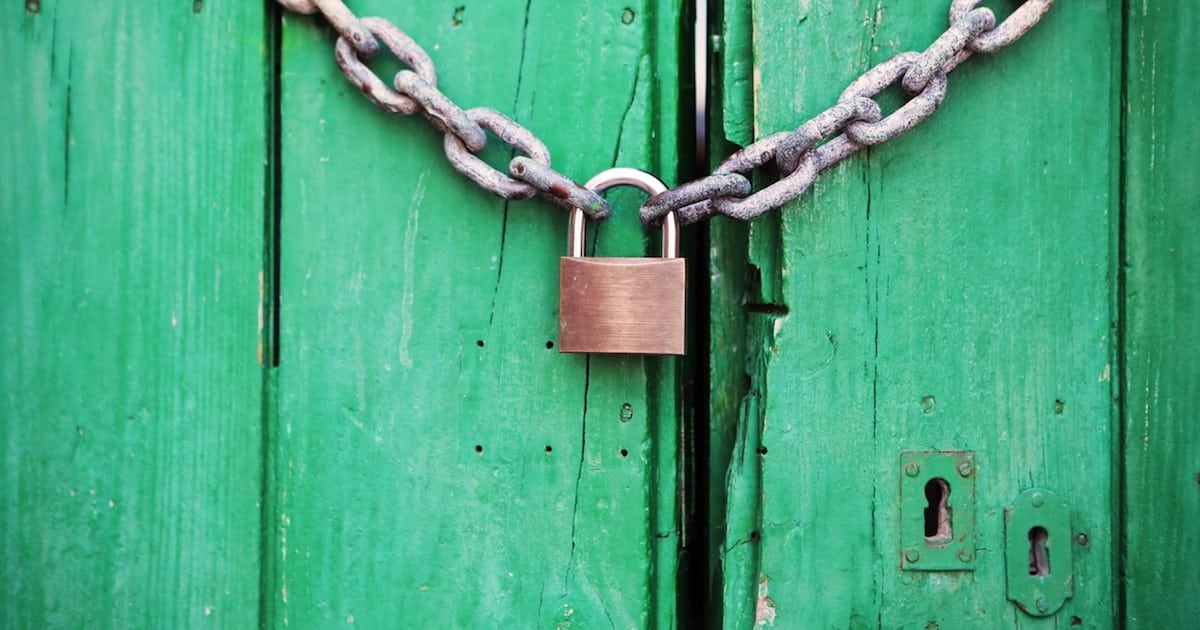
If you want to lock the gate to your front-facing camera, keep reading (Image Credit: Life of Pix)
Why Should I Disable My Mac’s Camera?
This process isn’t for the average Mac user. Rather, it’s for those who want the privacy of having their cameras turned off. Security professionals, system administrators, and similar folks can benefit from this procedure.
A Word of Warning
Just to make sure you understand, this is an advanced tip that will fully disable the software components behind your Mac’s front-facing camera. When you follow these steps, you’ll prevent the camera from being used by any of the applications on your Mac. I’ll also show you how to enable the camera again when you need it. If, however, you aren’t comfortable modifying system files using the command line with super user privileges, you should keep going the tape-over-the-lens route.
First, Disable System Integrity Protection
Introduced in OS X El Capitan, System Integrity Protection, or SIP, is also called rootless mode. It prevents you from modifying certain system-level files and folders. That’s precisely what we need to do to disable the front-facing camera, so let’s disable SIP temporarily. First, back up your Mac, then proceed.
Reboot your Mac into Recovery mode, and launch the Terminal from the Utilities menu. Then, issue the following command:
csrutil disable
Now reboot into normal mode and proceed. We’ll turn SIP back on after we’re done.
Completely Disable your FaceTime Camera
Now we’ll be able to issue the commands necessary to disable the Mac’s front-facing camera. Open the Terminal app from /Applications/Utilities and issue these command strings, one at a time, into the command line. Enter each command on its own line, even copying and pasting to make sure everything goes right.
Terminal will ask for your password for the first one, but remember it after that.
sudo chmod a-r /System/Library/Frameworks/CoreMediaIO.framework/Versions/A/Resources/VDC.plugin/Contents/MacOS/VDC
sudo chmod a-r /System/Library/PrivateFrameworks/CoreMediaIOServicesPrivate.framework/Versions/A/Resources/AVC.plugin/Contents/MacOS/AVC
sudo chmod a-r /System/Library/QuickTime/QuickTimeUSBVDCDigitizer.component/Contents/MacOS/QuickTimeUSBVDCDigitizer
sudo chmod a-r /Library/CoreMediaIO/Plug-Ins/DAL/AppleCamera.plugin/Contents/MacOS/AppleCamera
sudo chmod a-r /Library/CoreMediaIO/Plug-Ins/FCP-DAL/AppleCamera.plugin/Contents/MacOS/AppleCamera
Now, when you open an app that needs to use the camera, your Mac will tell you that no camera is available. This includes FaceTime, Skype, Photo Booth, QuickTime, iMovie, etc., and is exactly what we’re looking for when we disable the FaceTime camera or webcam.

After issuing the commands, my Mac tells me there is no camera available.
If you have apps running that already had access to the camera, you may have to relaunch that software for changes to take effect. You don’t have to reboot, though.
Turn System Integrity Protection Back On
Now, reboot into Recovery mode again. Re-enable SIP by issuing this command from Terminal:
csrutil enable
Turning the Camera Back On
When you want access back to your camera, you just reverse what you’ve done previously. First, go back into the Recovery mode and disable SIP, as before. Once you’ve done that and you’re back in normal boot mode, launch Terminal again and issue these commands, one at a time, each on its own line:
sudo chmod a+r /System/Library/Frameworks/CoreMediaIO.framework/Versions/A/Resources/VDC.plugin/Contents/MacOS/VDC
sudo chmod a+r /System/Library/PrivateFrameworks/CoreMediaIOServicesPrivate.framework/Versions/A/Resources/AVC.plugin/Contents/MacOS/AVC
sudo chmod a+r /System/Library/QuickTime/QuickTimeUSBVDCDigitizer.component/Contents/MacOS/QuickTimeUSBVDCDigitizer
sudo chmod a+r /Library/CoreMediaIO/Plug-Ins/DAL/AppleCamera.plugin/Contents/MacOS/AppleCamera
sudo chmod a+r /Library/CoreMediaIO/Plug-Ins/FCP-DAL/AppleCamera.plugin/Contents/MacOS/AppleCamera
Now, you can launch your favorite camera-using app, and it will work just fine again.

Once the camera is re-enabled, I can look at my ugly mug again
Make sure you turn SIP back on.
What Do These Steps Do?
If you aren’t familiar with file permissions on a UNIX system, the commands to disable the FaceTime camera take away read access to the files required for the camera to function. When we turn camera capability back on, we give that read access back.
0 Response to "macOS: How To Disable Webcam on Your Mac"
Post a Comment