Make Your iPhone Night Photography Stellar With These Tips
The cameras built into iOS devices have gotten progressively better and more sophisticated. But, how many of you are still dumbfounded when it comes to getting good night shots? Don’t feel bad if you’re in that camp, but I’ve got some tips that can help make your pics better.
Whether you want to shoot the stars or capture the mysterious, romantic, or magical feeling of a scene at night, there are tricks to the trade. Taking great pictures at night requires skill, accessories, and the right settings. That’s not always easy to do with the stock Camera app, so I’ve put together these tips to improve your iPhone night photography.
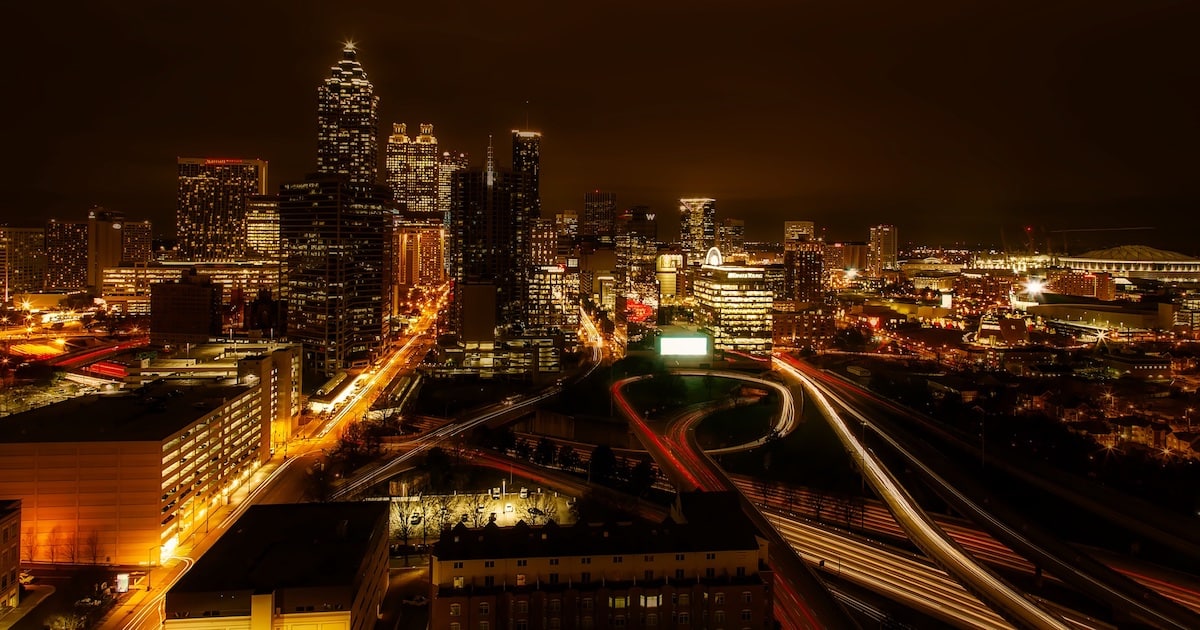
Stellar iPhone night photography takes some skill, practice, and the right tools. (Credit: Pexel)
Keep it steady for stellar iPhone night photography!
The first and probably most important step is to keep your iPhone or iPad steady. At night, your camera needs longer exposure times to make the most of the available light. The only way you can do that without getting blurry pictures is to keep it steady. There are several ways you can do this.
Tuck your elbows against your ribs
This is the cheapest way to keep your shot steady. Tuck your elbows against your ribs, and hold your device in both hands. Make a triangle with your arms. You won’t be able to eliminate all shake, but this should take care of most of it.
Lean on a table
Here’s another option. Sit down at a picnic table or other surface. Prop your elbows on the table, and hold your iPhone in both hands. You’ll eliminate much more shake this way. You can also use a low wall, railing, windowsill, or any other solid surface. If you’re really creative, you can get hands-free by using books or stones to hold your iPhone in a steady and upright position.
Use a tripod
This is the best option. If you use a tripod, you’ll eliminate almost all of the shake, assuming you’ve got a good ’pod. I’d recommend the Boush 62-inch professional tripod. Of course, the iPhone doesn’t exactly have a tripod mount, so you’ll need one more thing. With the Accmor Tripod Mount Adapter, you’ll be able to attach your iPhone directly to your tripod.
For a more mobile-centric solution, Bryan Chaffin recently reviewed iKlip Grip Pro, a combination tripod and selfie stick.
Use a remote shutter release
Even with a tripod, you might get a bit of shake when you tap on your phone to release the shutter. Luckily, there are a couple of ways to minimize or prevent this, too.
- Use the volume buttons on your iPhone.
- Click the shutter with the volume buttons on your Apple Earpods or other headphones.
- Buy and use a remote Bluetooth shutter release. Muku Shuttr is a great choice.
Next: More Tips for Night Photography, from Exposure to Apps
Page 2 – More Tips for Night Photography, from Exposure to Apps
Think about exposure
No, I’m not talking about how much clothing you have on (or don’t have on). What I mean is your camera’s exposure, the length of time the shutter stays open. You’ll find yourself needing to adjust this at night, because your iPhone will try using the “wrong” exposure. See, iOS will try exposing for the shadows, the dark areas of the image. So, everything may look brighter than it should. Shadows will appear a grainy gray instead of black, and the lighter areas will be too bright.
You can adjust exposure by tapping to set focus on your main subject. Pay attention to the brightness of the highlights. If they’re over-exposed, too bright, swipe down on the screen to make it darker. If the shadows look grainy and gray, this is also a clue that you should swipe down to reduce the exposure.
Kill the flash and shoot in well-lit areas
The temptation is going to be strong, here. You’re going to want to shoot in the dark without any light source at all. Bad idea, because your iPhone photos just won’t come out very well. You need some sort of light to illuminate your subject, but your flash won’t cut it. Instead, look for things light street lights and so forth, surrounding your subject and drawing attention to it in the dark environment. Not sure how to shut off your camera flash? Check out the image below, where I’ve pointed to the flash button.
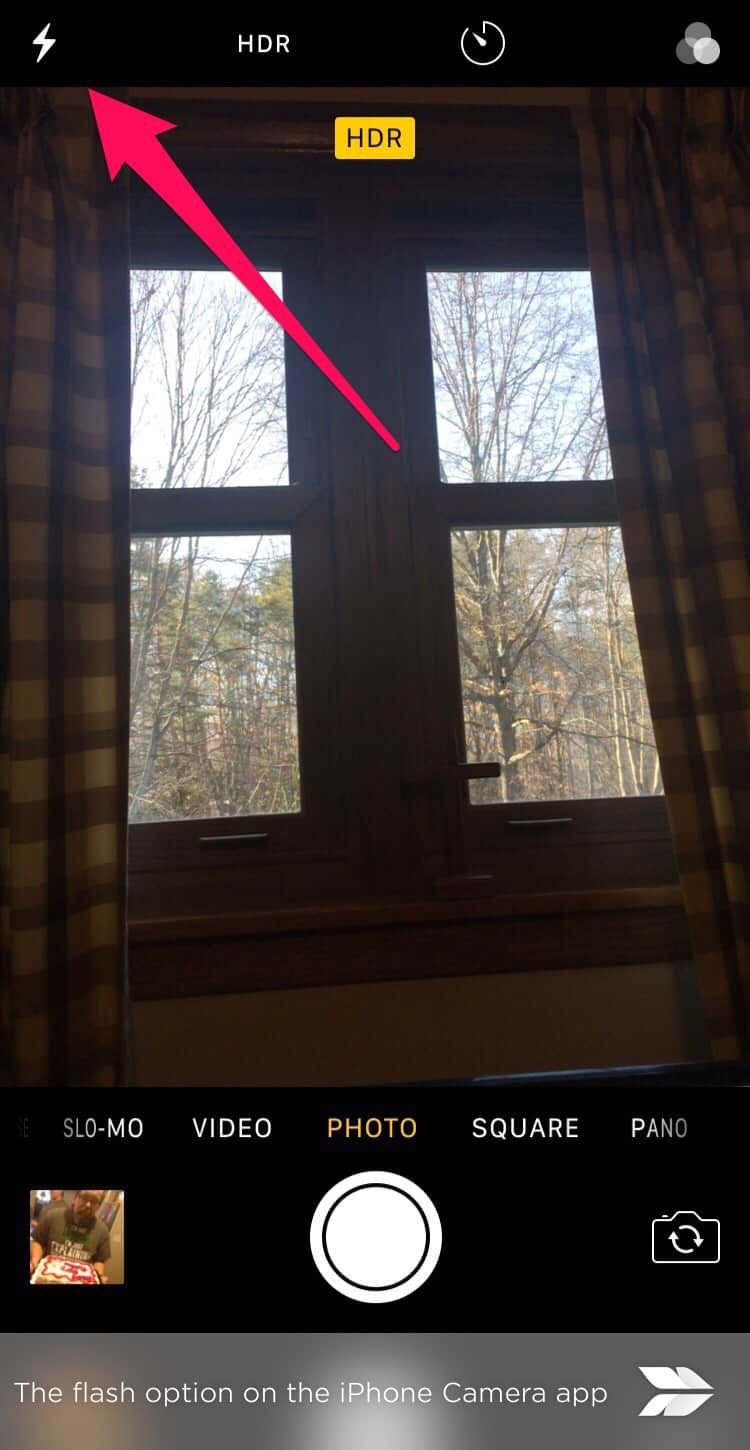
The flash control on Apple’s Camera app is in the upper left corner
Shoot around sunrise and sunset
Another amazing option is to shoot during the twilight hours. When there’s a little bit of light peeking through the horizon, you get the effect of a night shot with a hint of color and detail in the sky. You’ll get more details in the shadows, but still have that visual interest and contrast created by the city lights.
Of course, there’s an app for that
Keeping things steady and manually adjusting the exposure will help. For really great night shots, you’ll want to use a third-party app. My personal favorite is NightCap Pro, an app that sells for $1.99 US on iTunes. Here are some of the best features of the software.
Preset Modes
NightCap Pro offers preset modes, accessed by tapping the star in the bottom left corner of the app. Here’s what the software has to offer you:
- Long Exposure mode captures detailed, noise-free low light shots
- Light Trail mode is great for light painting, even using star trails. The shutter stays open until you close it, with unlimited exposure time.
- Stars mode is great for capturing the stars. The shutter is open for 15 seconds, allowing you to get a great shot of the night sky. Remember to use your tripod.
- Star trails mode allows you to light paint with the stars. Your best bet is to leave the shutter open for at least 15 minutes to capture the movement of the stars across the night sky.
- Meteor mode helps you catch those shooting stars. Point your iPhone up at the sky, tap the shutter, and wait an hour or so, then see what you’ve got.
- Finally, ISS mode is designed to take amazing photographs of the International Space Station.
Check out an example of what NightCap Pro can do below. Both images depict the same marina, but one is shot with the Camera app, and the other with NightCap Pro.
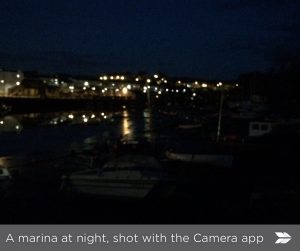
Marina at night, shot with Camera app (credit: NightCap Pro)
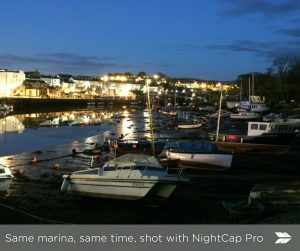
Same marina, shot with NightCap Pro (credit: NightCap Pro)
What’s your favorite night photography scene?
There are some tips for capturing great images at night. Do you have any favorite ideas? How about places you love to shoot pictures at night? Let us know in the comments.
0 Response to "Make Your iPhone Night Photography Stellar With These Tips"
Post a Comment