How to Install ddrescue and Recover Files for Free
Recovering files from a failing hard drive is stressful and it can be pretty expensive, too. Reliable backups can help with the stress part, and ddrescue can help with the rest because it’s good at recovering files, and it’s free. The catch is that it requires a little command line mojo, but we’ve got you covered. Follow along to learn how to install and use ddrescue, plus we’ll show you how to give it a graphic interface, too.
ddrescue is a command line-based file recovery too that can do its job even if your failing drive won’t mount on your Mac’s desktop. That’s especially handy with drives that seem lost forever, but still have recoverable files if only your Mac could see them.
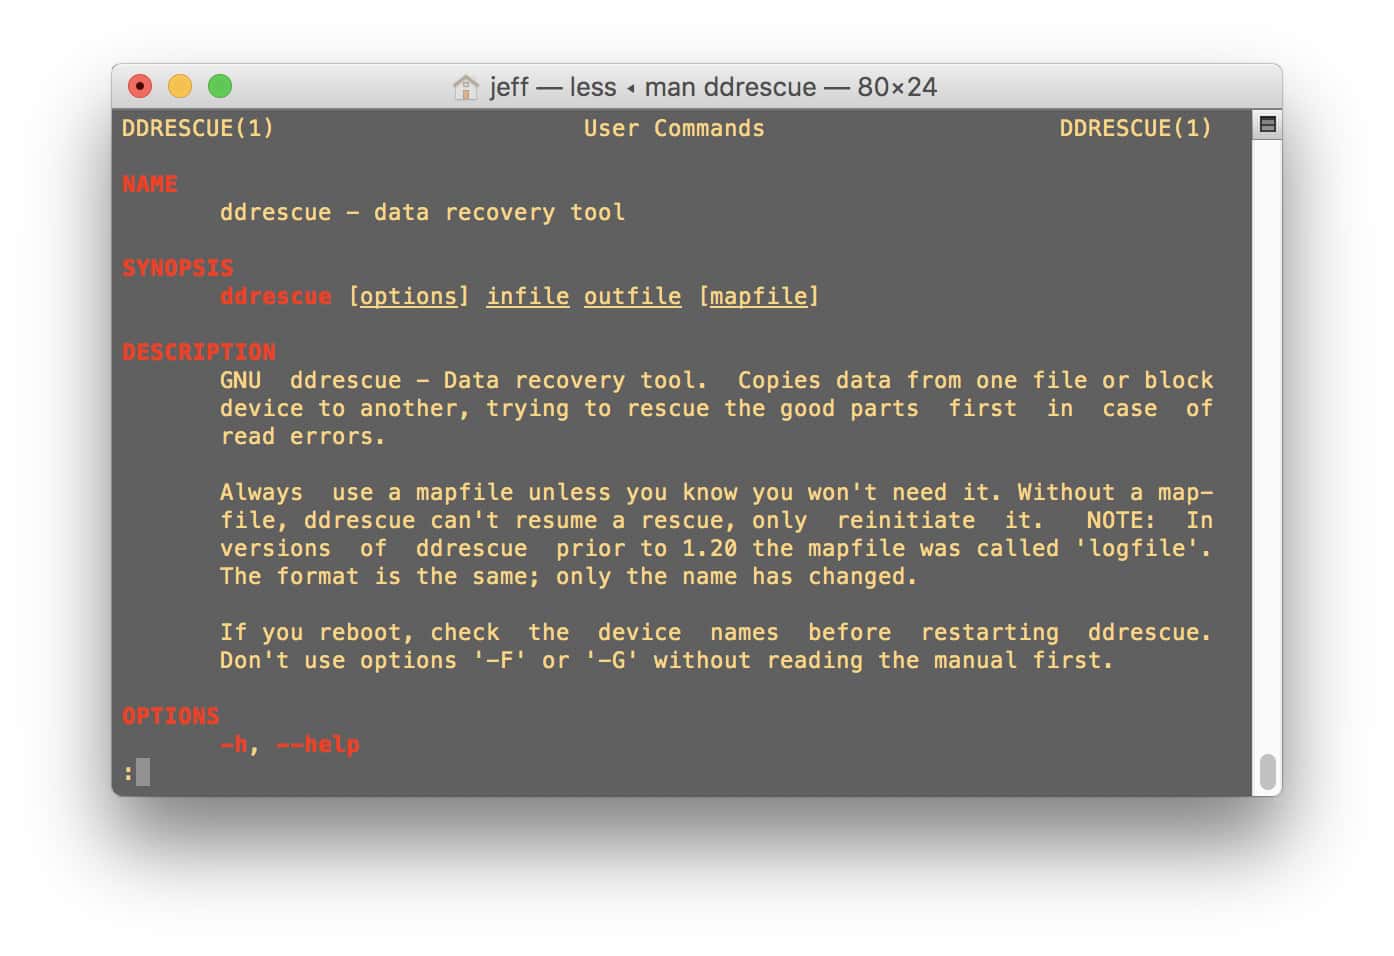
ddrescue’s documentation in Terminal
Before we start you’ll need to launch Terminal. It’s in Applications > Utilities. What’s it’s up and running we can dive in and get ddrescue installed. Everything you need to enter in Terminal is in this how-to, so feel free to copy and paste instead of typing.
ddrescue and Xcode
Installing ddrescue requires Xcode, or more accurately, Xcode’s command line tools. If you’ve already installed Xcode on your Mac, you can get the command line tools using this command in Terminal:
xcode-select --install
If Xcode isn’t already on your Mac, don’t worry about it. We’ll get the command line tools installed in the next step.
ddrescue and Homebrew
Homebrew is a cool utility for finding and installing command line tools like ddrescue. It’s free, and installs fairly quickly using this Terminal command:
ruby -e "$(curl -fsSL https://raw.githubusercontent.com/Homebrew/install/master/install)"
The Homebrew installer checks for Xcode’s command line tools and helps you install them if they aren’t already there. After Homebrew finishes installing, enter this command to make sure it’s working properly:
brew doctor
If there’s a problem, Homebrew will tell you what command to type to fix whatever is wrong.
Installing ddrescue
Installing ddrescue involves more command line action. Here’s what you need to enter in Terminal:
brew install ddrescue
If you’re comfortable with the command line, you can check out how ddrescue works with this Terminal command:
man ddrescue
If you’ve had enough of the command line for now, however, we can put a graphic interface on ddrescue.
Related
Installing DDRescue-GUI
Using ddrescue from the command line isn’t mind-melting difficult, but I find it a lot easier with a graphic front-end. That’s where DDRescue-GUI comes in. Like everything else we’ve installed, it’s free.
Fire up your favorite browser and head over to the DDRescue-GUI website. Look for the list of downloads and click on DDRescue-GUI64bit.dmg. That’s the Mac version, and like many other app installers it’s a disk image. Open the disk image and drag DDRescue-GUI to your Applications folder.
DDRescue-GUI isn’t from a signed developer, which means you’ll get a warning saying you can’t run the app when it’s launched. To get around that, Control-click the app’s icon and choose Open. You’ll see a dialog saying DDRescue-GUI is from an unidentified developer. Go ahead and click Open.
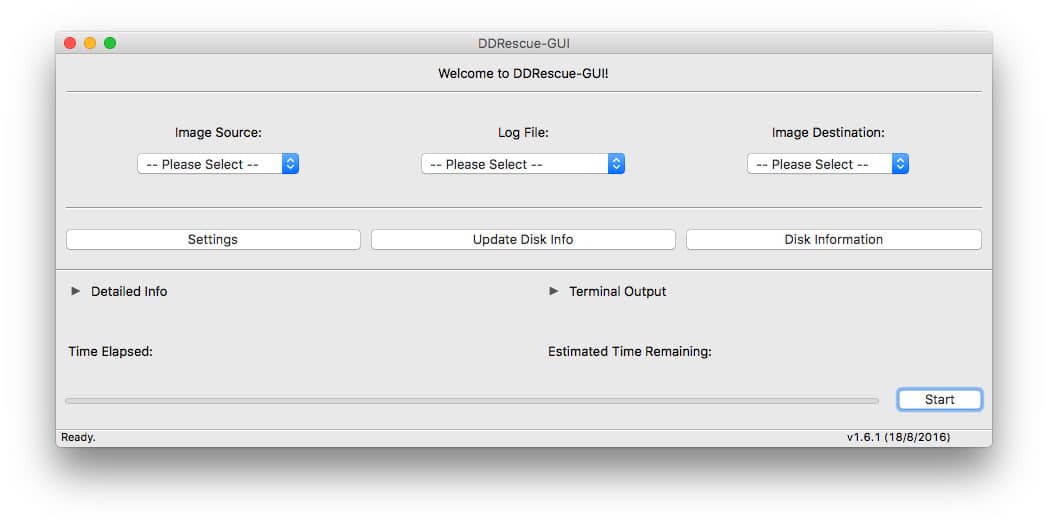
DDRescue-GUI’s graphic front end for ddrescue
You’ll need to use the Control-click trick to open DDRescue-GUI the first time you launch the app. Your Mac will remember that so you can double-click the app to launch it.
Now all you need is a drive with files that need recovering and a disk where they can be saved.

0 Response to "How to Install ddrescue and Recover Files for Free"
Post a Comment