macOS: Archiving a Time Capsule
I love Apple’s Time Capsule as a wireless networking/backup device (and I’m hoping against hope that they don’t actually kill it off, though things look bleak in that department). That said, I have to wipe them quite often for clients because sometimes the only troubleshooting step left is the “nuke it from orbit” one. Now, if you’re not attached to a file you may have deleted a year ago, that’s not a big deal, but for some folks, having an extra copy of historical stuff helps them sleep better at night. And who am I to judge that? So for this Quick Tip, I’m gonna discuss how to archive your Time Capsule’s data using Airport Utility. Paranoid people, rejoice!
The first step is to make sure your Macs aren’t currently trying to access your Time Capsule’s disk. To be certain, open Time Machine’s settings within System Preferences. An easy way to get there is through the Time Machine icon in your Mac’s menu bar.

Then turn off those automatic backups within the pane (but remember to turn this back on afterward!).

Repeat those steps for all the Macs in your house, and you’re ready to get started. You’ll need a USB drive with at least enough space as what you’re using on your Time Capsule in order to archive things, so grab that sucker and plug it in to the USB port on the back of your big ol’ white box. Once the destination drive is plugged in, go to one of your Macs and open Airport Utility. That program lives in your Applications > Utilities folder.
![]()
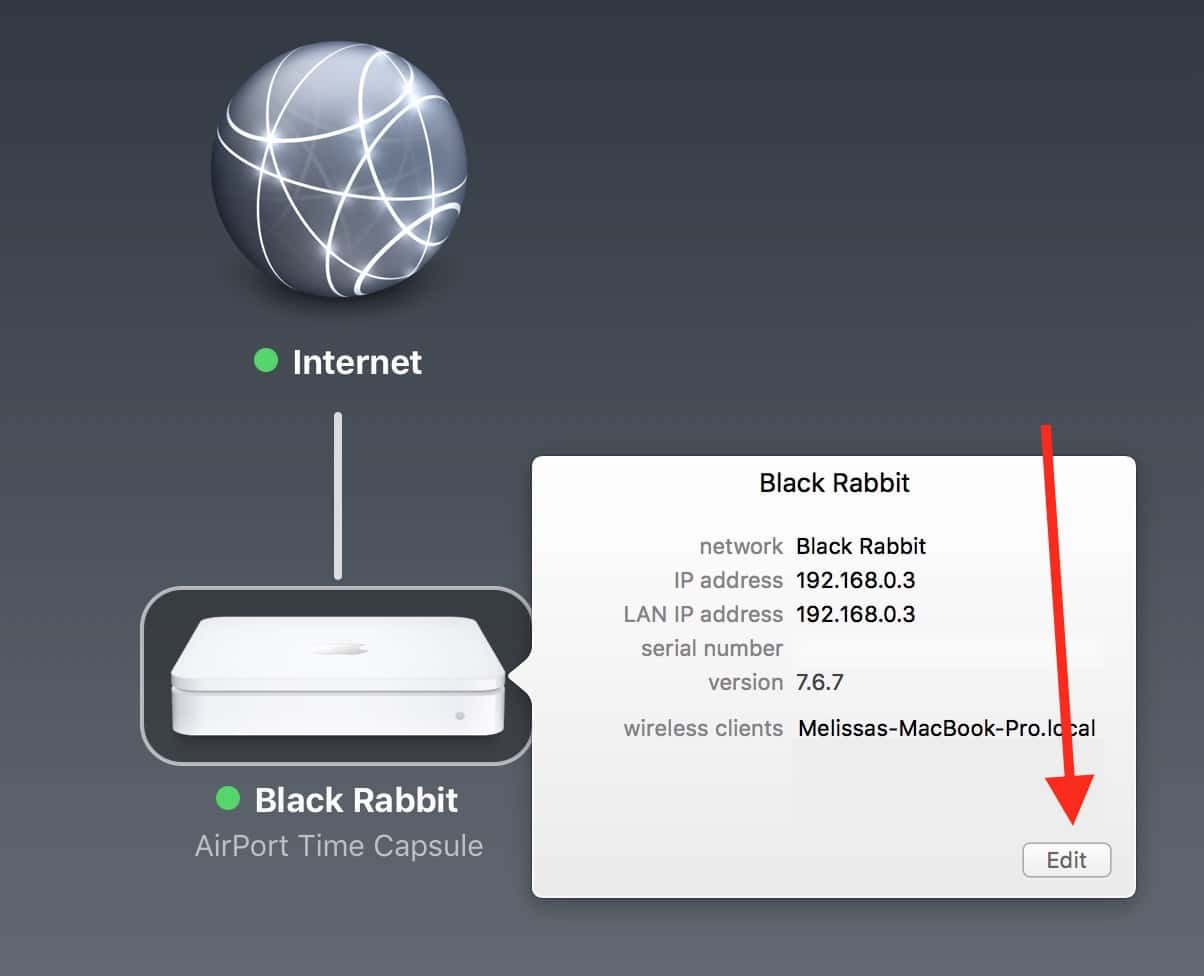
When the app opens, you should see your Time Capsule listed in the window. Click it, enter its password if necessary, and then click the “Edit” button.
You should see a series of tabs across the top. Pick the “Disks” one, and you’ll get a list of available partitions, including the ones on the USB drive you plugged in. When you click on the partition on which your backups are stored (usually called “Data)”, you’ll have an option to archive it.
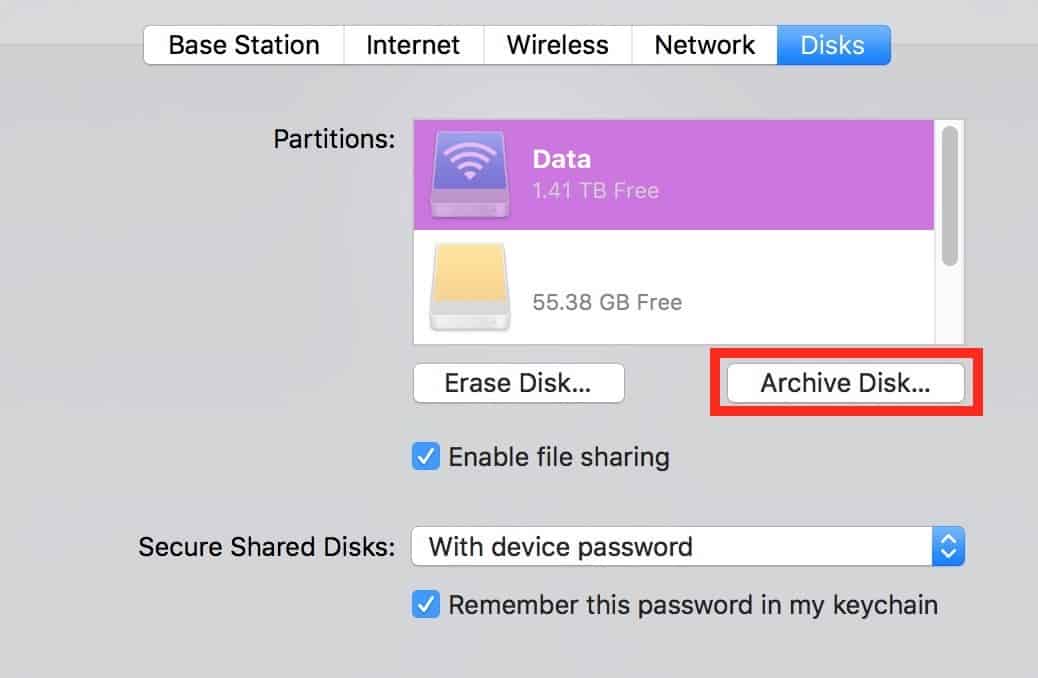
On the subsequent screen, you’ll need to pick a destination. This is where you’ll find out if your USB disk has enough space to accommodate your archives; if you can’t use it, it’ll be greyed out. But if you’re good to go, pick the disk from the drop-down and click “Archive.”

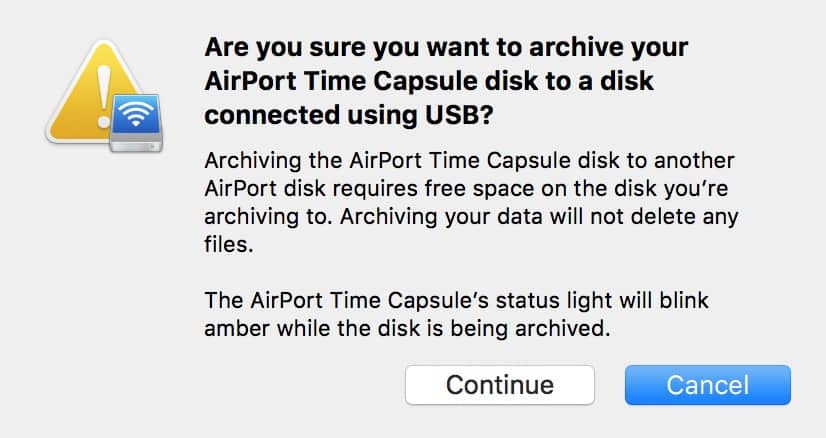
Of course, a warning will appear for you to click “Continue” on. Airport Utility really wants to make sure you know what you’re doing.
Related
Then the archiving process will begin! You can cancel it at any point by clicking on your Time Capsule’s icon…
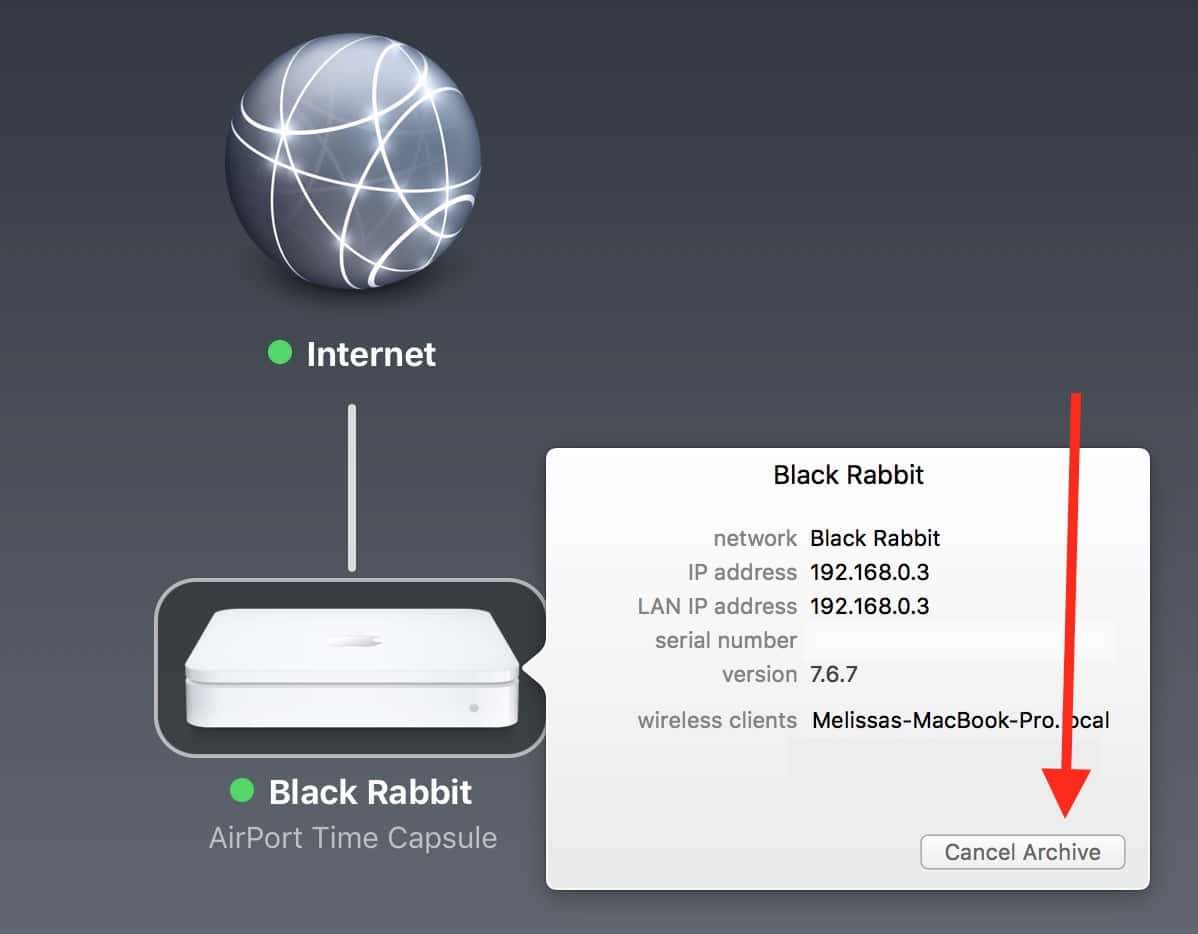
…and also, after a few moments, you should get a progress bar and a laughably inaccurate estimate of the time remaining.
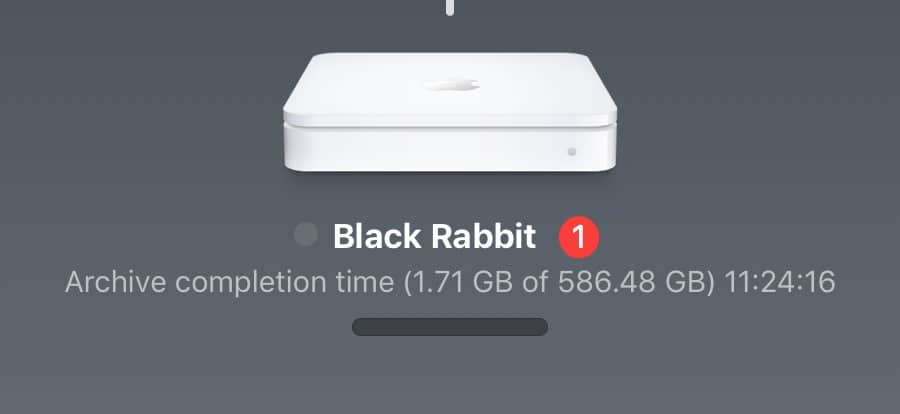
And that’s all there is to it! Once the process is complete, you can unplug your USB disk from your Time Capsule, and when you plug it in to your Mac, you’ll see your backup files in a mountable sparse bundle, within which your files are organized by date, just as you would find with a normal Time Machine backup set. So now you can go forth knowing you have a backup…of your backup!

0 Response to "macOS: Archiving a Time Capsule"
Post a Comment