macOS Sierra: Using Markup in Photos
If you’re editing your images within Photos, you can of course apply filters, remove red-eye, crop things, and so on. But macOS Sierra brings Markup to Photos, which’ll let you add text boxes, shapes, or drawings to your images. Here’s how to access it!
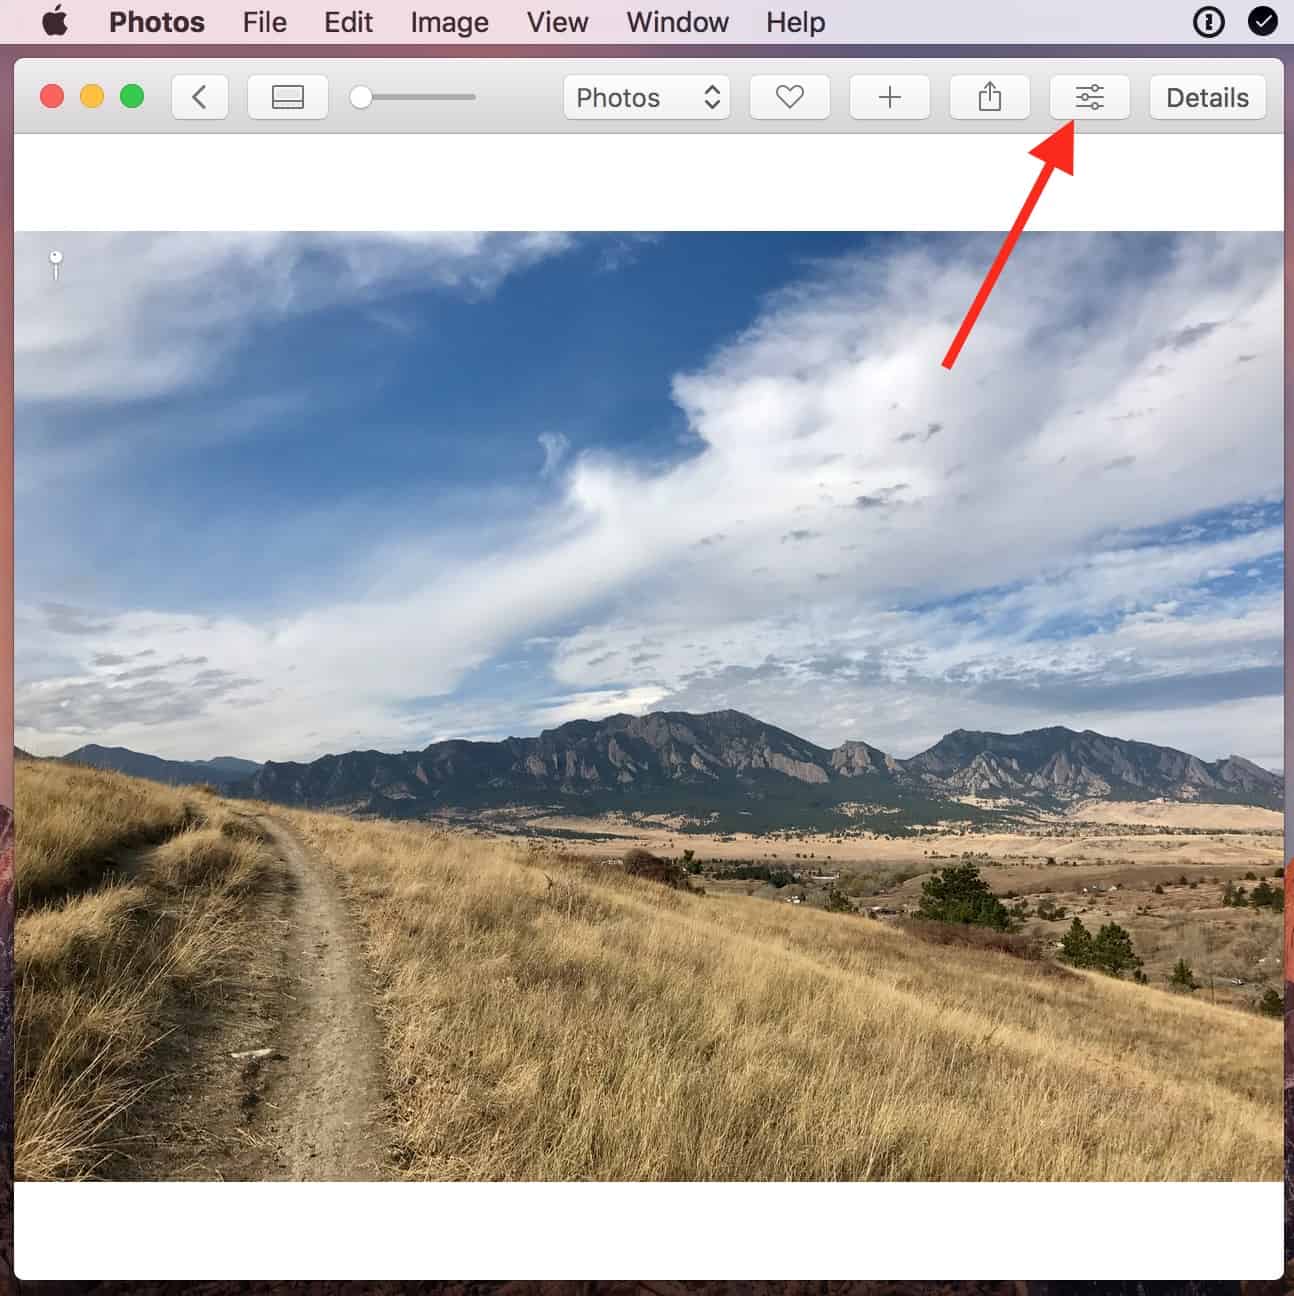
First, select the picture you’d like to annotate, and then click the edit button in the toolbar (it looks like a set of sliders).
Once you’re in edit mode, you’ll see a list of tools along the side. Click on “Extensions,” and the “Markup” option will appear.
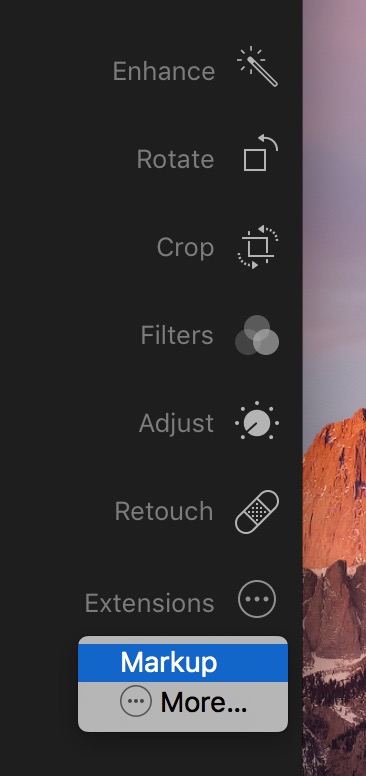
Click “Markup,” and you’ll be given the familiar tools, most of which I wrote about in a previous tip.
![]()
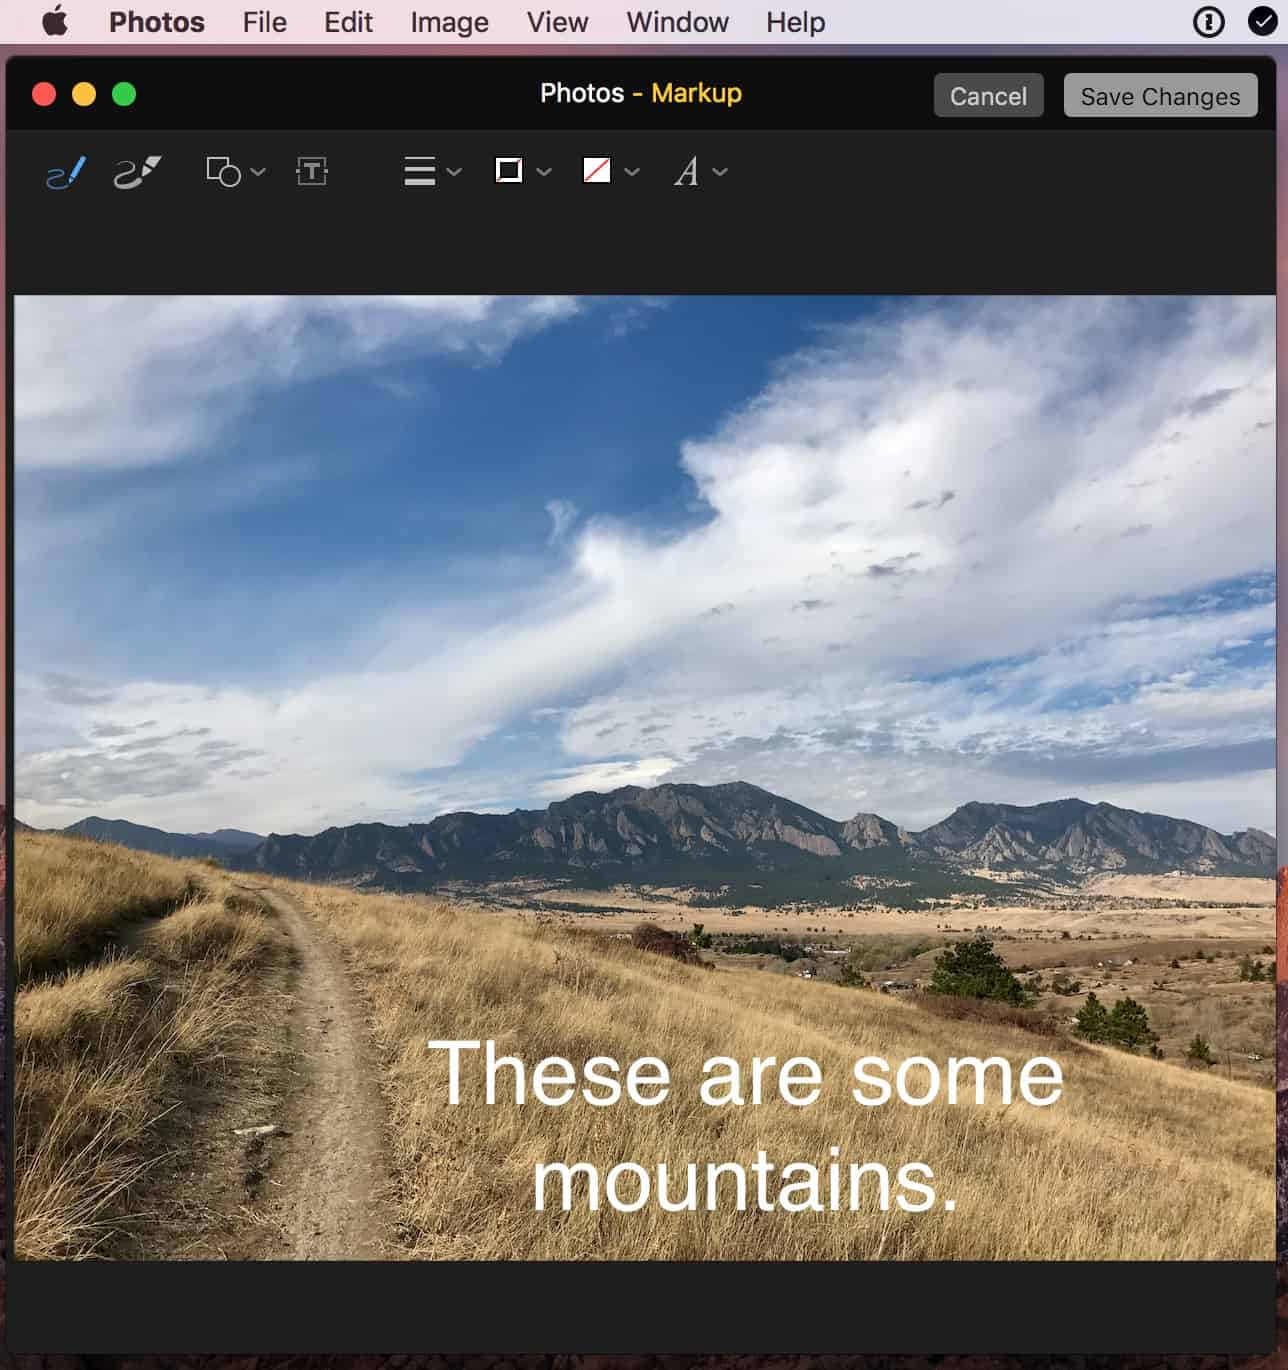
Then go nuts. Draw crazy stuff. Add circles or stars around people. Insert text boxes!
Related
Be more creative than I am, all right? It won’t be hard.

0 Response to "macOS Sierra: Using Markup in Photos"
Post a Comment