How to Change Mojave’s Default Screenshot Location
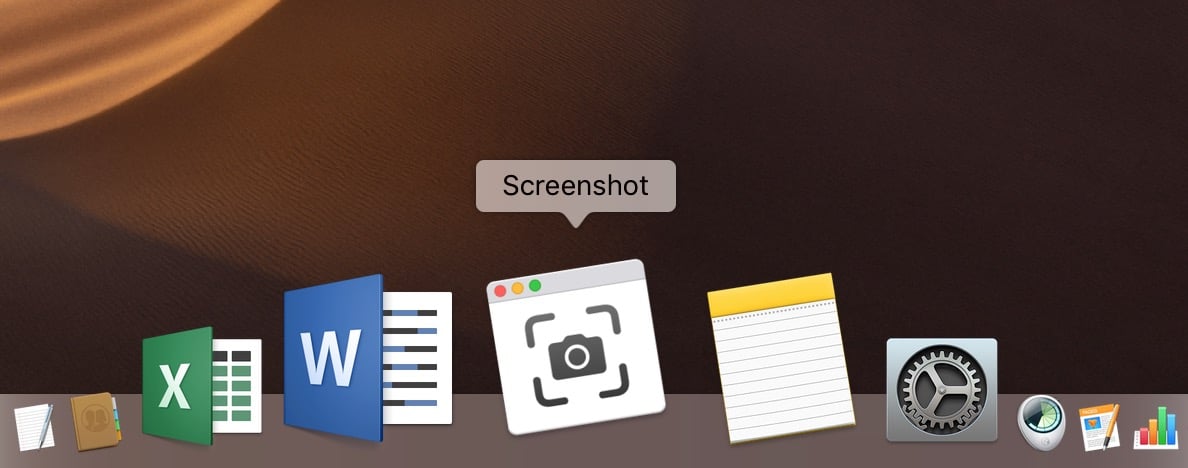
If you’ve installed macOS Mojave, then you may have noticed the fancy new Screenshot program. After your operating system upgraded, you probably found a new app icon in your Dock…
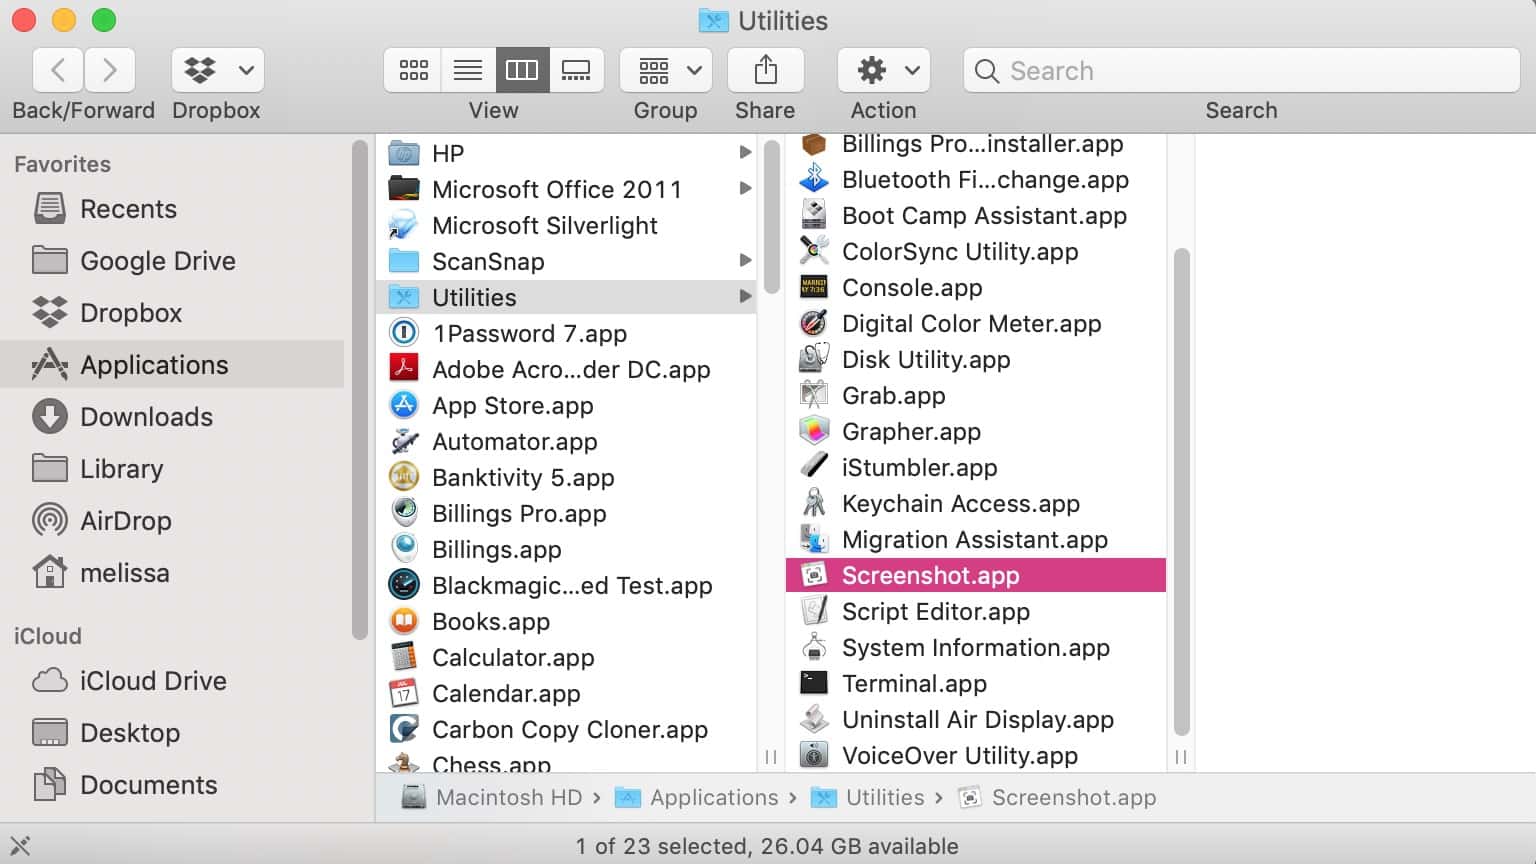
…but if you’ve removed that (or just don’t see it), you can also open Screenshot from your Applications > Utilities folder, accessible from Finder by pressing Shift-Command-U (which is the keyboard shortcut for Go > Utilities).
Anyway, once the program is open, you’ll see a new navigation bar appear, ready for you to take static screenshots, screen recordings, and what have you.
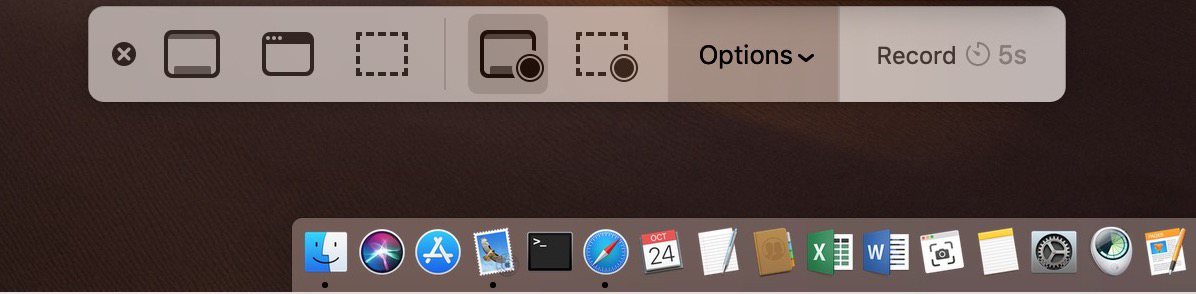
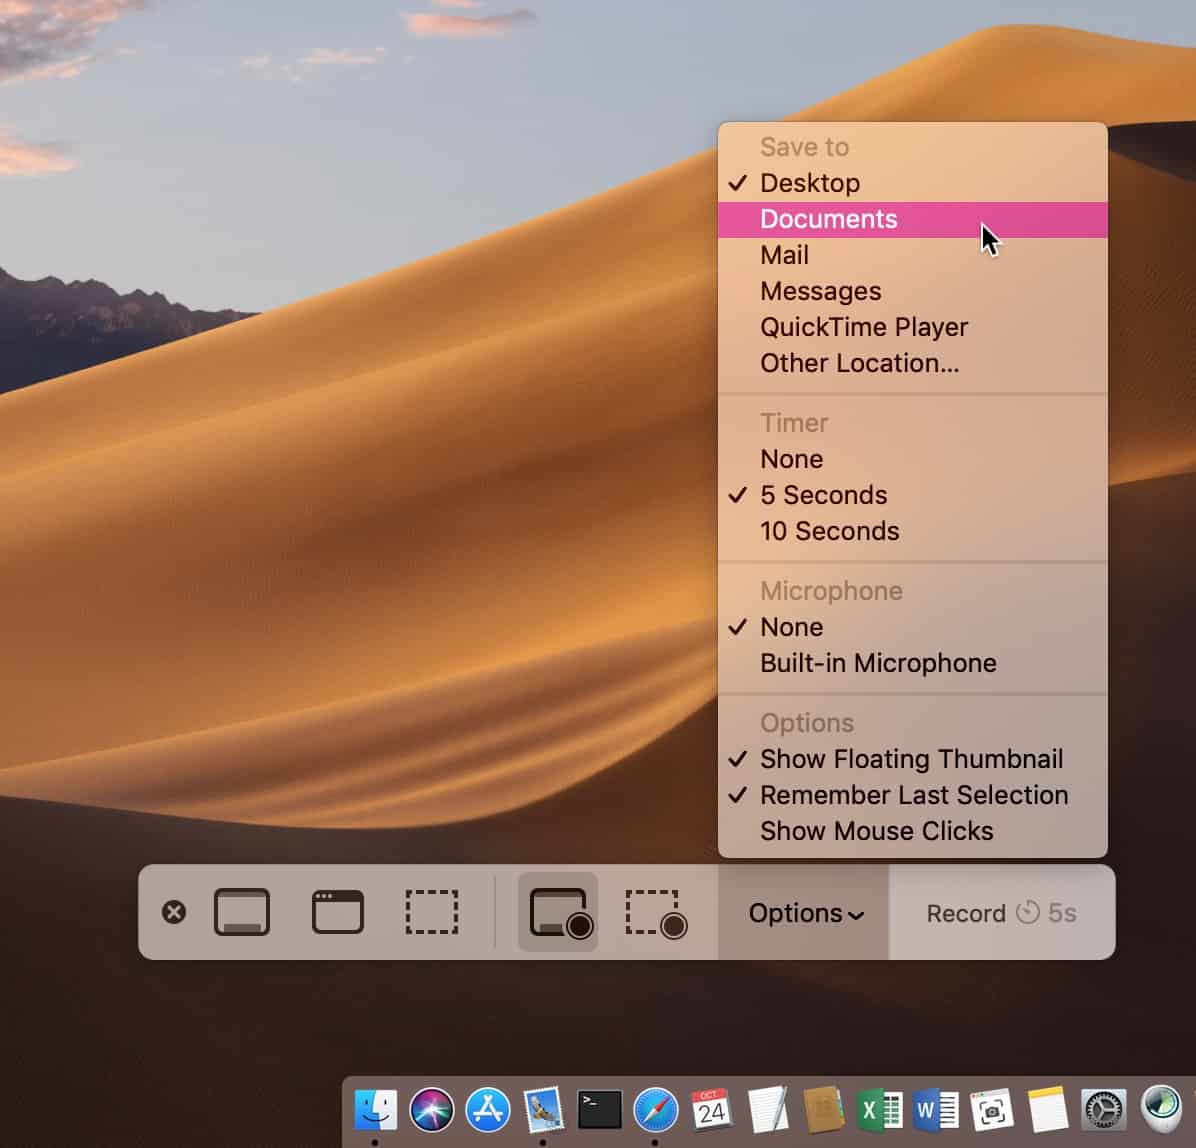
If you’d like to change the default location of where your screenshots land, though, you’ve got two choices in Mojave. The first is under Screenshot’s “Options” button, which’ll appear along the bar shown above whenever the app is open; click that, and the location-changing toggle will be near the top of your choices.
Related
Use this to change the place where your screenshots go to your Documents folder, say, or to any folder you want. If you click “Other Location” from that list, you can also use the familiar open/save dialog box to select where you want future screenshots end up.
If you prefer messing around in Terminal, though, know that the way we used to have to change the default screenshot location (as Andrew Orr described earlier this year) still works. Which I like because I like that program, but does anyone else think it’s a little weird that we had to use Terminal to adjust that setting until recently? I mean, I’m glad Apple finally corrected the oversight for users who shudder at the sight of a command prompt, but it sure did take long enough.

0 Response to "How to Change Mojave’s Default Screenshot Location"
Post a Comment