High Sierra: How to Edit Live Photos
High Sierra’s version of Photos now has some handy tools for adjusting Live Photos, so if you wanna trim the beginning of one of yours or mute its audio, it’s simple. And kinda fun, I have to admit, especially with the clever little effects you can add. Nothing says “time well spent” like making a Live Photo of yourself loop or bounce, does it? It sure better be time well spent, because I’ve spent like an hour playing with those effects so far.
To access these tools, you’ll double-click on any Live Photo in your library to open it up, and then click the “Edit” button in the toolbar (indicated by my black arrow below).
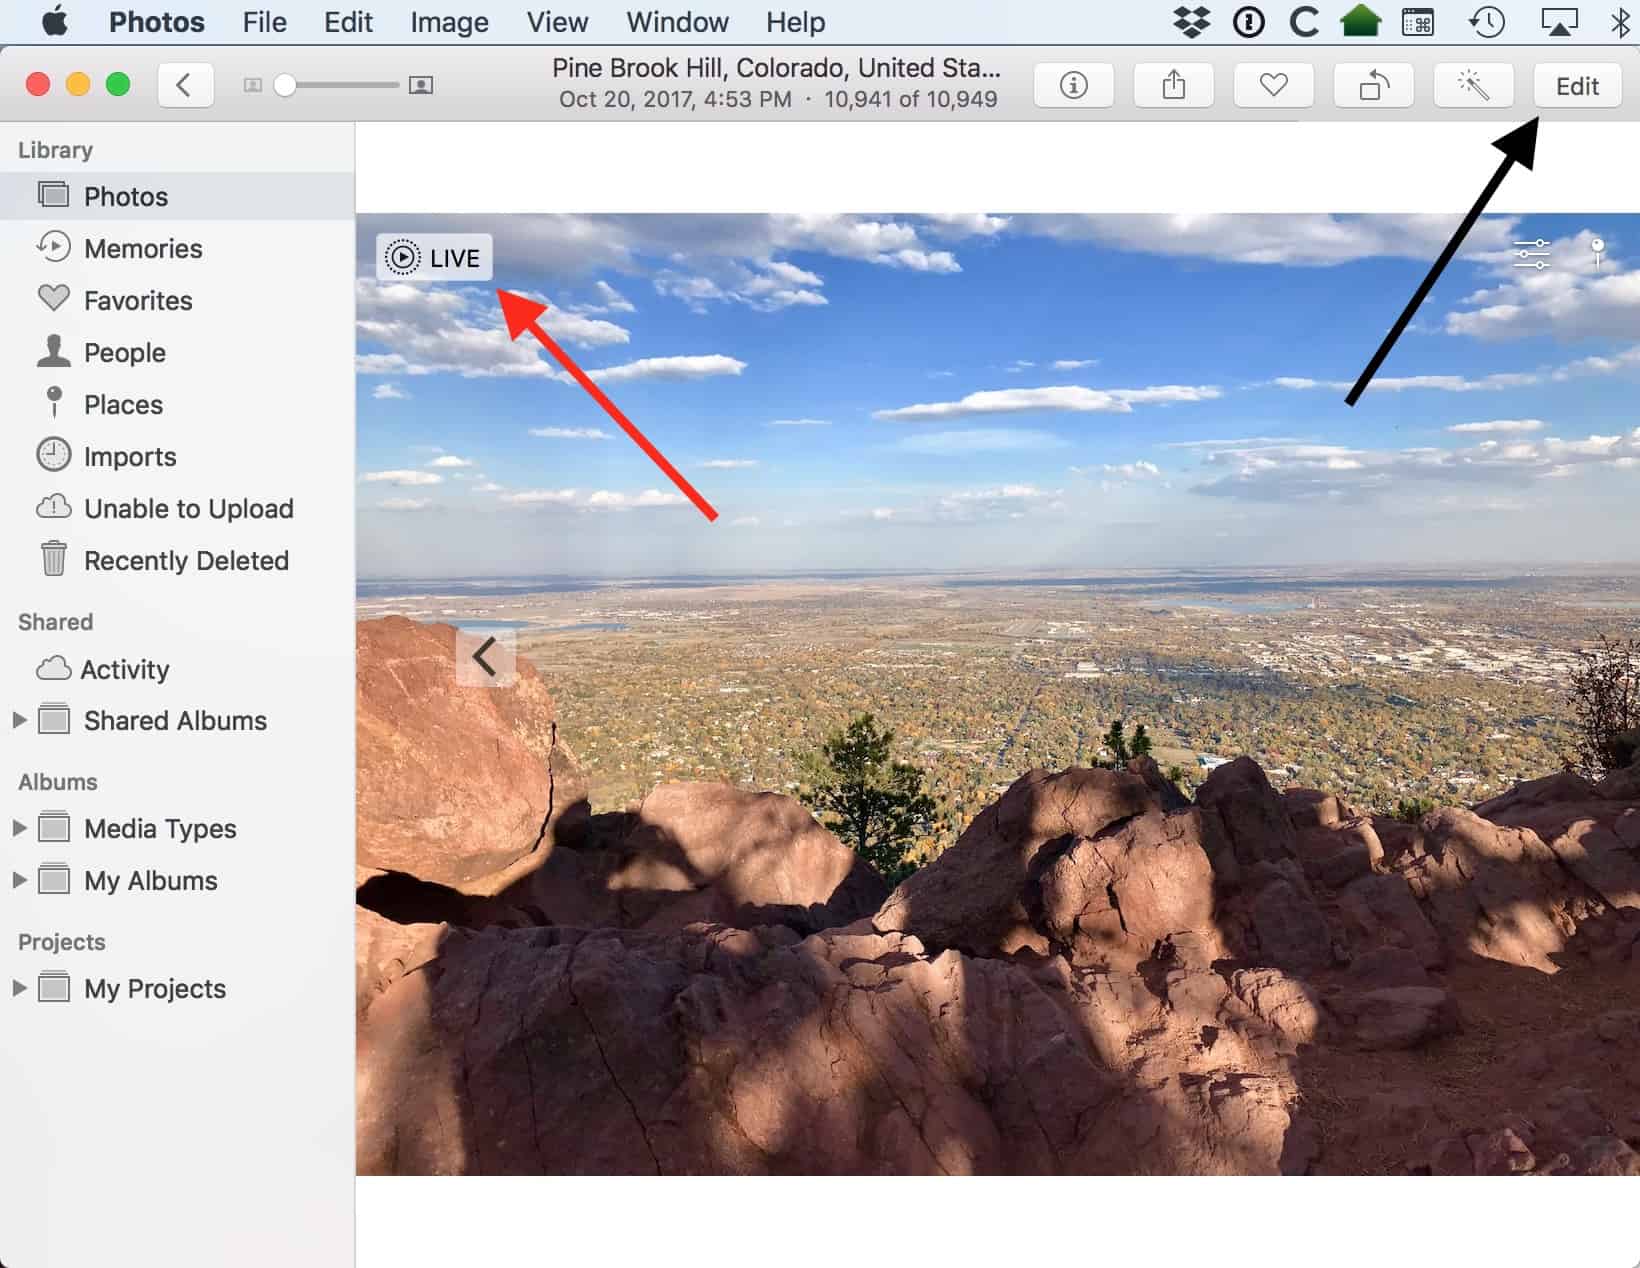
You can tell that something is a Live Photo, just so you know, by the icon that’ll appear in its upper-left corner (shown by my red arrow above). Hover over that icon to animate the image if you wanna check it out. Once you click the “Edit” button, though, the four options that apply only to Live Photos will appear at the bottom of the window.
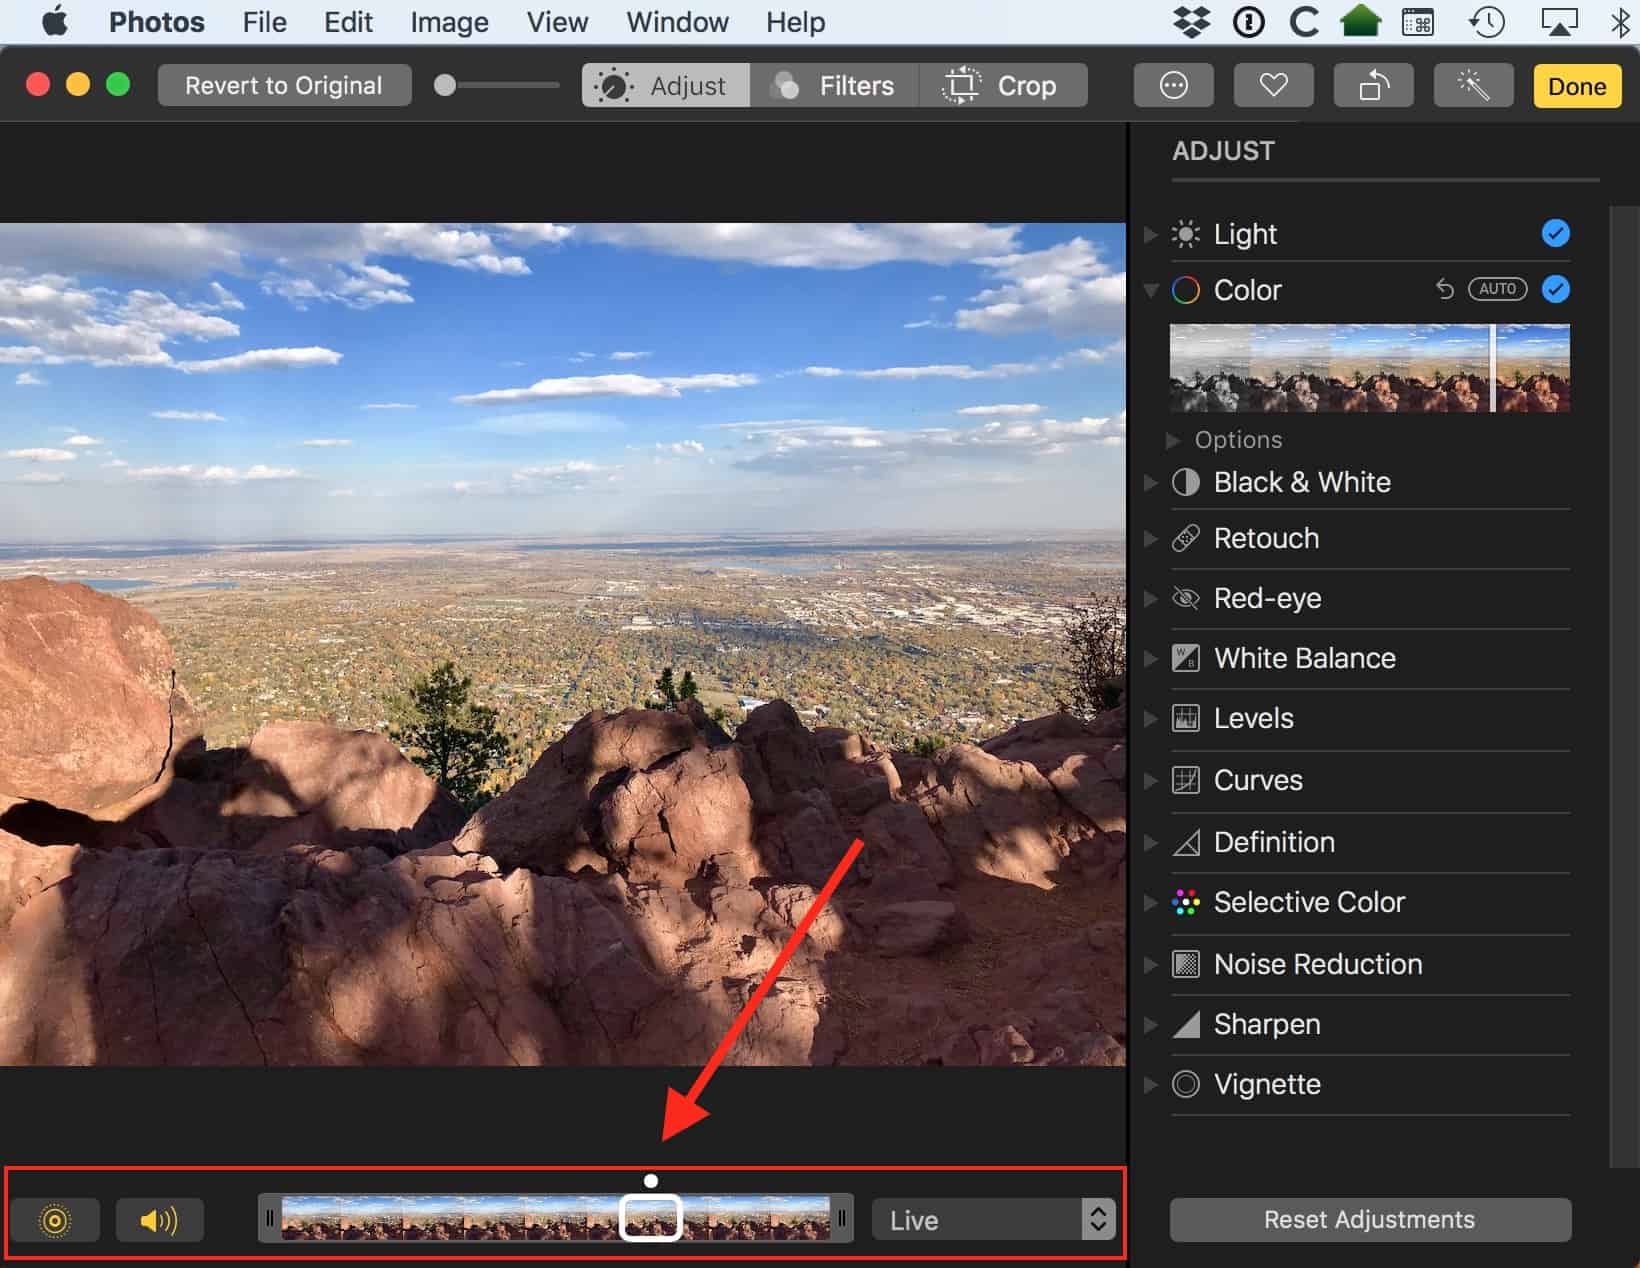
Here’s how to use each tool from left to right:
1. Turn the Live Photo effect off. If you want to convert your picture from a Live Photo to a still image, click this button. If the button’s yellow, it means the effect is on; it’ll be white with a slash through it if you turn Live Photo off.
2. Mute the sound. This is an excellent thing to toggle if you’d like to keep the animated part of your Live Photo but want to edit out the audio. Again, this feature is on when the button’s yellow but off when it’s white.
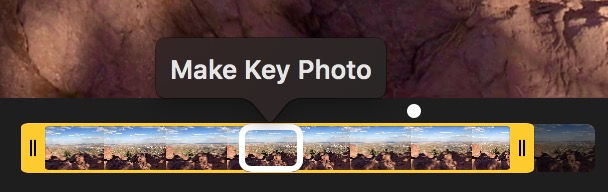
3. Trim your Live Photo or set the key frame. Drag the handles at either end of the slider to adjust the beginning or the end of your image, or drag the little white box around and click “Make Key Photo” to set which part of the Live Photo shows up when you’re looking through your library.
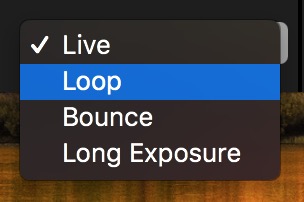
4. Use an effect. In the drop-down all the way to the right, you can change which effect is used to animate your Live Photo—Loop, Bounce, or Long Exposure.
If you pick “Long Exposure,” you can use sliders like the ones shown above to choose which frames to use for that effect.
![]()
Also, note to self: “Long Exposure” can be very weird with faces.
Anyway, when you’re done playing around, click the “Done” button at the upper-right corner of the window, and you’re, well…done! You can of course come back to editing your Live Photo at any time and pick the “Revert to Original” button to undo all of your changes…
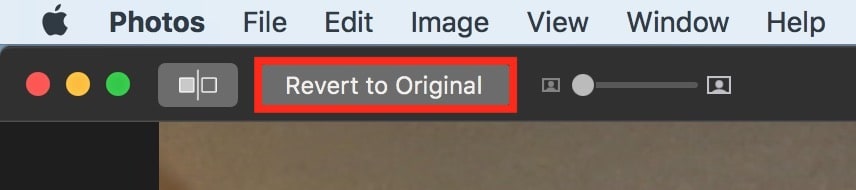
…so there’s no need to worry about making mistakes here. Bounce, Loop, and edit all you want, friends! I know I have been.
0 Response to "High Sierra: How to Edit Live Photos"
Post a Comment