macOS: Taking Timed Screenshots
If you’re trying to take a very specific screenshot of something on your Mac—for example, how a menu looks when you hold the Option key down—you may find that the built-in keyboard shortcuts won’t let you get the image you need. Enter the Mac’s Grab program, which’ll give you ten seconds to set up a screenshot exactly as you want to, and it’ll even include the cursor in your picture if you’d like!
To try this out, first open the Grab program—it lives in your Applications > Utilities folder.
![]()
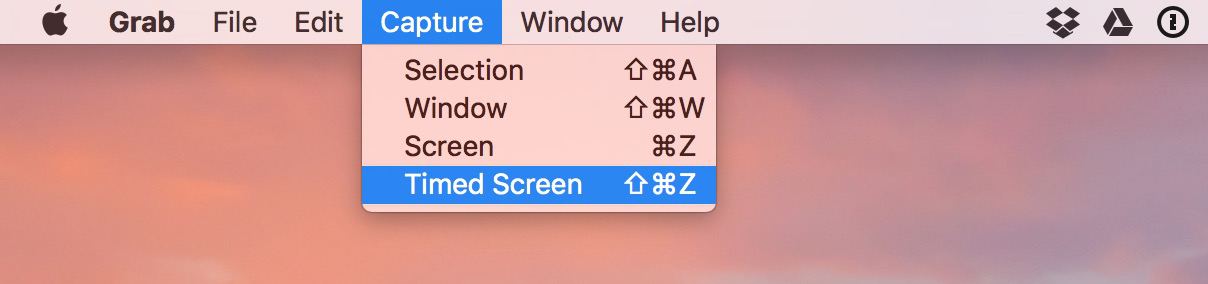
When Grab launches, you’ll note that it doesn’t open any windows; it’ll just wait there with its menus for you to do something. If you want to take a timed screenshot, then, you’ll pick that option from the “Capture” menu (or press Shift-Command-Z).
When you do, a dialog box will appear to tell you what’s what:
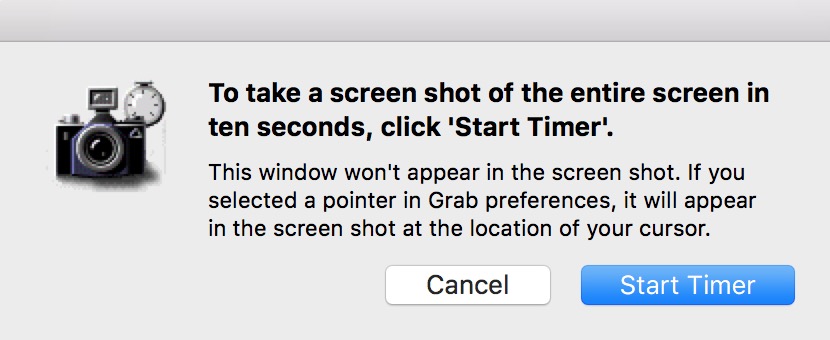
Click “Start Timer,” and then as the dialog box notes, you’ll have ten seconds to set up your screenshot. If you find, though, that Grab isn’t including your cursor and you’d like it to, you can select that option within Grab > Preferences:
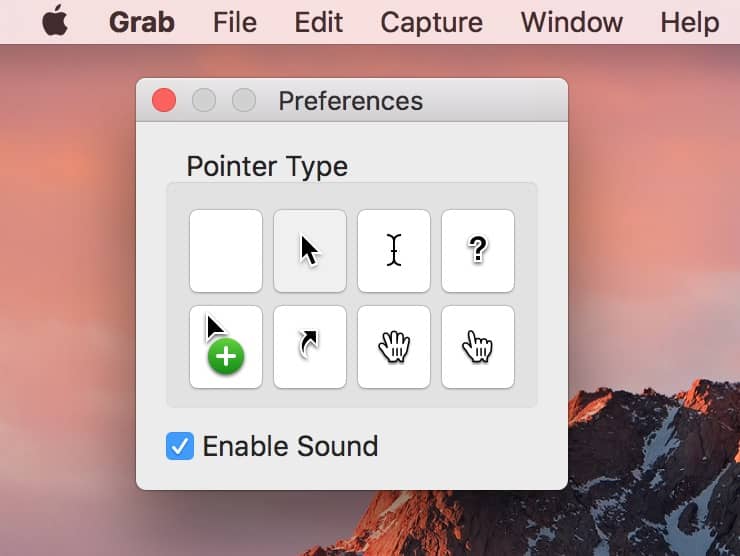
Choose one of the cursors there to include it in your next timed screenshot, or if you would prefer no cursor to show up, choose the blank option at the upper-left.
Anyway, after the screenshot is taken, you can save it out of Grab at its full size, or you could then take a smaller screenshot using the keyboard shortcut Command-Shift-4, say, to get just the portion of the image you want.
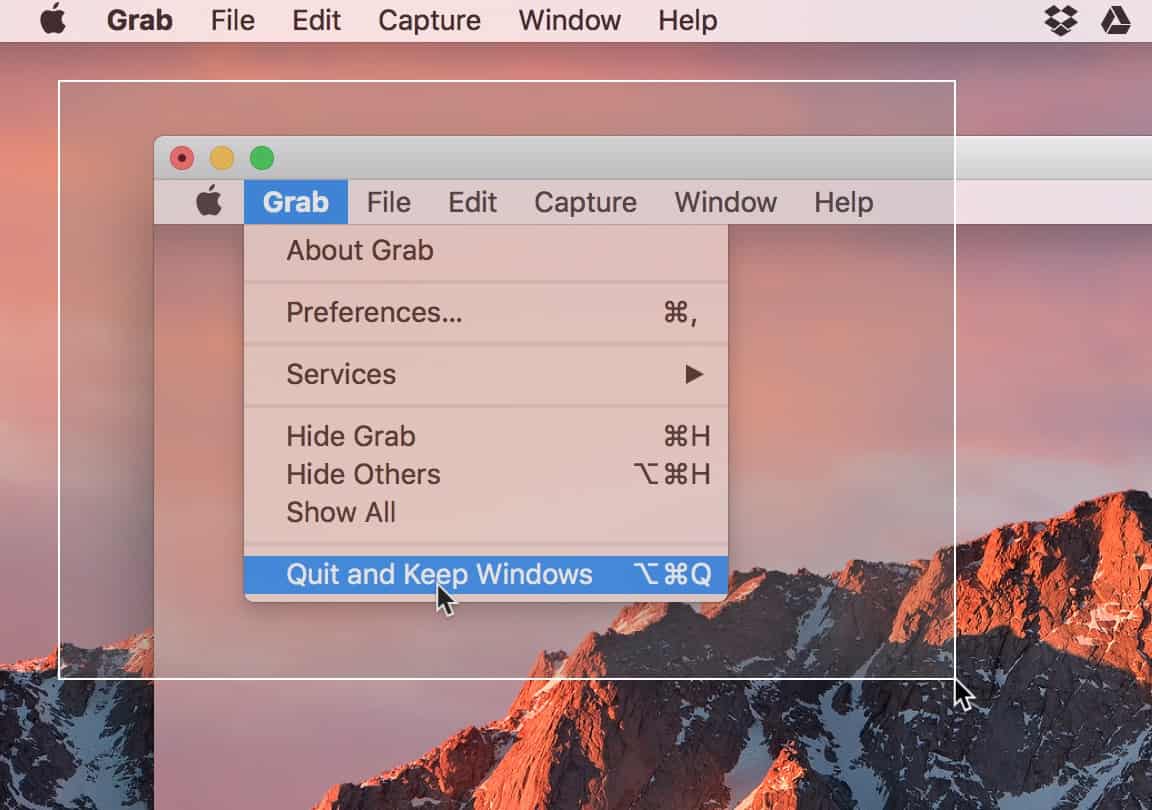
This is me, taking a screenshot of a screenshot in Grab. And I took this screenshot of multiple screenshots using Grab, too.
Now my head hurts from thinking about that.
0 Response to "macOS: Taking Timed Screenshots"
Post a Comment