OS X Preview: Clipping Out Backgrounds Using Instant Alpha
If you’ve ever tried to create graphics on your Mac (and you don’t know Photoshop), you may have run across the problem of an image being set on a background that you need to remove. The awesome Preview program, which is within your Mac’s Applications folder, can help!
![]() Here’s an example: I’m trying to place this icon onto a blue background to use in some instructions, but because it’s got a white background of its own, it looks pretty unprofessional.
Here’s an example: I’m trying to place this icon onto a blue background to use in some instructions, but because it’s got a white background of its own, it looks pretty unprofessional.

Yuck. Let’s fix that!
What you’ll do first is open your image in Preview. For the most part, this just means you’ll double-click on the file; by default, image types like JPEGs will open with that program. (And if that didn’t work, use the “Open With” feature I mentioned in this tip.)
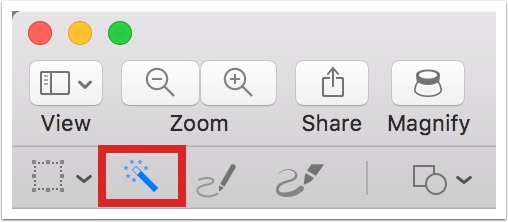
Once Preview opens, if you don’t see the toolbar with the “Instant Alpha” magic-wand icon, click on the “Markup” button to reveal it.
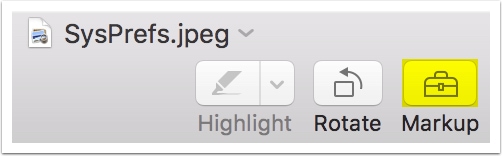
Then the toolbar will show up, and you can use that “Instant Alpha” option.
This next part requires a little bit of finesse. You’ll click and drag within the background of your image, and as you drag further, Preview will select more and more and will highlight it in pink as you go.

Because Preview uses color similarity to determine what to select as you drag, this feature is ideal for removing backgrounds that contrast well with the central image. If you try to get rid of some green grass that surrounds a green plant, you’re…well, you’re not going to have an easy go of it, let’s put it that way. That’d be “taking a class in Photoshop” time.
Anyway, once you’re satisfied that your dragging has grabbed the part of the image you’d like to get rid of, let go of your mouse or trackpad button, and Preview will select what you highlighted.

If you get it wrong, just click and drag again to re-select.
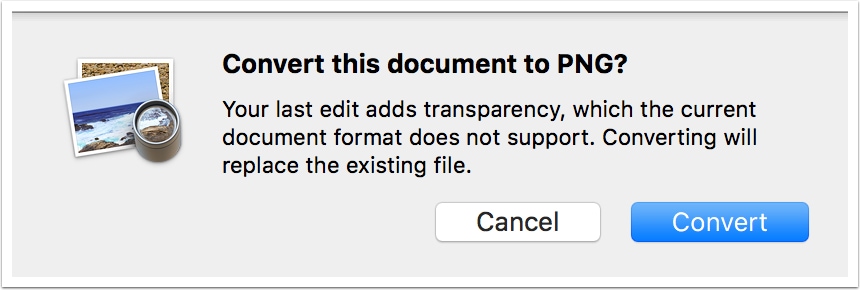
Next, tap the Delete key on your keyboard to remove the selected portion (and if you’re not working with a file that’s already in PNG format, you’ll have to convert it).

Hey! That looks much better now.
Another nifty option instead of deleting the background would be to choose Edit > Invert Selection to select everything except what you highlighted.
Related
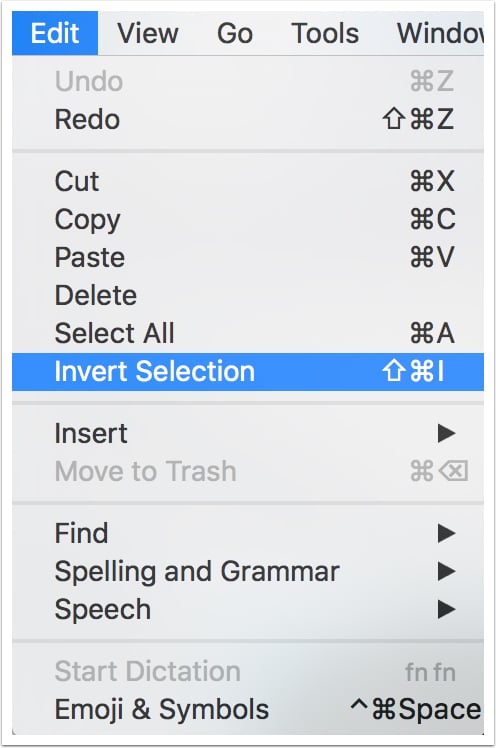
If you then tap “Delete,” it’ll leave the background and remove the image. I can see where this would be useful, but it sure wasn’t here.

Lovely!
In any case, I’ve got my clipped-out icon, and pasting it on that colored background shown in my first screenshot looks much nicer.

The System Preferences icon is on blue now! For some reason that was important! Hey, I wanted to look all cool and like I knew what I was doing with graphics and stuff. I’m not so good at pretending.

0 Response to "OS X Preview: Clipping Out Backgrounds Using Instant Alpha"
Post a Comment