macOS Mojave: How to Use Continuity Camera
Continuity Camera is a new feature in macOS Mojave that lets you quickly scan documents and take pictures to use on your Mac. You’ll need to be running iOS 12 and macOS Mojave to get started.
[Apple’s macOS Mojave: A User Perspective & Review]
Continuity Camera
Continuity Camera can be found in multiple areas of macOS Mojave, at least with Apple’s apps.. For example, you can right-click in Finder, click Import From iPhone, then choose Take Photo or Scan Document.
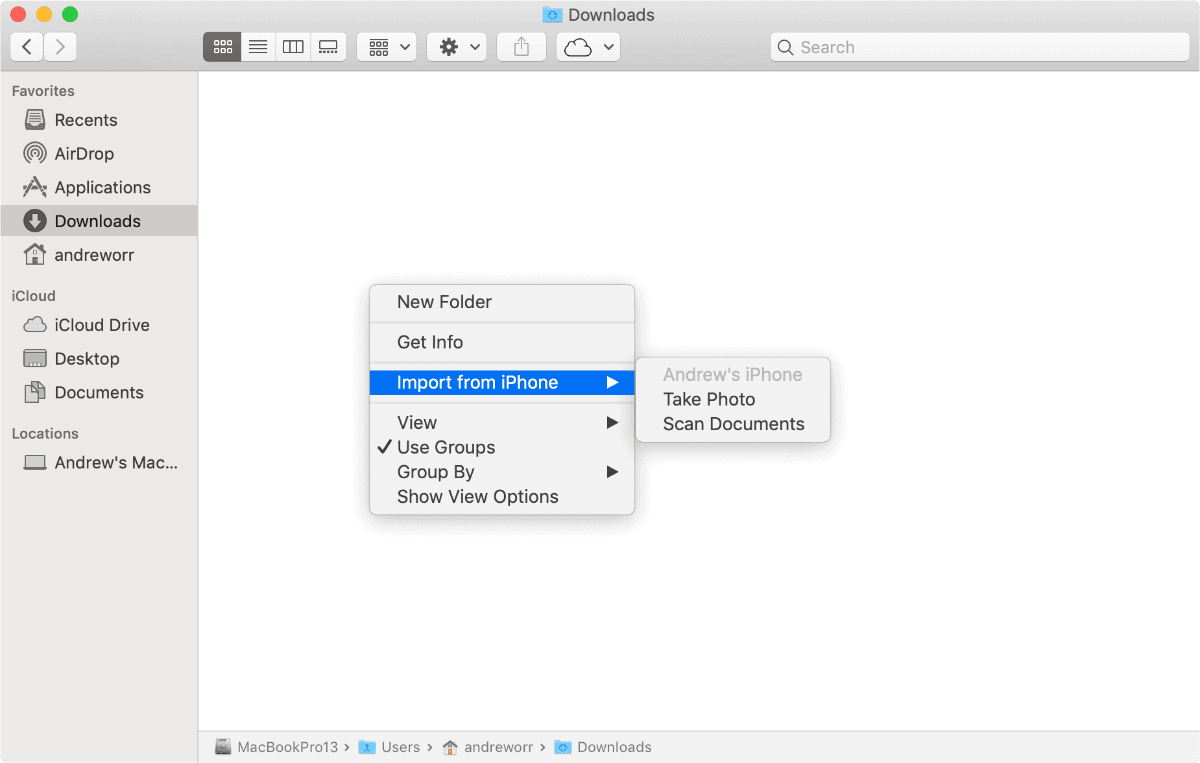
Continuity Camera in Finder
In Pages/Numbers/Keynotes, you’ll find it under the Insert menu in the menu bar. In Mail: Create a new message then File > Import From iPhone or iPad.
Once you activate it, your iPhone or iPad’s camera will automatically activate. Take a photo or scan the document you need, then it will transfer over to your Mac.
[iOS 12 Review: It’s Like an iPhone Upgrade]
0 Response to "macOS Mojave: How to Use Continuity Camera"
Post a Comment