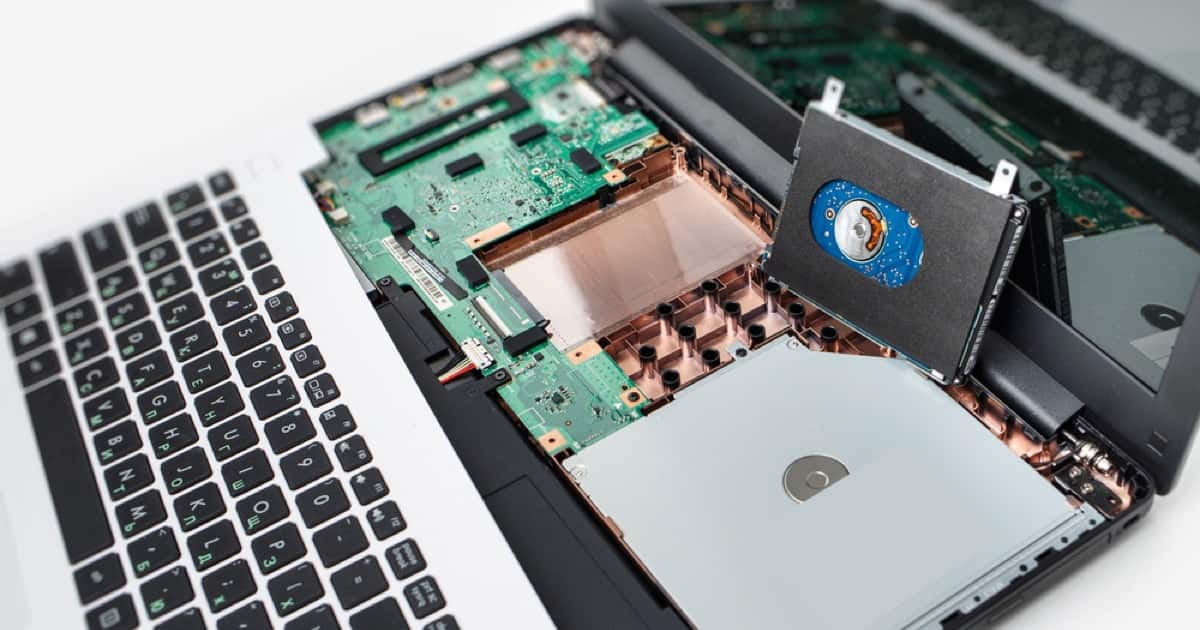
How to Securely Erase Your Mac’s SSD
If you’re planning to sell a Mac that boots from an SSD, or you have an old Flash drive or SSD you want securely erase, this article has the details.
It’s been awhile since I sold an old Mac. Back when I did that last, the Mac had a hard disk. Securely erasing a hard disk isn’t hard to do, and it’s been discussed in many places.
Prepping Your Mac For Sale
These days, because SSDs have been an option for Macs for almost a decade, it’s very likely that you have, or will soon have, a Mac for sale that boots from an SSD. You’ll want to securely erase that SSD, but it’s a bit tricker than a plain hard disk.
The first thing to do is read Apple support article. “What to do before you sell or give away your Mac.” Item #6 in that document launches the discussion and links to a pretty good article: “How to reinstall macOS.” That article, by the way, has a nifty table that summarizes which versions of macOS you can install from the recovery partition.
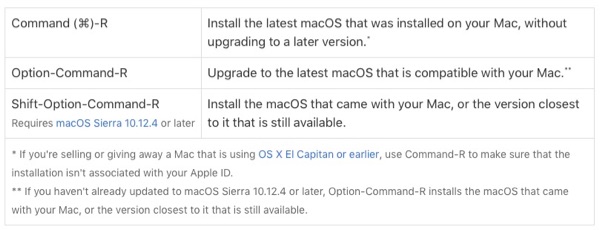
Recovery options (CMD-R). Image credit: Apple.
However, that Apple article skips over the nuance of completely erasing an SSD. You’ll also want to read “OS X: About Disk Utility‘s erase free space feature.” A note at the end starts to get to the heart of the matter.
With an SSD drive, Secure Erase and Erasing Free Space are not available in Disk Utility. These options are not needed for an SSD drive because a standard erase makes it difficult to recover data from an SSD. For more security, consider turning on FileVault encryption when you start using your SSD drive.
That last throw-away comment, “for more security,” suggests that there’s a little more to cover, so that’s the next topic.
The SSD Erasure Issue
The very best description of the difficulty conventional tools have in completely erasing an SSD comes from the Electronic Frontier Foundation (EFF.) The article is: “How to: Delete Your Data Securely on Mac OS X.” Skip to the very last major section labeled: “Secure Deletion on Solid-state Disks (SSDs), USB Flash Drives, and SD Cards.” It’s a long paragraph, but the language is simple as it describes how SSD “wear leveling” undermines the best efforts of erasure tools to completely overwrite SSD data.
As a result of how SSDs write data, the best practice today involves going one step beyond the simple process of using Apple’s Disk Utility “standard erase” for an SSD. And that’s called a “cryptographic erase.”

Selling your SSD Mac? Cryptographic erasure is a great option. Image credit: Apple.
Cryptographic Erase
Basically, a cryptographic erase means encrypting the drive, then throwing a way the encryption key. This renders the information stored on the drive unreadable. (This what happens when you do a master reset on your iOS device.) Then the SSD is erased and formatted as usual.
If someone were to examine the unused space on the newly erased drive with a digital forensic tool, all that would be seen is encrypted nonsense.
For an Mac’s boot drive, Peter Cohen explains the process nicely. “How to Securely Erase a Mac SSD.” In brief:
- Back up any data you want to keep on your boot drive. It’s going to be nuked.
- If you haven’t already, go to System Preferences > Security & Privacy > FileVault and enable it. Write down the password on paper until you establish a safe place for this password. Be patient. This process can take a long time, hours, and there is no progress bar.
- When done, restart you Mac in Recovery mode (CMD-R) as described at the beginning of this article.
- Launch Disk Utility. Select the disk (boot SSD). Select Unlock “volume name” from the File menu. Enter that saved password. Now erase the disk normally, using the standard erase option.
- This deletes the FileVault key. The SSD now contains only unreadable, encrypted garbage.
- You may wish to install some version of macOS now to place the machine in the out-of-the-box mode. Do CMD-Q when the Mac reboots and the set up process first starts.
And now, phew!, you’re ready to sell your Mac.
Related
Erasing an External SSD
You may want to securely erase an external Flash drive before selling or discarding. The process is slightly different. See Apple’s support document, “Encrypt and protect a disk with a password.”
- Back up any data you want to preserve that’s on on the external Flash drive or SSD.
- Select it in the Finder, right-click, and select Encrypt…
- Write down the password.
- Launch Disk Utility, select the drive, then select the Erase option.
The drive is now empty, newly formatted and all the previous data is leftover, encrypted garbage.
Final Thoughts
This is a summary of what I’ve learned. I’ve found that it’s always helpful to read more for a broder perspective and sanity check. This article from Intego has some good background and additional information. “How to Securely Erase Data from Your Mac and External Drives.“

0 Response to "How to Securely Erase Your Mac’s SSD"
Post a Comment