How to Make Animated GIFs with Live Photos on Your Mac
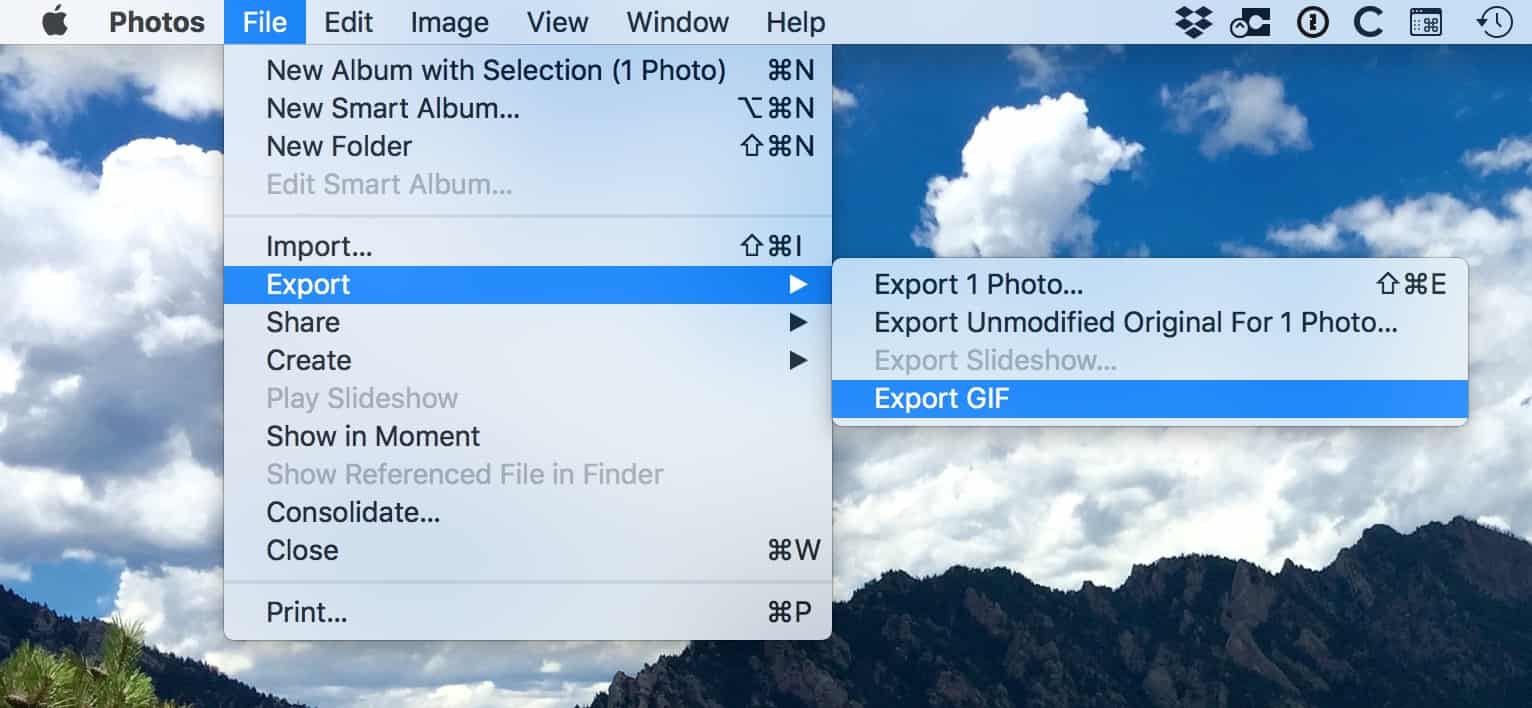
The Mac’s Photos program has a nifty new-ish way that you can export Live Photos as animated GIFs, so if that’s your thing…well, now you can do that thing. The power lies within Photos’ “File” menu, under Export > Export GIF.
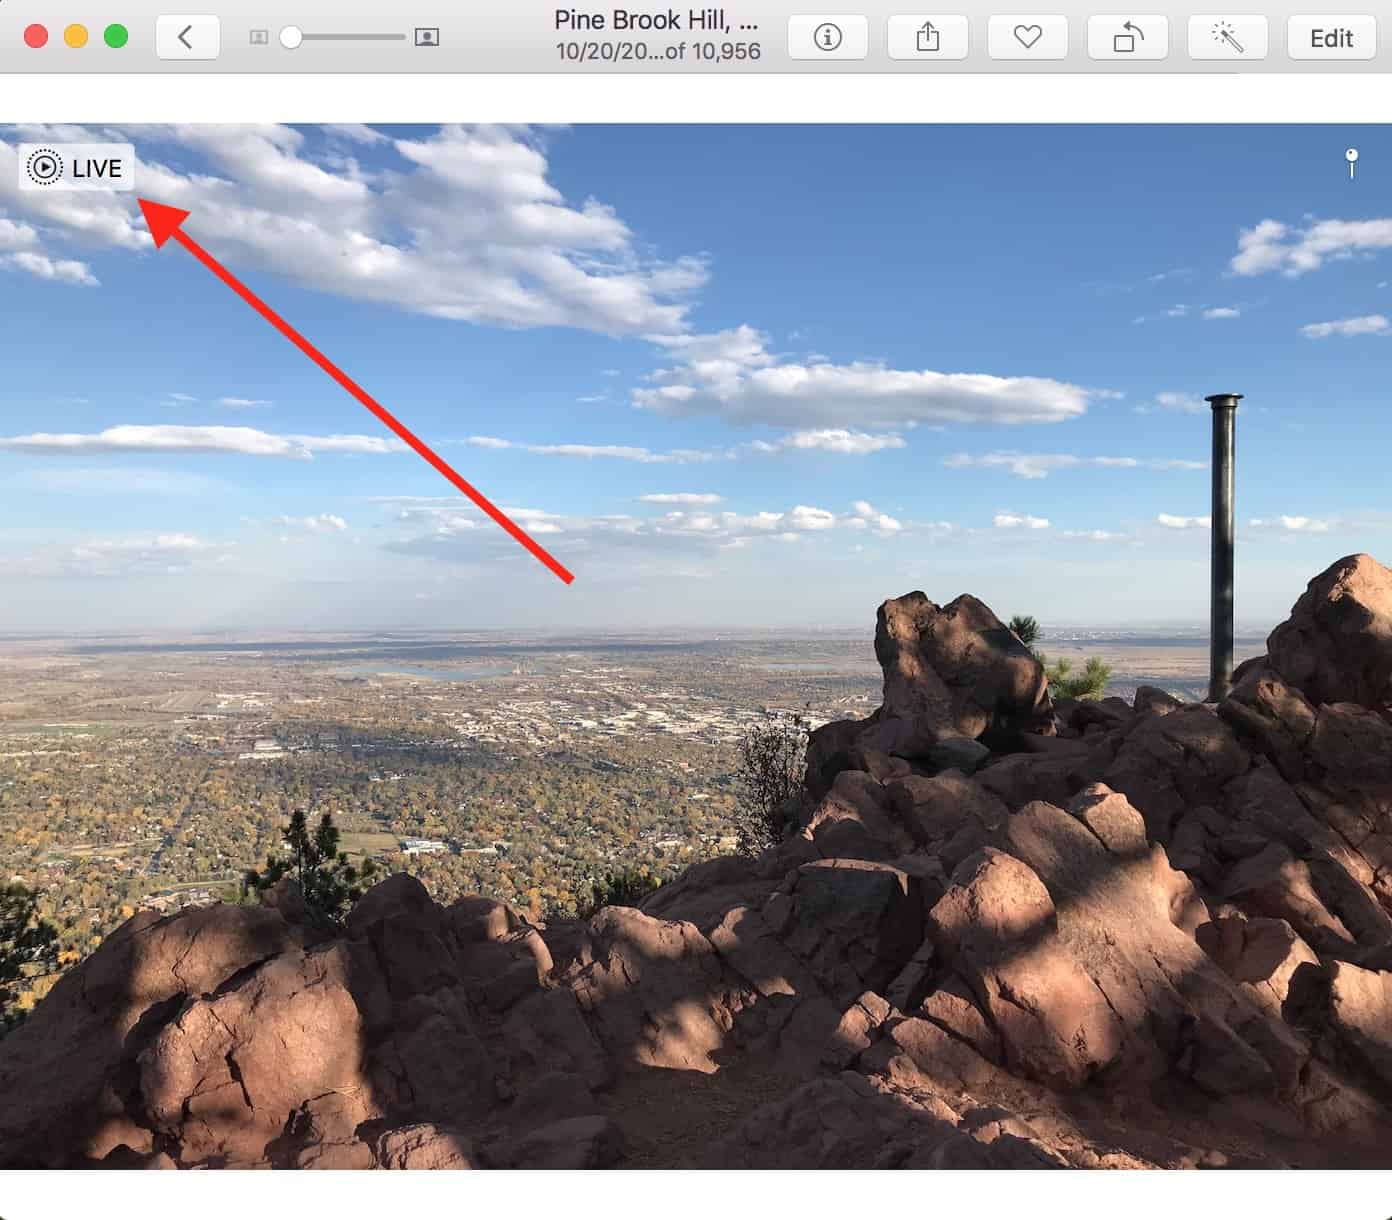
The way to actually get this to work, though, isn’t all that obvious. What you have to do is change the effect your Live Photo is using first, as I’ve described before. To do so, you’ll start by opening the Live Photo you’d like to convert; you can tell that an image is a Live Photo by double-clicking to open it then looking for the little icon at the top-left of your Photos window.
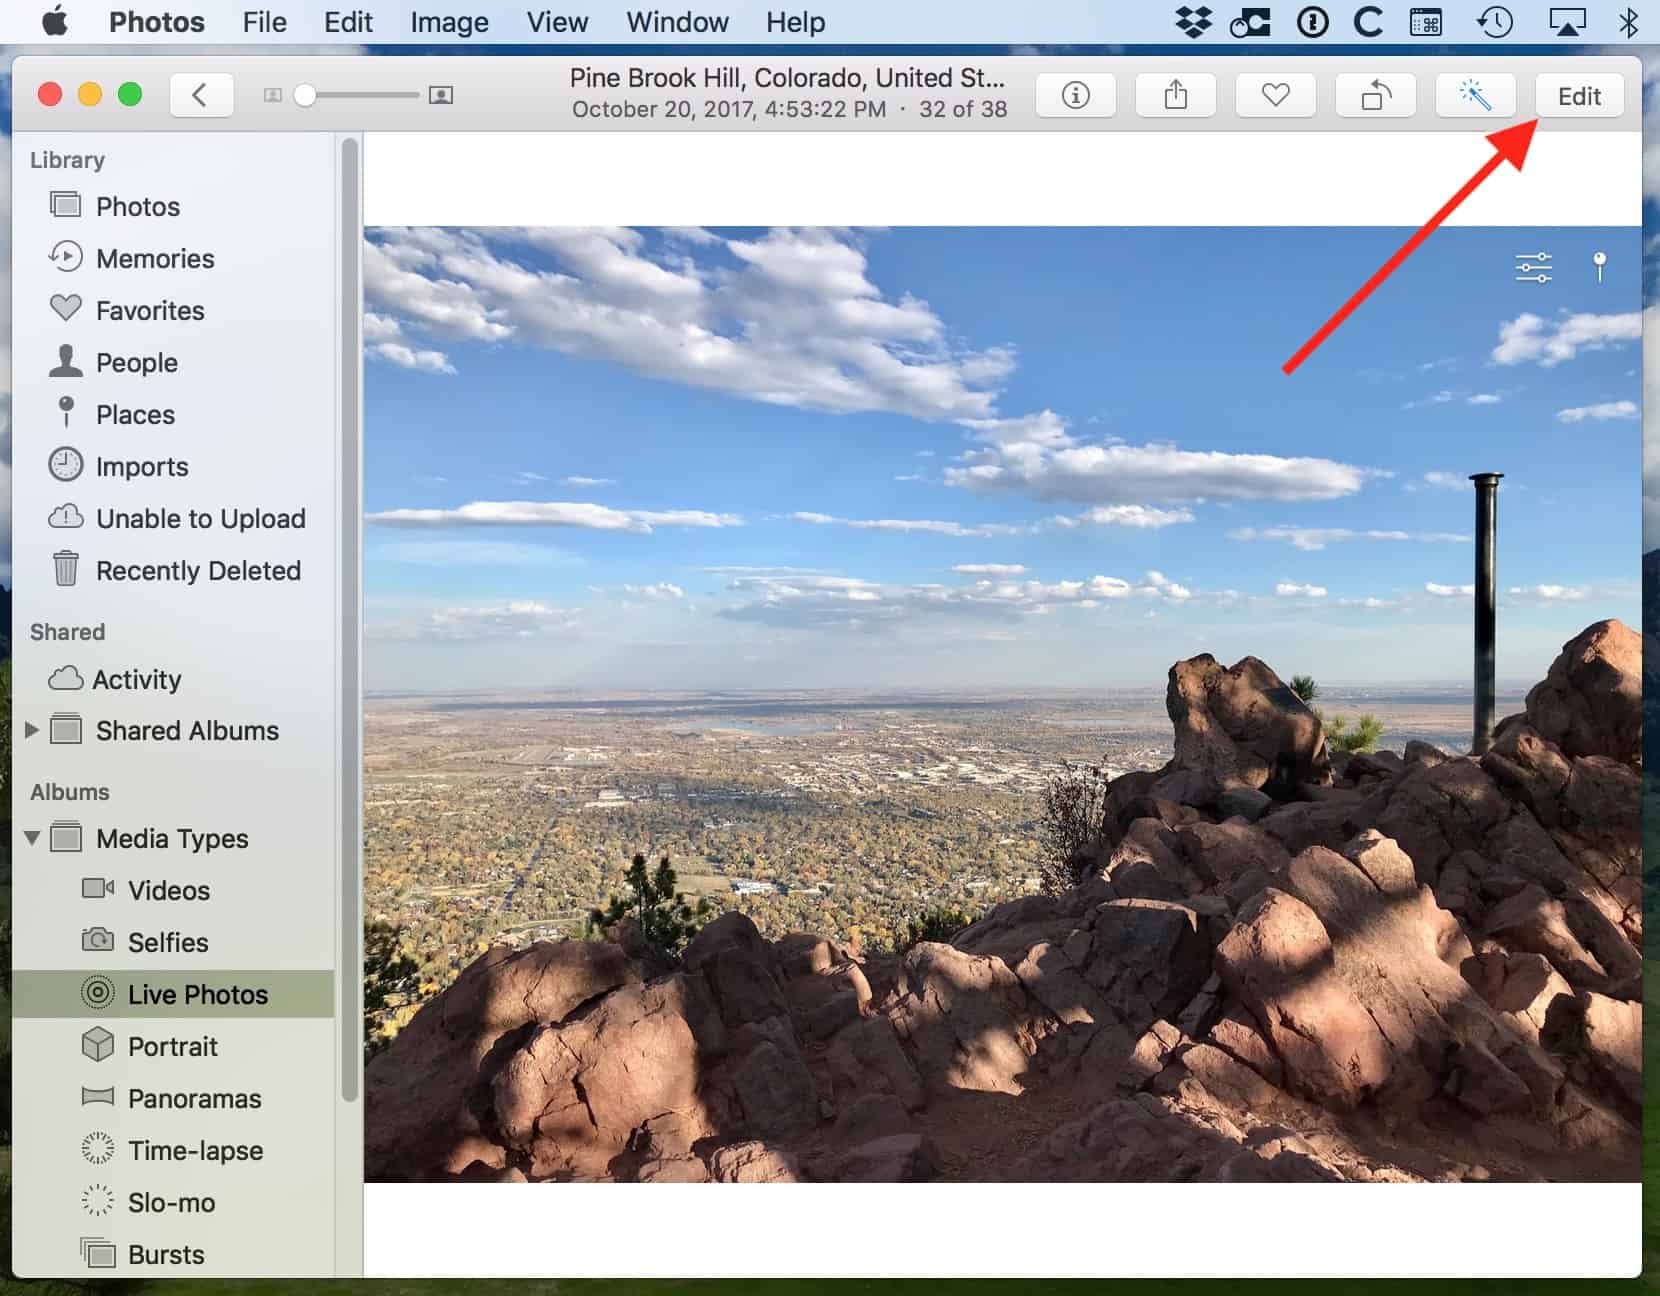
 Alternatively, one way to see all of your Live Photos together is to pick that option from the View > Albums > Media Types menu.

Anyway, once you’ve double-clicked to open your Live Photo, click on the “Edit” button.
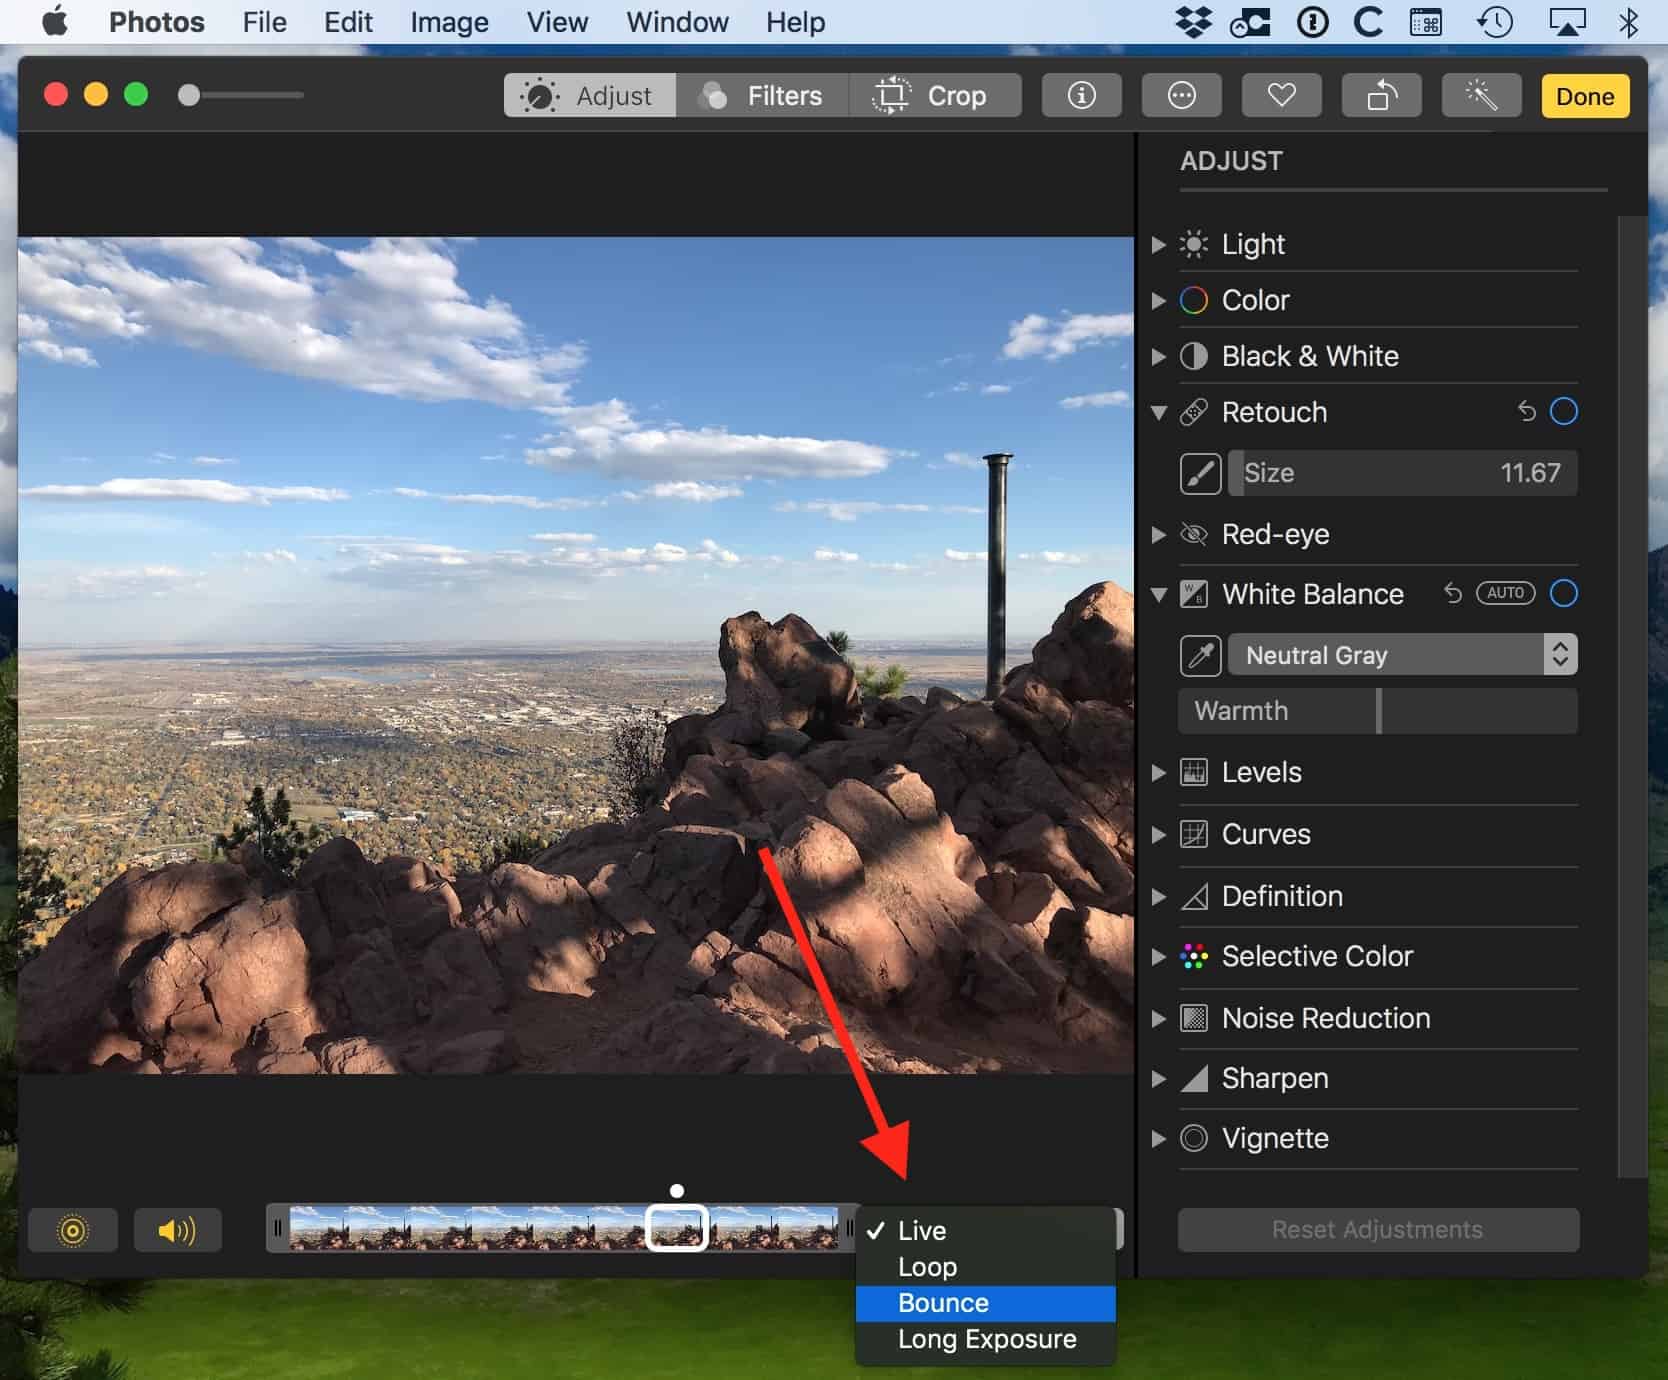
Then use the drop-down at the bottom of the window to change the effect. Either “Loop” or “Bounce” will work for our purposes; if you choose “Live” or “Long Exposure” from this menu, then the “Export GIF” choice will be greyed out.
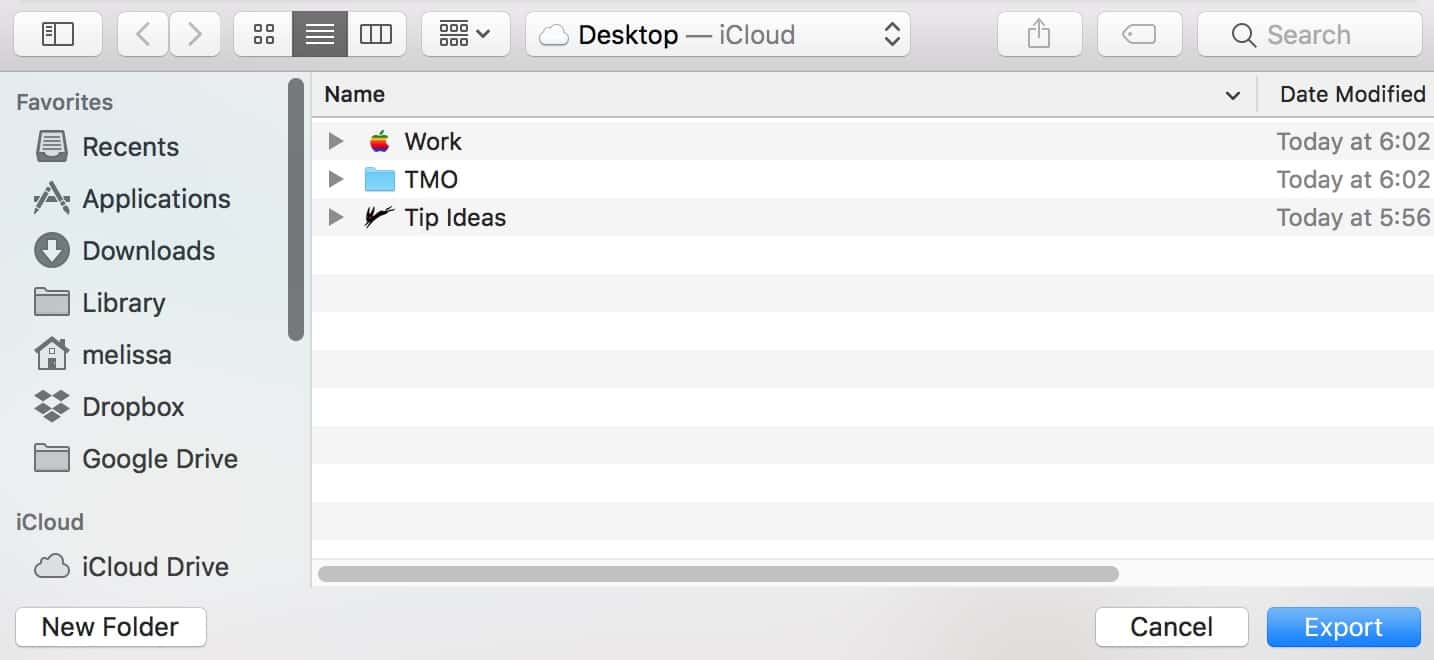
Once you’ve made your selection, click “Done” at the top of the window, and then as I mentioned, you’ll choose File > Export > Export GIF. After you do so, you’ll see the familiar open/save dialog box, from which you can select where to put your new GIF.
Related
Click “Export,” and you’re done! Your GIF will be animated with whichever effect you picked, meaning it’ll either loop or will look all…uh…bouncy. Depending on what you were going for, you might enjoy exporting your image both ways to see which you prefer. One caveat, though: If you choose the same location for both exports, be sure to go and rename the first GIF you create before you make the second. In my testing, exporting once as “Loop” and then again as “Bounce” resulted in the first export being replaced when the second one was created, without a warning dialog or anything. You’d think it’d just append a “1” or something onto the first file, but…well, you’d be wrong. Anyway, this is a cool thing to be able to do, weird exporting behavior or not!

0 Response to "How to Make Animated GIFs with Live Photos on Your Mac"
Post a Comment