Valtur, the TMO Hackintosh, Learns to Speak Apple
I turned a custom-built PC into a Hackintosh, and I’m going to walk you through how I did it. You might wonder what the big deal is, but there’s something you need to understand. Apple doesn’t want third-party computers running macOS, and does quite a bit to inhibit folks from doing that. Even so, the whole process was easier than I expected. Read on to learn how Valtur, the TMO Hackintosh, learned to work and play well with Apple’s macOS Sierra.
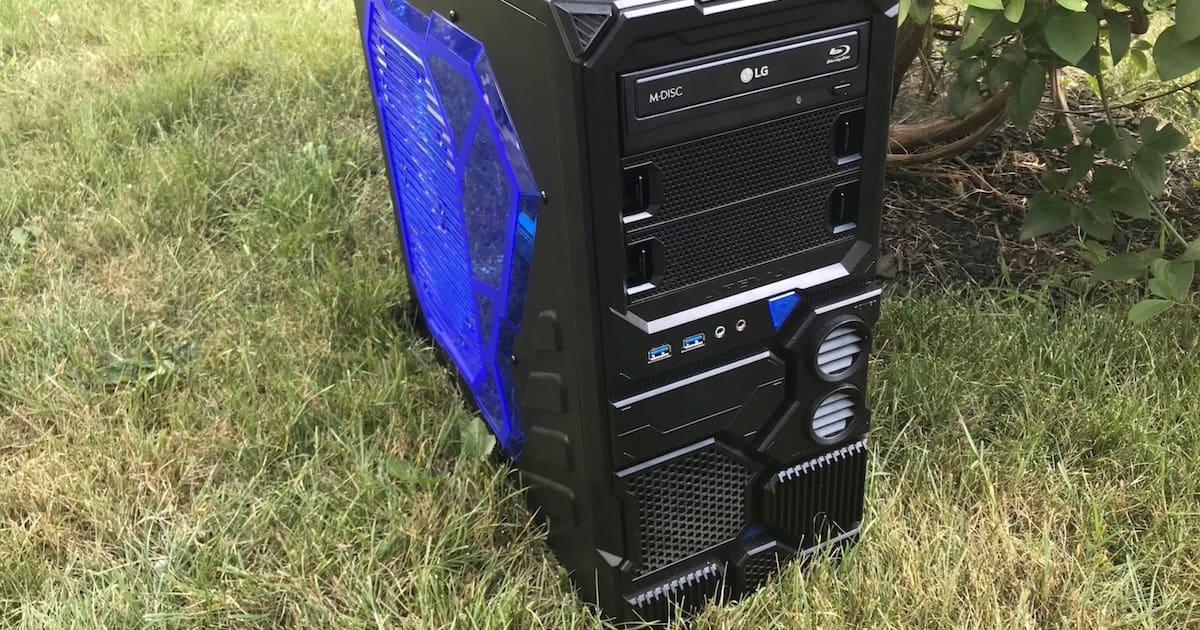
This might not look like a Mac, but it certainly behaves (mostly) like one
Starting the TMO Hackintosh With a Good, Compatible Build
I began Valtur, the TMO Hackintosh, with a fair bit of research. Using TonyMacX86 and InsanelyMac as reference points, as well as the Hackintosh subreddit, I looked at what other folks were using to make their builds. I chose my PC components accordingly, with a relatively unknown graphics card to add some challenge to the game.
What I ended up with is the subject of another article, which I have already published. In case you missed it, you can see the video of me building Valtur, along with the shopping list, in my earlier article about The Mac Observer Hackintosh.
Next, Use the Right (Software) Tools
To get the party started, so to speak, I took the easy route. I could have followed the “createinstallmedia” method and then installed Clover to a USB drive by hand. Instead, I chose to install the TMO Hackintosh using the Unibeast tool provided by the folks over at TonyMacX86.
All you have to do with Unibeast, when it works, is download the macOS Sierra installer and the tool. With a blank USB drive plugged in, run the tool and it will create your installation disk for you. Most of the time, it works splendidly, but occasionally it’s a spectacular failure. For my build, it worked like a champ.
Getting Around the One Problem – My Dedicated Video Card
As I noted in Monday’s article, the Gigabyte AMD Radeon RX460 video card has a problem with macOS. To get around that, I did the initial installation of macOS Sierra plugged into the motherboard’s integrated Intel HD530 graphics chipset. You do need to set the primary video card to be the integrated Intel chipset within Gigabyte’s UEFI setup utility for the motherboard.
I contemplated switching dedicated video cards, but wanted to get the project up and running first.
Next: Hackintosh – Out of the Box, Radeon RX460, Sound, and Imperfection
Page 2 – Hackintosh: Out of the Box, Radeon RX460, Sound, and Imperfection
What Worked Out of the Box?
The installation wasn’t perfect, but it was successful. Basic video worked immediately, with the Unibeast installer. After macOS Sierra finished installing, I used MultiBeast to install the right drivers and the bootloader. MultiBeast is another TonyMacX86 tool, and it’s like the Swiss Army knife of Hackintosh drivers and utilities. In the image below, you’ll see which options I selected based on my build.

The configuration screen of Multibeast, set up for the TMO Hackintosh build
Once all of that was done, I had fully accelerated video – from the Intel HD530 graphics chipset. Without any need for drivers, I also had Wi-Fi and Bluetooth straight “out of the box.” That was a case of luck, because I found out after ordering the wireless card that it might not be the right chipset.
I still wasn’t satisfied, so I went back to work on the dedicated graphics card, the AMD Radeon RX460, before I tackled sound.
Figuring Out the Radeon RX460
Surprisingly, there wasn’t much left to do. I thought the Radeon card would be more of a challenge than it was, but it just came down to this. First, I booted into Gigabyte’s UEFI setup utility, and made sure the primary display was still set as the integrated chipset. Then I rebooted, plugging my DisplayPort cable to the RX460 instead of the Intel HD530 and booted up. Crossing my fingers, I waited, listened, and watched.
The display, when plugged into the Radeon card, gets no video signal at all throughout the entire boot process. You’re booting blind, so if you need to make changes in Clover, you’ll have to switch your plug to the integrated graphics chipset. However, the system does finish booting and, after what feels like forever, activates the display.
Glory! The AMD Radeon RX460 comes to life just in time to see the macOS login screen. Without needing any third-party drivers, full acceleration is there. If you want to test that, launch DVD Player, click Help, then click Supported Features.

Full video acceleration on the Gigabyte AMD Radeon RX460 graphics card
Next Up, Getting Sound Working
The next task was getting audio working. This doesn’t often work right off the bat, simply because macOS is expecting a particular audio chipset. I’ve found the best way to get your sound “card” working is using Toleda’s audio_CloverHDMI tool. It bundles together the proper drivers and codecs for AMD, Nvidia, and the most popular integrated Intel audio chipsets. It supports both integrated motherboard audio connections and HDMI/DisplayPort solutions. Mount your Clover partition (called your EFI partition), and run the tool from the Terminal. If all goes well, you’ll have perfect audio after a reboot.
It Ain’t Perfect, but I’ll Take It
Granted, my heart pauses on reboot, as I anxiously wait for the dedicated video to kick in. However, almost everything worked for this Hackintosh build right out of the box. That’s quite an accomplishment, so I’ll take it. Stay tuned for future articles, when I benchmark Valtur and tell you how to get the features of Continuity working on your Hackintosh.
0 Response to "Valtur, the TMO Hackintosh, Learns to Speak Apple"
Post a Comment