Building Valtur, a Custom Hackintosh
So, I built a Hackintosh, and I’m going to show you how to do it too. I’ve got a shopping list for you, as well as a video of the process and final product. Check out the video, but first, let’s talk about Valtur, The Mac Observer Hackintosh.
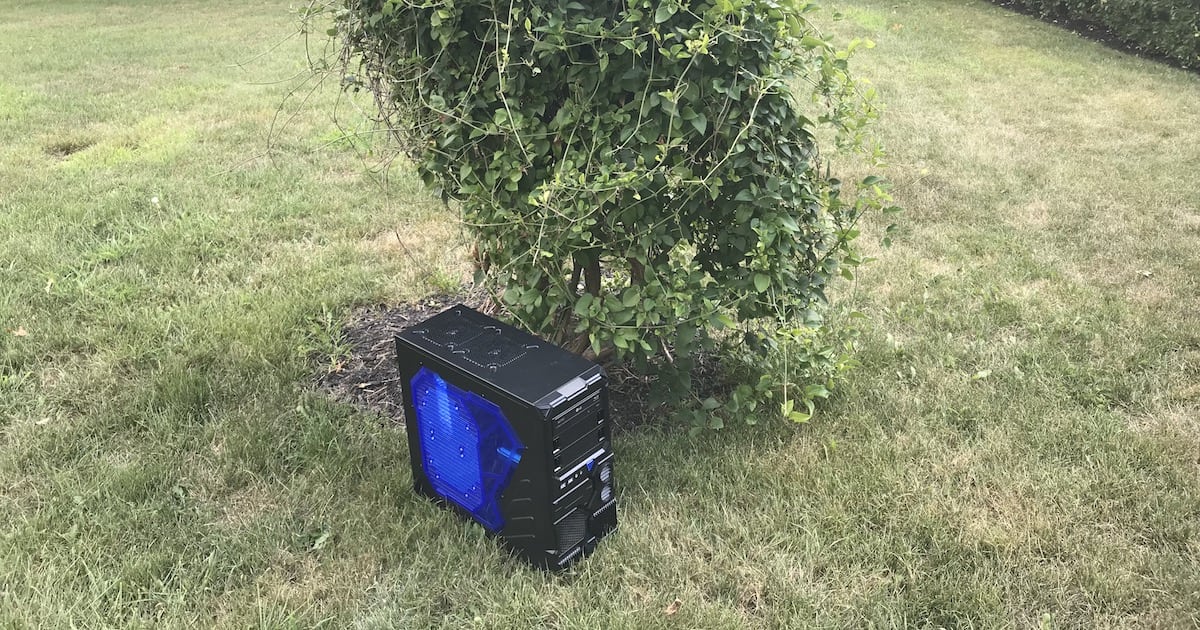
Valtur, The Mac Observer custom Hackintosh, enjoying a few minutes of summer
Valtur, the Custom Hackintosh
I’ve been toying with Hackintosh since 2007, but this was the first time I built a machine purely for that purpose. I did plenty of research, using TonyMacX86 and InsanelyMac. I uncovered what would work and wouldn’t. I threw in a couple of components that work, but have “gotchas.” I did that to make it clear that this process isn’t always foolproof.
What Works and What Doesn’t
At this point, I’m hard-pressed to think of anything that doesn’t work. I was able to install Sierra, and then High Sierra. Continuity between Valtur, the Hackintosh, and my iOS devices didn’t work until I upgraded to High Sierra. I suspect, since I’m running the beta on both, that there was some tomfoolery going on between stable and unstable operating systems.
The only “gotcha” that I have to deal with at this point is booting blind. What I mean by that is that I don’t see any video output on the AMD Radeon card until macOS has finished booting and is ready for me to log in. However, if I plug into the integrated Intel graphics, I see everything right until it switches over to the dedicated graphics card. I’ll explain that in more detail in a later article. Now, on to the video. Then after the break, the shopping list.
Your Shopping List for a Custom Hackintosh
Here’s your shopping list, if you want to replicate my build. Note that you might be able to do without the 10TB Seagate Barracuda Pro; that would save considerably on the final build cost.
- Apevia X-Sniper 2 ATX Mid-Tower Case – US $59.99 at Amazon
- Replace Power RP-ATX–1000W ATX Power Supply – $62.98 at Amazon
- (Optional) Apevia 512L-DBL 120mm Silent Black Case Fan, 5 pack – $28.99 at Amazon
- Gigabyte Z170X UD5 Motherboard – $159.99 at Amazon
- Intel i7–6700K CPU – $319.89 at Amazon
- Cooler Master Hyper 212 EVO CPU Cooler – $29.99 at Amazon
- Cable Matters 3-pack of SATA 6.0 cables – $7.49 at Amazon
- 32GB Ballistix Elite system memory – $339.99 at Crucial
- Gigabyte AMD RX460 4GB Graphics Card – $189.99 at Amazon
- Crucial 1.05TB MX330 M.2 SSD – $289.99 at Crucial
- (Optional) Seagate 10TB Barracuda Pro SATA internal HDD – $399.99 at Amazon
- LG Electronics 14X SATA Blu-Ray Internal Rewriter – $49.44 at Amazon
- Fenvi PC Desktop Wi-Fi Card with Bluetooth 4.0 – $69.99 at Amazon
That brings the build total to $2,008.71. For a display, I’m going a bit overboard with a 32-inch AOC display that runs $559 at Amazon. A comparable six-core Mac Pro, with admittedly better graphics, would run you almost $4,000. The latest 27-inch iMac with 32GB of RAM and comparable specifications otherwise starts at almost $3,000.
If the price tag of Valtur makes you balk, bear in mind that I have a 10TB Seagate Barracuda Pro in there, something the iMac and the Mac Pro lack. Take away that optional storage space, and you’ve got yourself a build that runs $2,167.72, including the 32-inch monitor. Definitely a steal over the 27-inch iMac and the Mac Pro.
Stay tuned. In the coming days, I’ll cover installation of both Sierra and the High Sierra beta, as well as how to get everything to play nice.
0 Response to "Building Valtur, a Custom Hackintosh"
Post a Comment