Comprehensive Guide to Mac Trackpad Gestures and Force Touch
If you have a Magic Trackpad 2 or a built-in Multi-Touch trackpad, you might not be making the most of it. There are several Mac trackpad gestures that you can use to really speed up your workflow, whether you’re surfing the web or moving files around in the Finder. Let’s take a look in this comprehensive guide to Mac trackpad gestures.

With Mac trackpad gestures, you can speed up your workflow and become a Mac pro
Turning on Mac Trackpad Gestures
Turning on all of the possible Mac trackpad gestures will take a few moments. You’ll need to go to System Preferences -> Trackpad, and navigate through the various tabs enabling what you want to use. All of these are also covered by an Apple support page, but I’ve found it to be a bit out-dated with the changes in macOS Sierra.
Speaking of which, this guide assumes you are running macOS Sierra on a MacBook or MacBook Pro with a Force Touch trackpad, or any Mac with a Magic Trackpad 2.
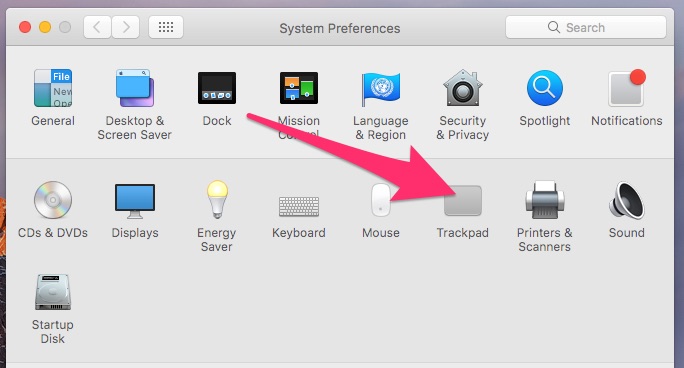
Start using trackpad gestures by turning them on in System Preferences
The Point & Click Gestures
You probably already know about tap to click and secondary click. You can tap with just one finger, and it will register as a click. Or, click or tap with two fingers, and you get the Windows equivalent of a right-click (a secondary click, in Mac parlance).
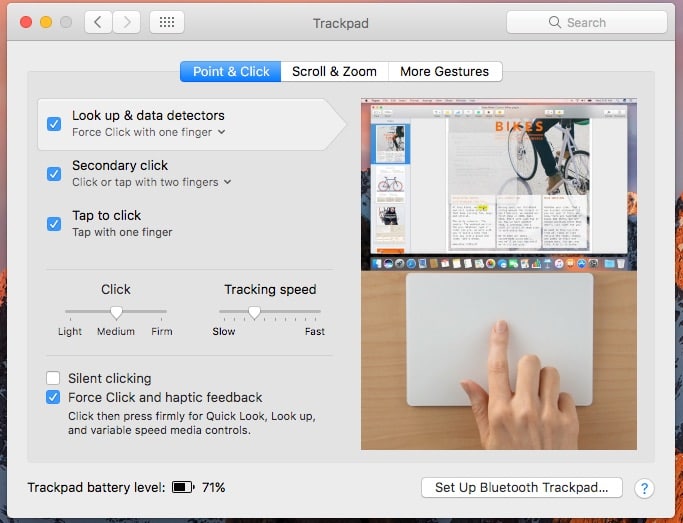
The Point & Click gestures are pretty straightforward, but there’s one interesting addition you may not have noticed
Here’s an interesting one that might have slipped your attention, though – Look up & data detectors. If you want to quickly get the definition of a word, for instance, you just have to Force Click with one finger (if it’s enabled). This also works with taking actions on dates, addresses, phone numbers, and more.
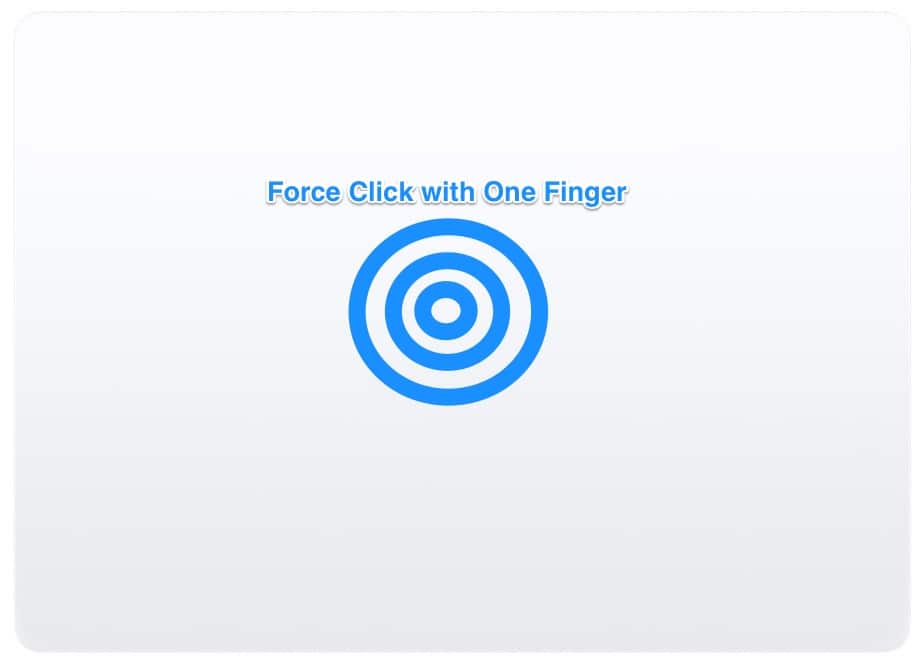
By Force Clicking with one finger, you can look up words in the dictionary, add events to your calendar, and more
Up Next: Scrolling and Zooming Around
Page 2 – Gestures for Scrolling and Zooming Around
On the next tab, you’ll find some other great options for Mac trackpad gestures. For example, this is the first place I go when I set up a new Mac, to turn off my personal pet peeve – Scroll direction: Natural. To me, there’s nothing natural about moving my finger down on a page and having said page move upwards.
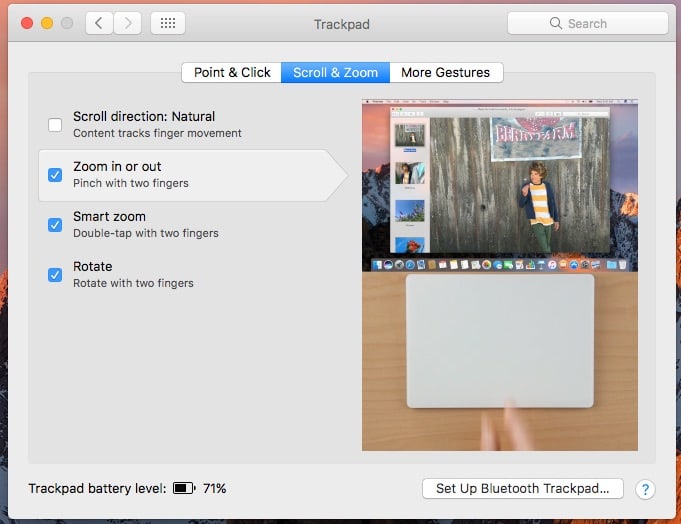
In the Scroll & Zoom tab, you can turn off Scroll Direction: Natural, and do other fun stuff
Now, what if you want to zoom in or out on a page or document? Just put two fingers on your trackpad, and pinch inwards or outwards to zoom in or out.
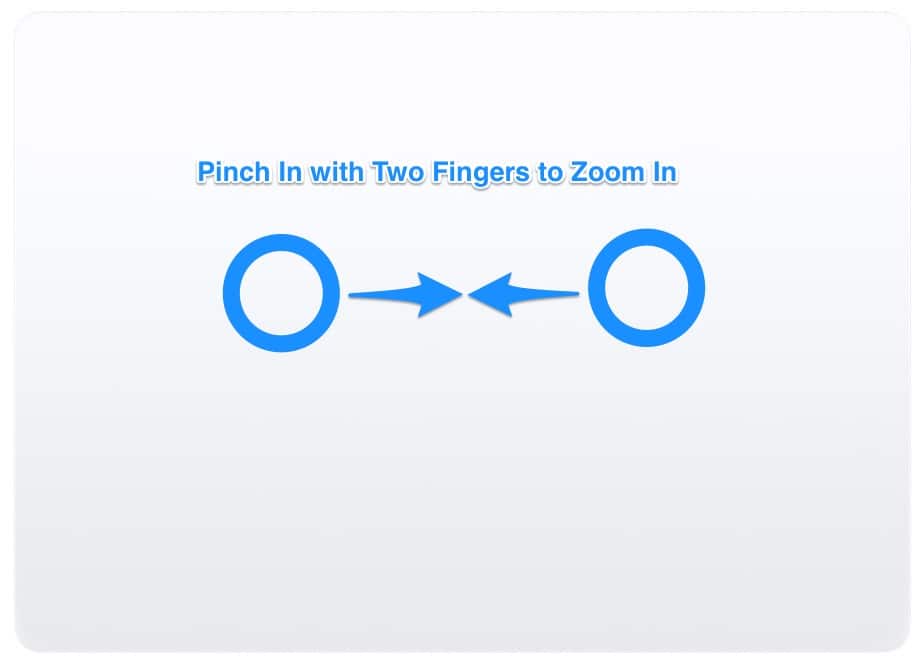
Pinch in with two fingers to zoom in
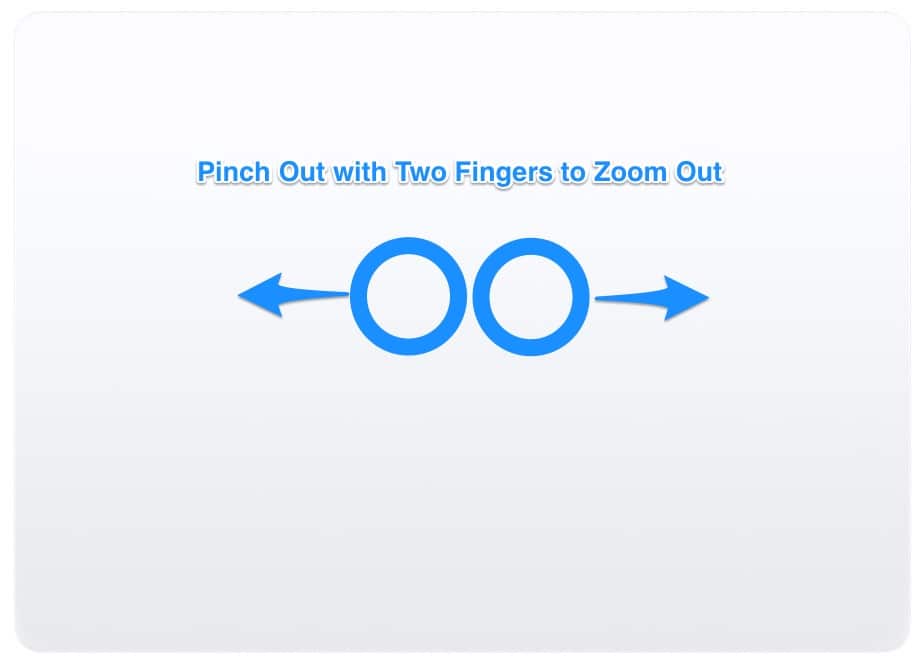
Spread your fingers outwards to zoom out
If you’re in a web page or PDF, you can also use a Mac trackpad gesture for smart zooming. If you double-tap with two fingers, you’ll zoom in and back out of that page or document.
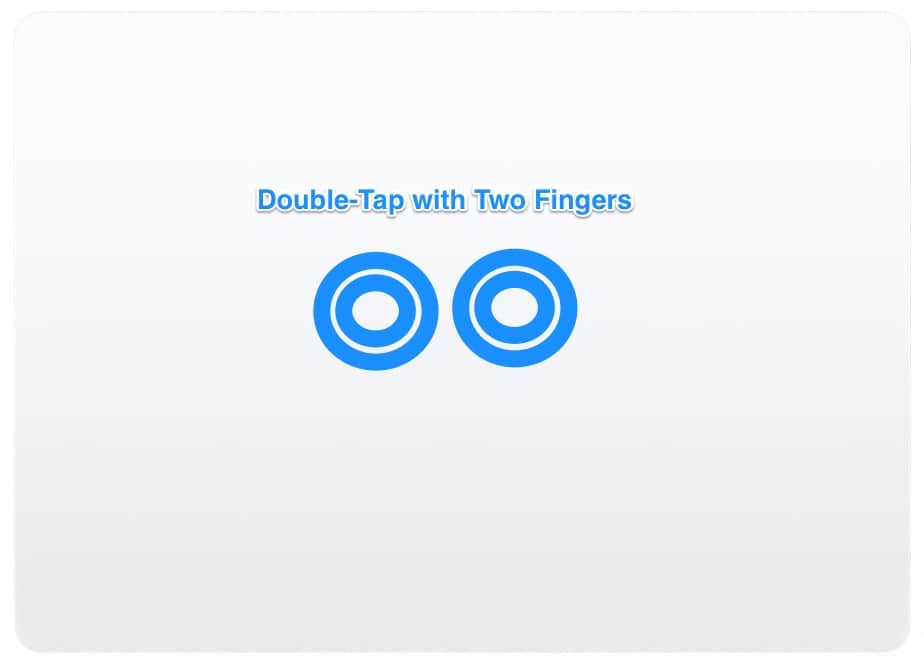
Double-tap with two fingers to smart zoom
Need to rotate a photo or something else in Preview? Just move two fingers around each other in the Preview app with your image loaded. This also works with PDF documents, or just about anything else you can view in Preview.
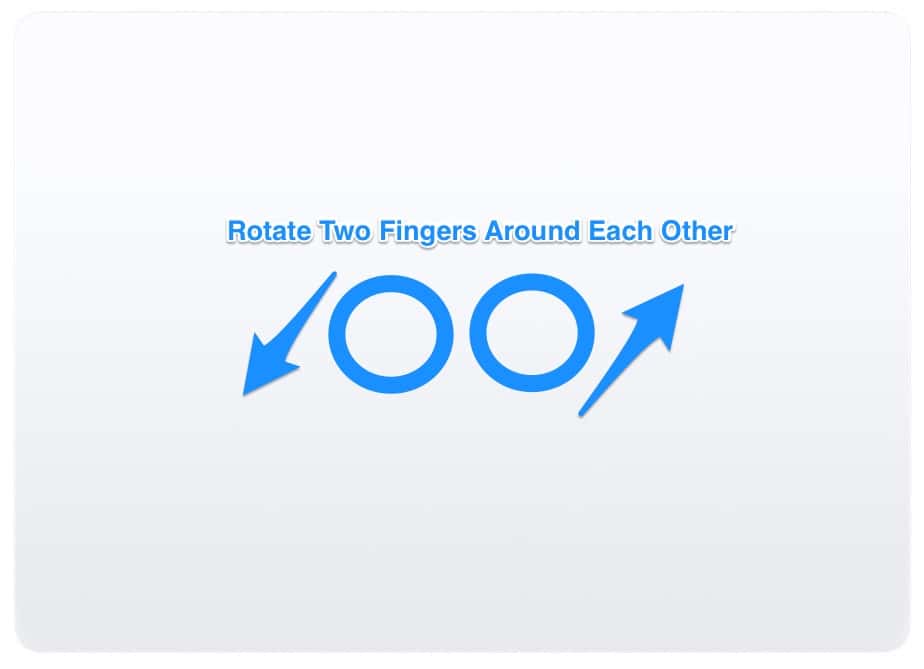
Move your fingers around each other to rotate objects in Preview
Up Next: Navigating Web Pages and Full-Screen Apps
Page 3 – Navigating Web Pages and Full-Screen Apps
If you want to go forward or backward through your web page history, there’s a gesture for that. Just swipe left or right with two fingers, and you’ll go to the previous or next page.
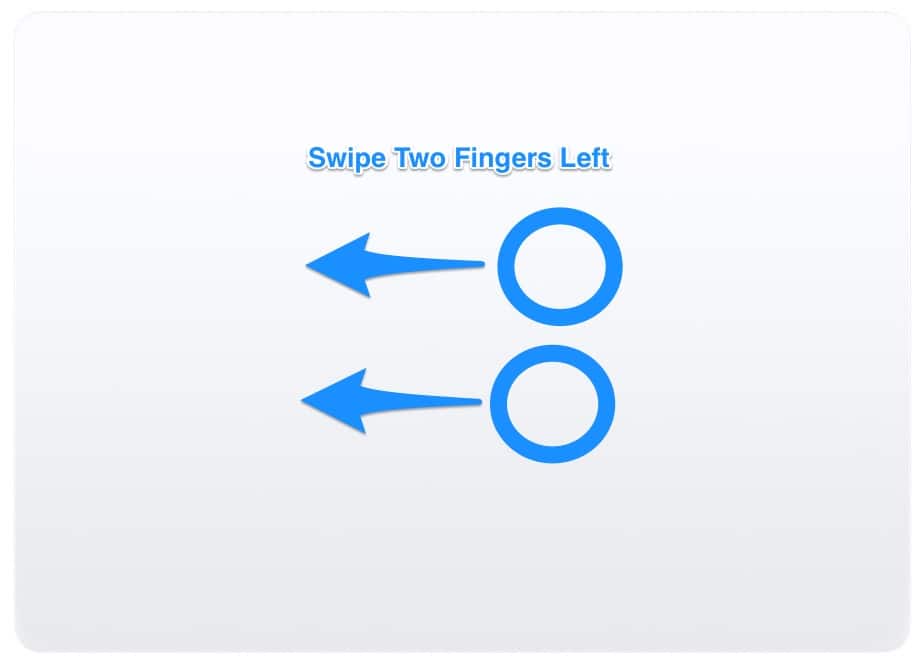
Swipe two fingers left to go back a page in your web browser
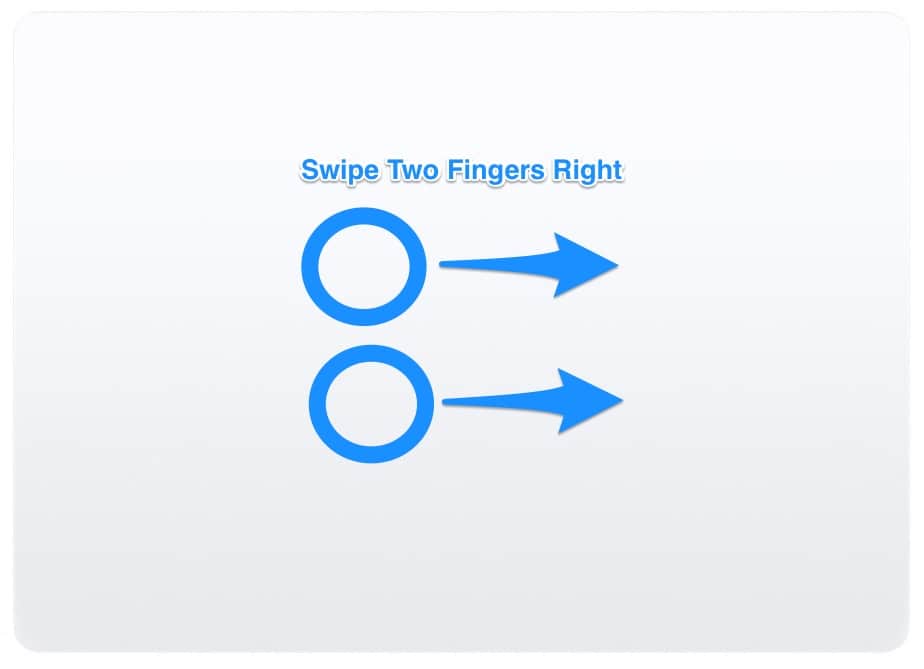
Swipe two fingers right to go forward a page in your web history
If you like to go full-screen with your apps and want a quick way to switch between them, you can swipe left or right with four fingers. You’ll quickly swap apps, moving from one to the other.
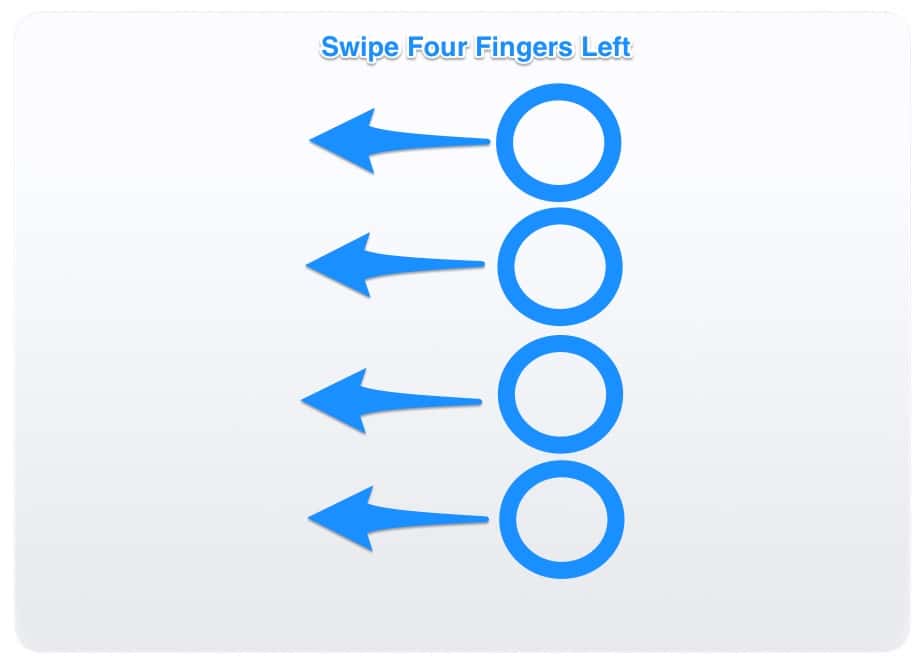
Swipe four fingers left to go back through your full-screen apps
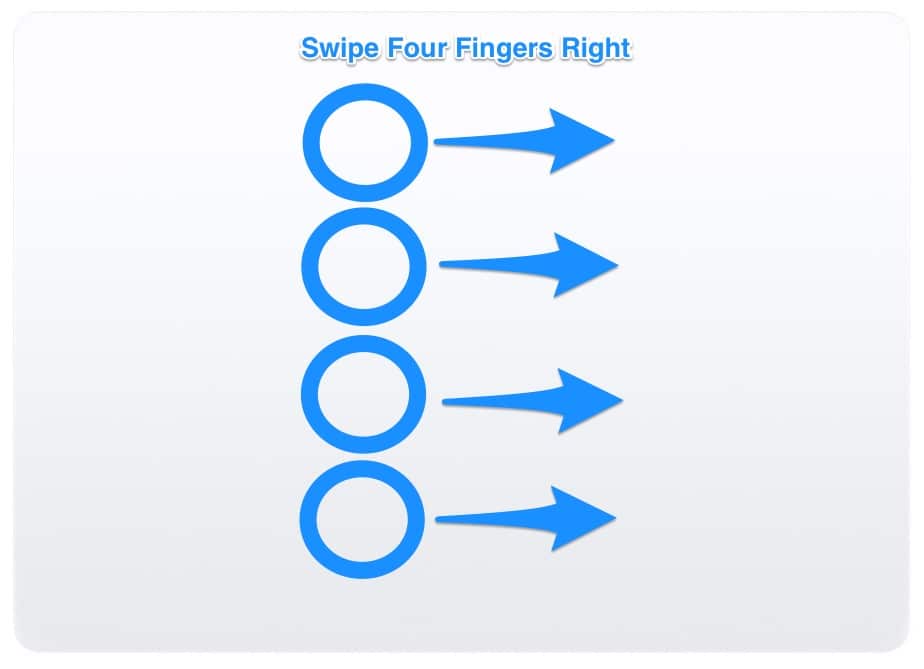
Swipe four fingers right to go forward through your full-screen apps
Next, if you swipe down with four fingers, a feature called app exposé will activate. You’ll see all the windows of the app you’re using. This is very handy if you’re switching back and forth between several documents.
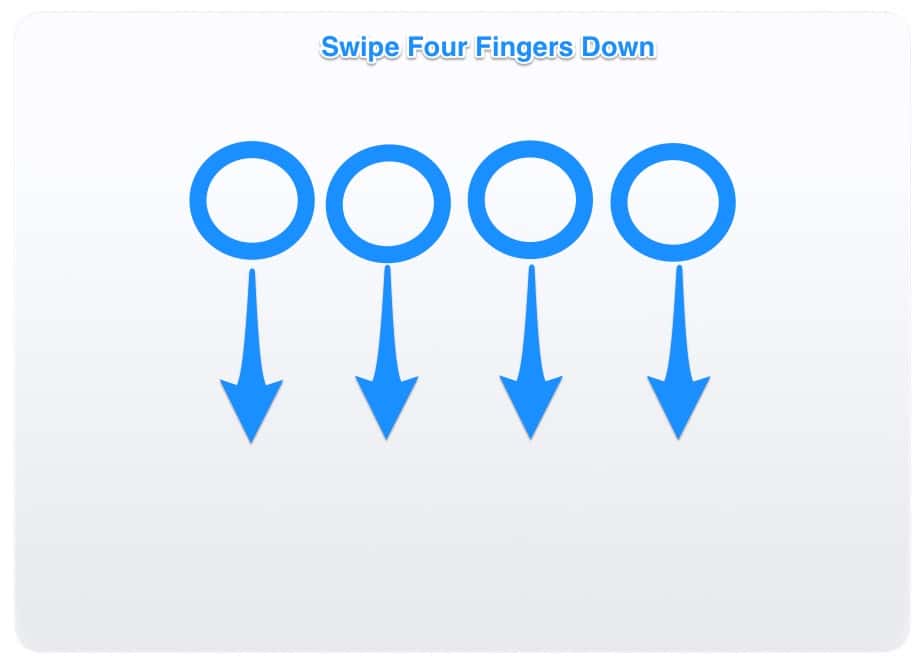
Swipe down with four fingers to activate App Exposé
Up Next – Gestures for the Desktop and More
Page 4 – Gestures for the Desktop, Notification Center, and Finder
Need to quickly open the Notification Center or show the desktop? Maybe you love the Launchpad and want a quick way to access it. Here are some gestures to do that, and more.
First, let’s open the Notification Center. Swipe from right to left on your trackpad, starting at the far right edge. The Notification Center will pop open for you.
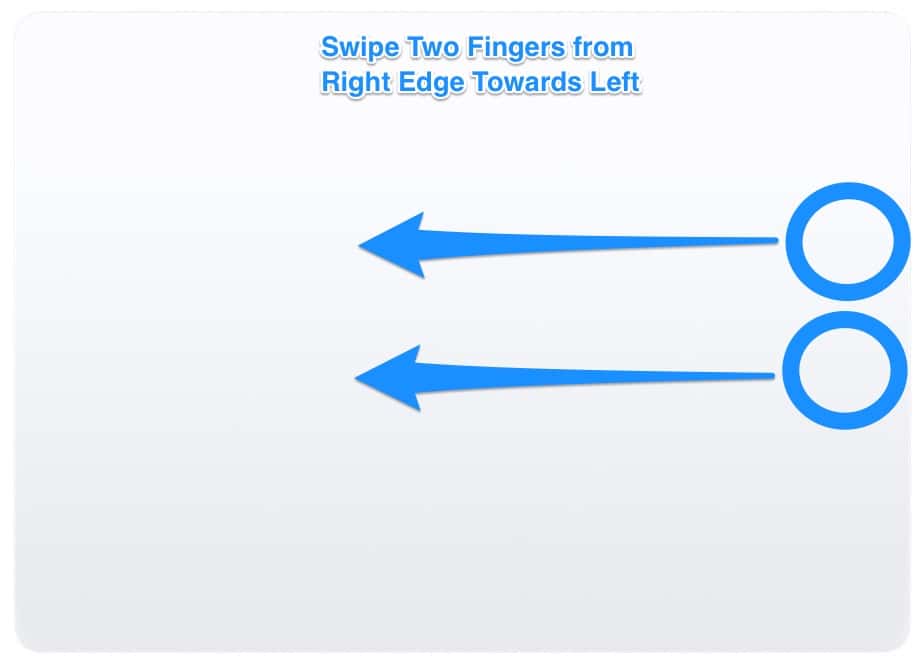
Swipe with two fingers from the right edge towards the left to open the Notification Center
If you want to show your desktop clear of all your windows, spread your thumb and three fingers apart. Bring them back together again to get your windows back where they were.
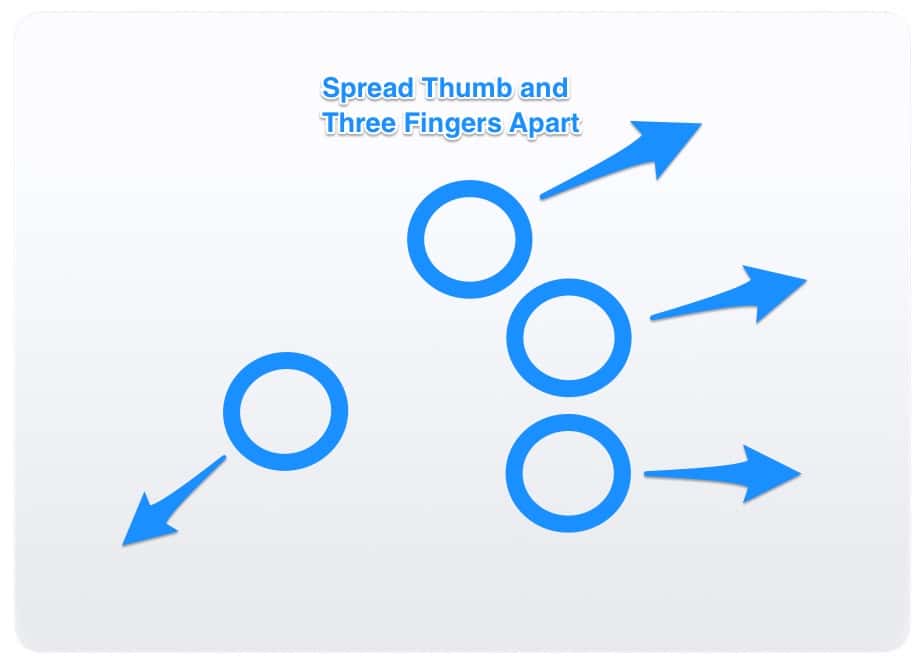
Show your empty desktop by spreading your thumb and three fingers apart
Now, let’s say you want to move a file from one folder to another using the Finder. This is very easy with a Mac trackpad gesture, since all you have to do is swipe the files with three fingers, and move to the folder where you want to copy them to. This one has to be enabled in Accessibility -> Mouse & Trackpad -> Trackpad Options -> Enable Dragging.
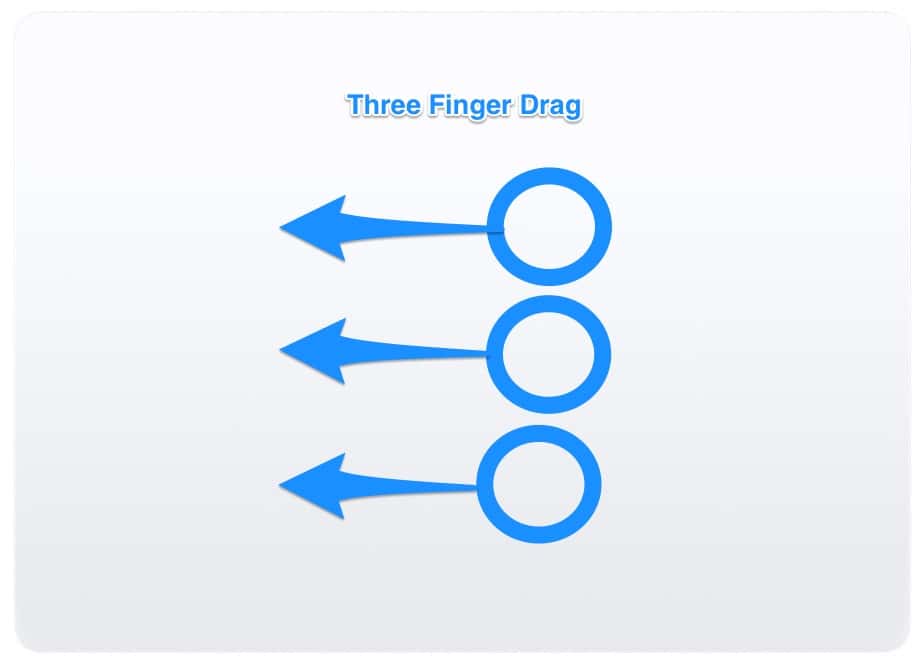
Drag files using the three-finger drag gesture
Up Next: Gestures for Launchpad and Mission Control
Page 5 – Gestures for Launchpad and Mission Control
To fire up the Launchpad, pinch your thumb and three fingers together. Spread them apart again, and you’ll go back to your normal desktop and windows.
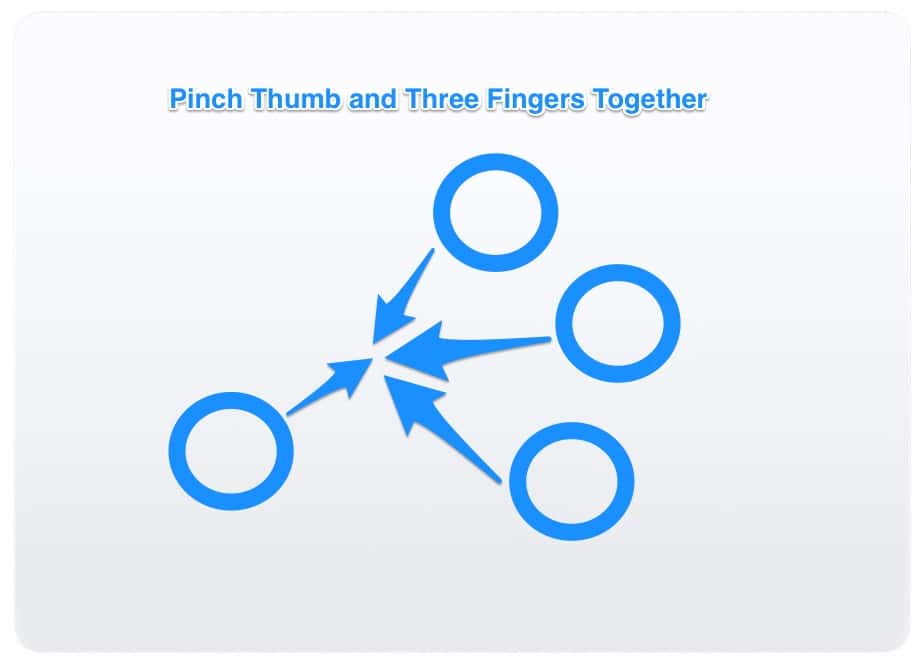
If you want to quickly activate Launchpad, pinch your thumb and three fingers together on the trackpad
How about some Mission Control love? You guessed it, there’s a Mac trackpad gesture for that. If you swipe all the way up on your trackpad with four fingers, and Mission Control will open. Swipe back down again with four fingers, and you’ll be back to normal.
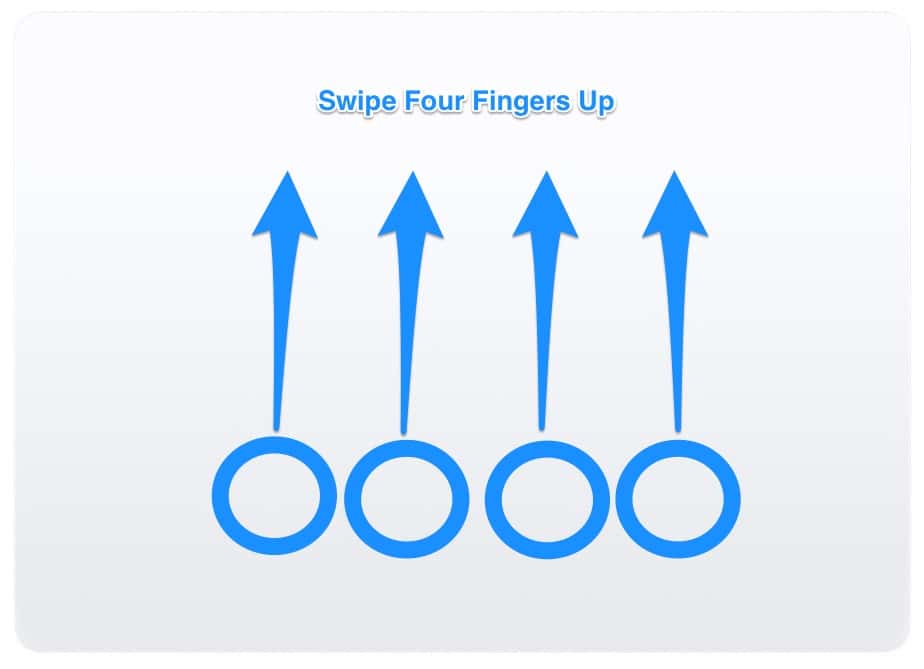
Swipe four fingers up from the bottom of the trackpad to activate Mission Control
Fun With Mac Trackpad Gestures
There you have it, the Mac trackpad gestures available on your Magic Trackpad 2 or MacBook with a Force Touch Trackpad. If you learn these and use them, you’ll become a Mac pro in no time, speeding along through your work or pleasure with ease. Want another one? Check out Mac Geek Gab’s tip on closing a Safari tab with a swipe.
0 Response to "Comprehensive Guide to Mac Trackpad Gestures and Force Touch"
Post a Comment